| Table of Contents |
|---|
Server deployment from Yandex.Cloud Marketplace image
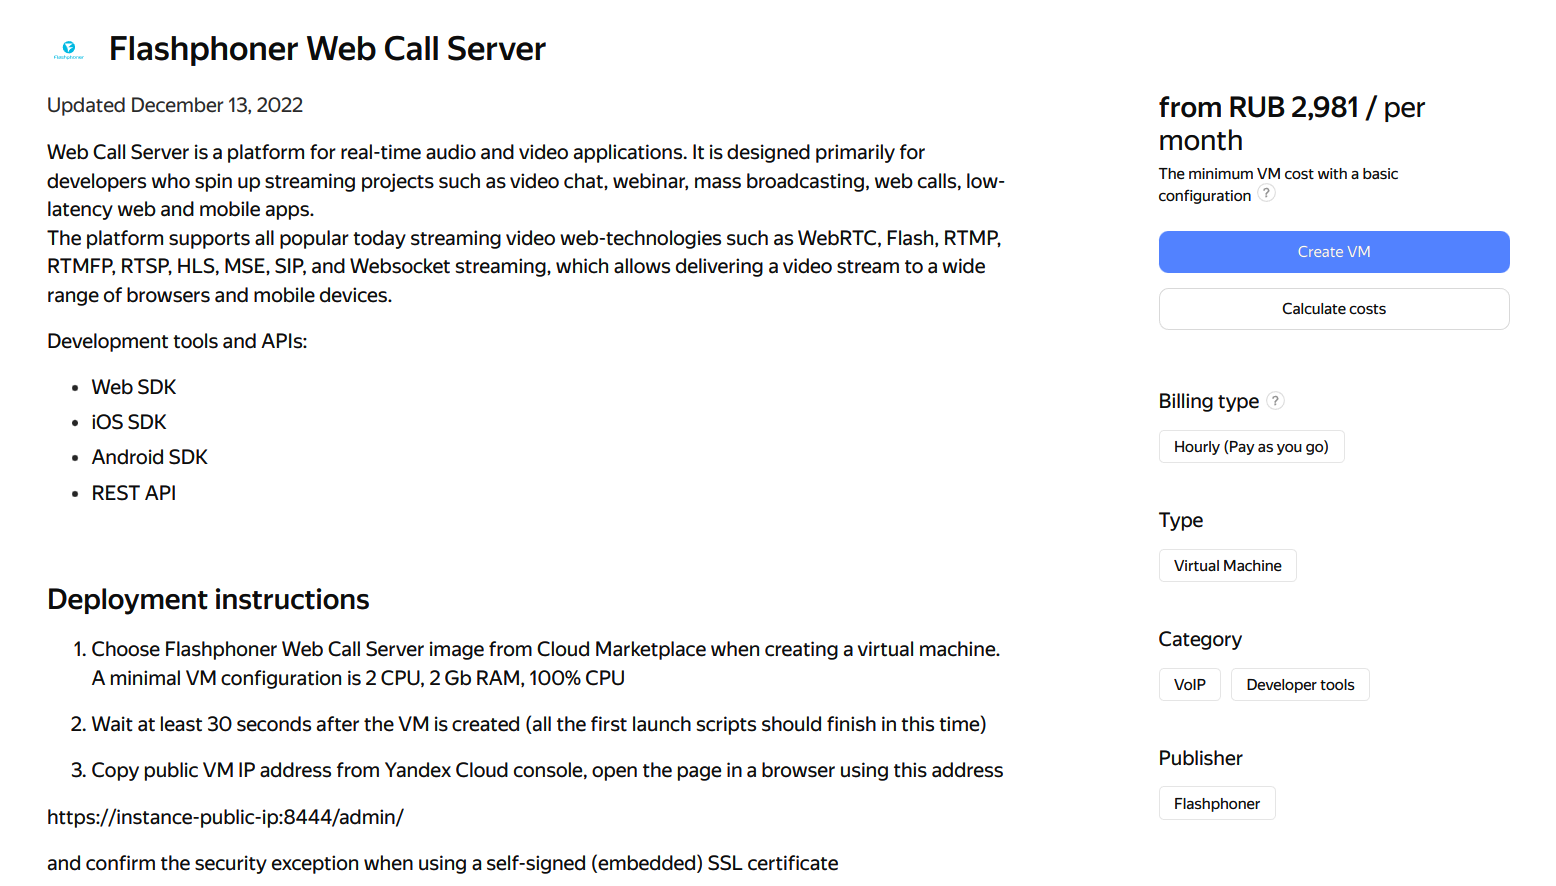
Flashphoner Web Call Server image with hourly billing is available in Yandex.Cloud Marketplace. This way is preferable for short term instances (weeks and months).
The following is necessary to be prepared before deploy:
- active Yandex.Cloud account, a cloud and virtual private network in this account
- optionally, domain names to bind to bind to servers static IPs and corresponding SSL certificates
Create and launch VM instance
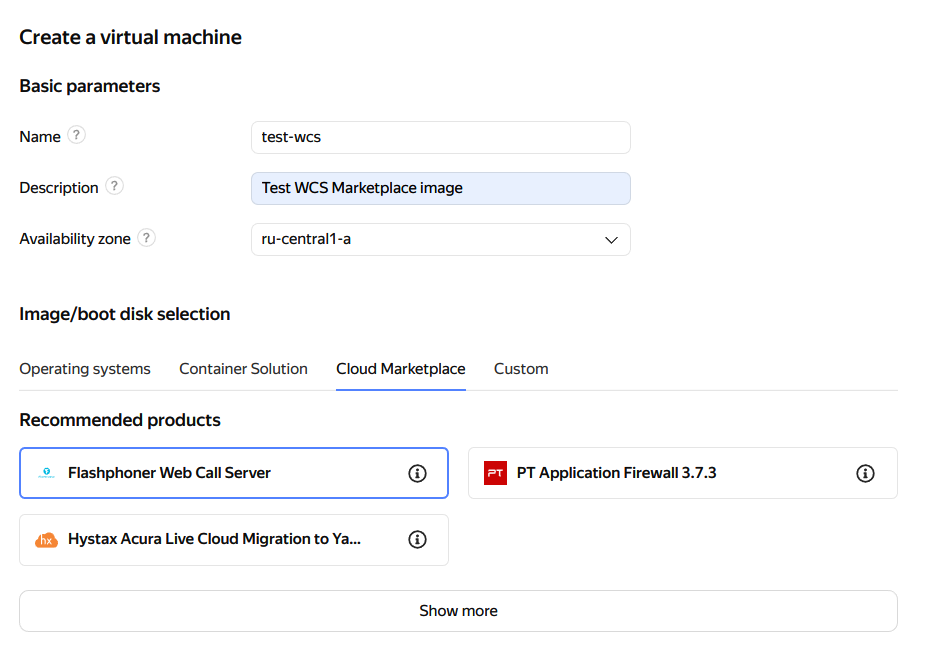
1. Find the product Flashphoner Web Call Server in Yandex.Cloud Marketplace or open the page in Yandex.Cloud Marketplace directly

2. Click Create VM on the product page
3. Enter server name, description and choose datacenter region
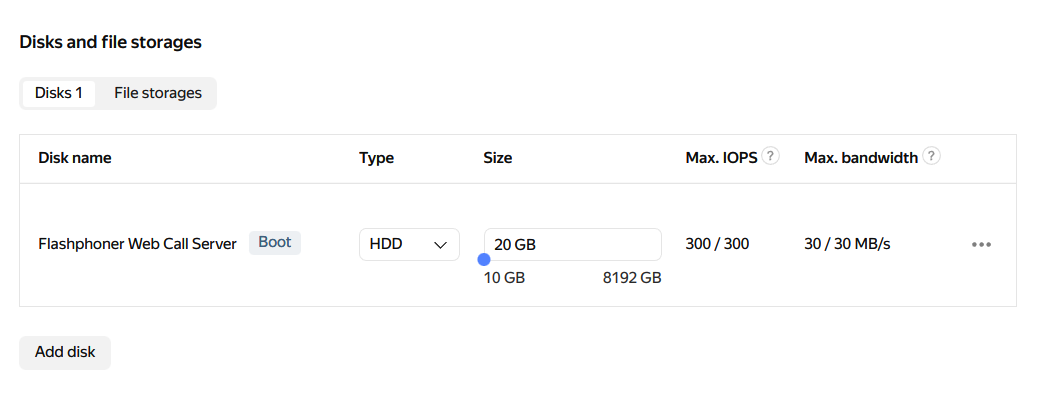
4. Choose storage type and size in Disks section
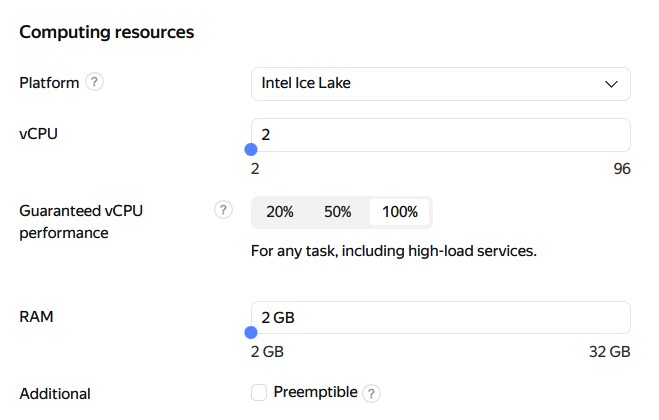
5. Choose CPU type and count, adjust RAM size in Computing resources section. A minimal required parameters are set by default. Note that Guaranteed vCPU performance parameter must be 100%
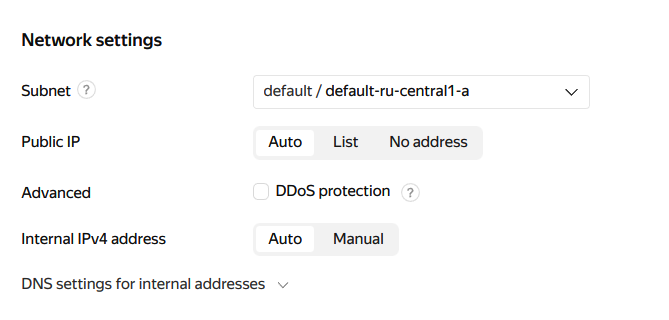
6. Choose available subnet, set manual IP addresses if necessary in Network settings section
7. Set user name and public SSH access key in Access section, then click Create VM

8. Wait for VM changes its state to Running (page refresh may be required)

Testing WCS instance
1. Wait at least for 30 seconds after VM changes its state to Running for all the first launch scripts to work. Then copy a Public IP address

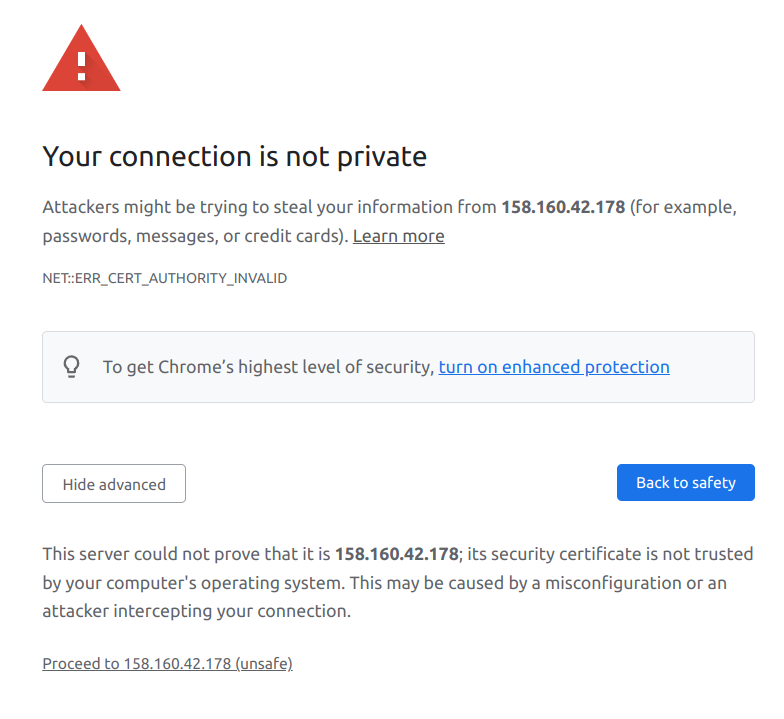
2. В новой вкладе браузера откройте URL https://public-ip:8444/admin/, где public-ip - публичный IP-адрес, скопированный на предыдущем шаге. Примите исключение безопасности (по умолчанию WCS использует самоподписанные SSL сертификаты)
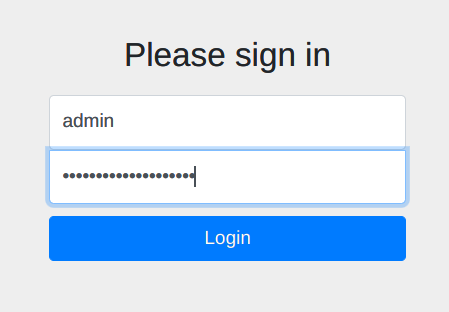
Откроется страница входа в веб интерфейс WCS.
3. Скопируйте ID из параметров ВМ

4. На странице входа в веб интерфейс WCS введите имя пользователя admin, в качестве пароля используйте ID, скопированный на предыдущем шаге
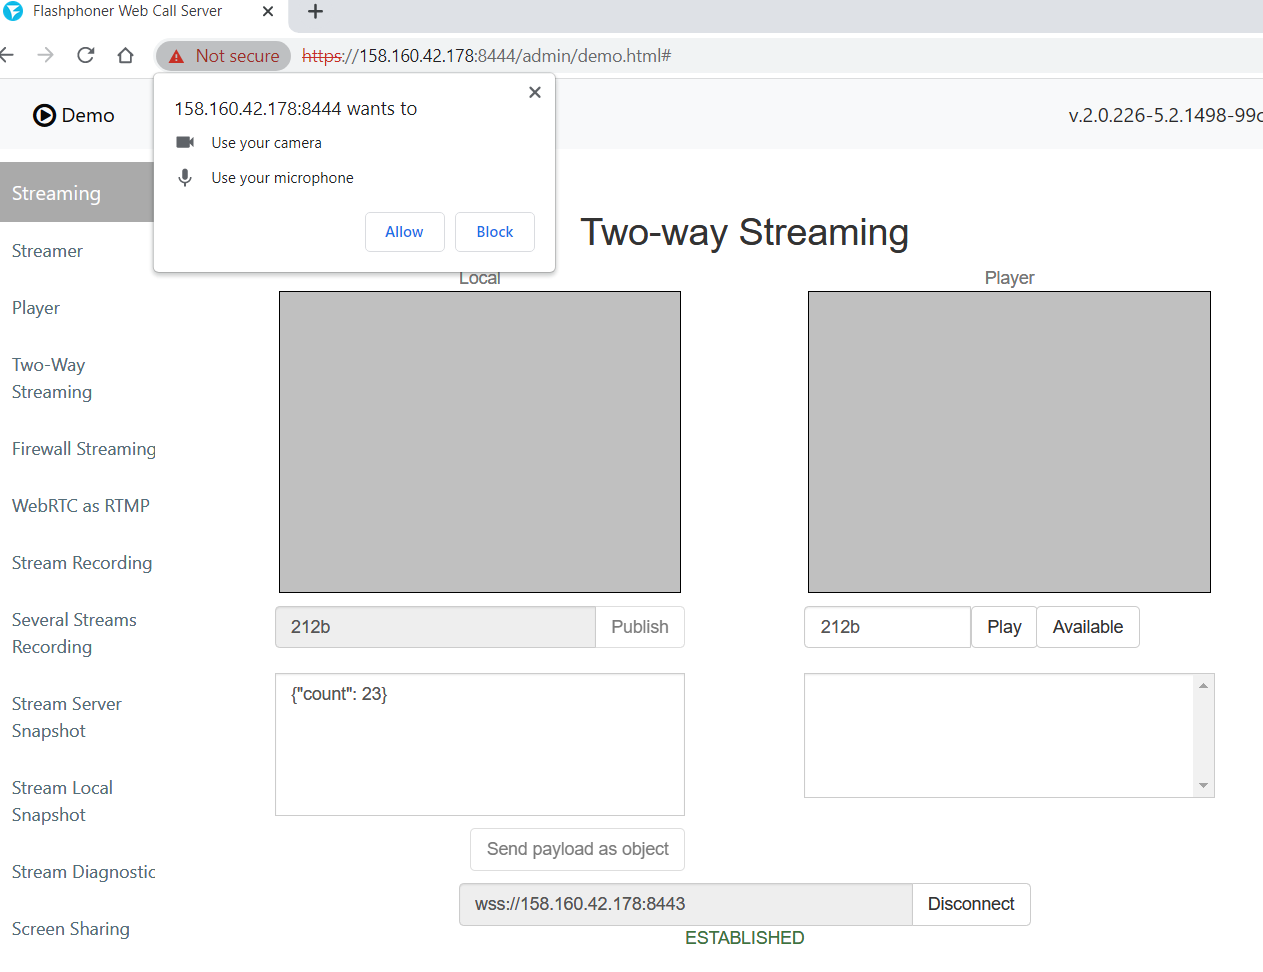
5. В веб интерфейсе выберите пример Two Way Streaming
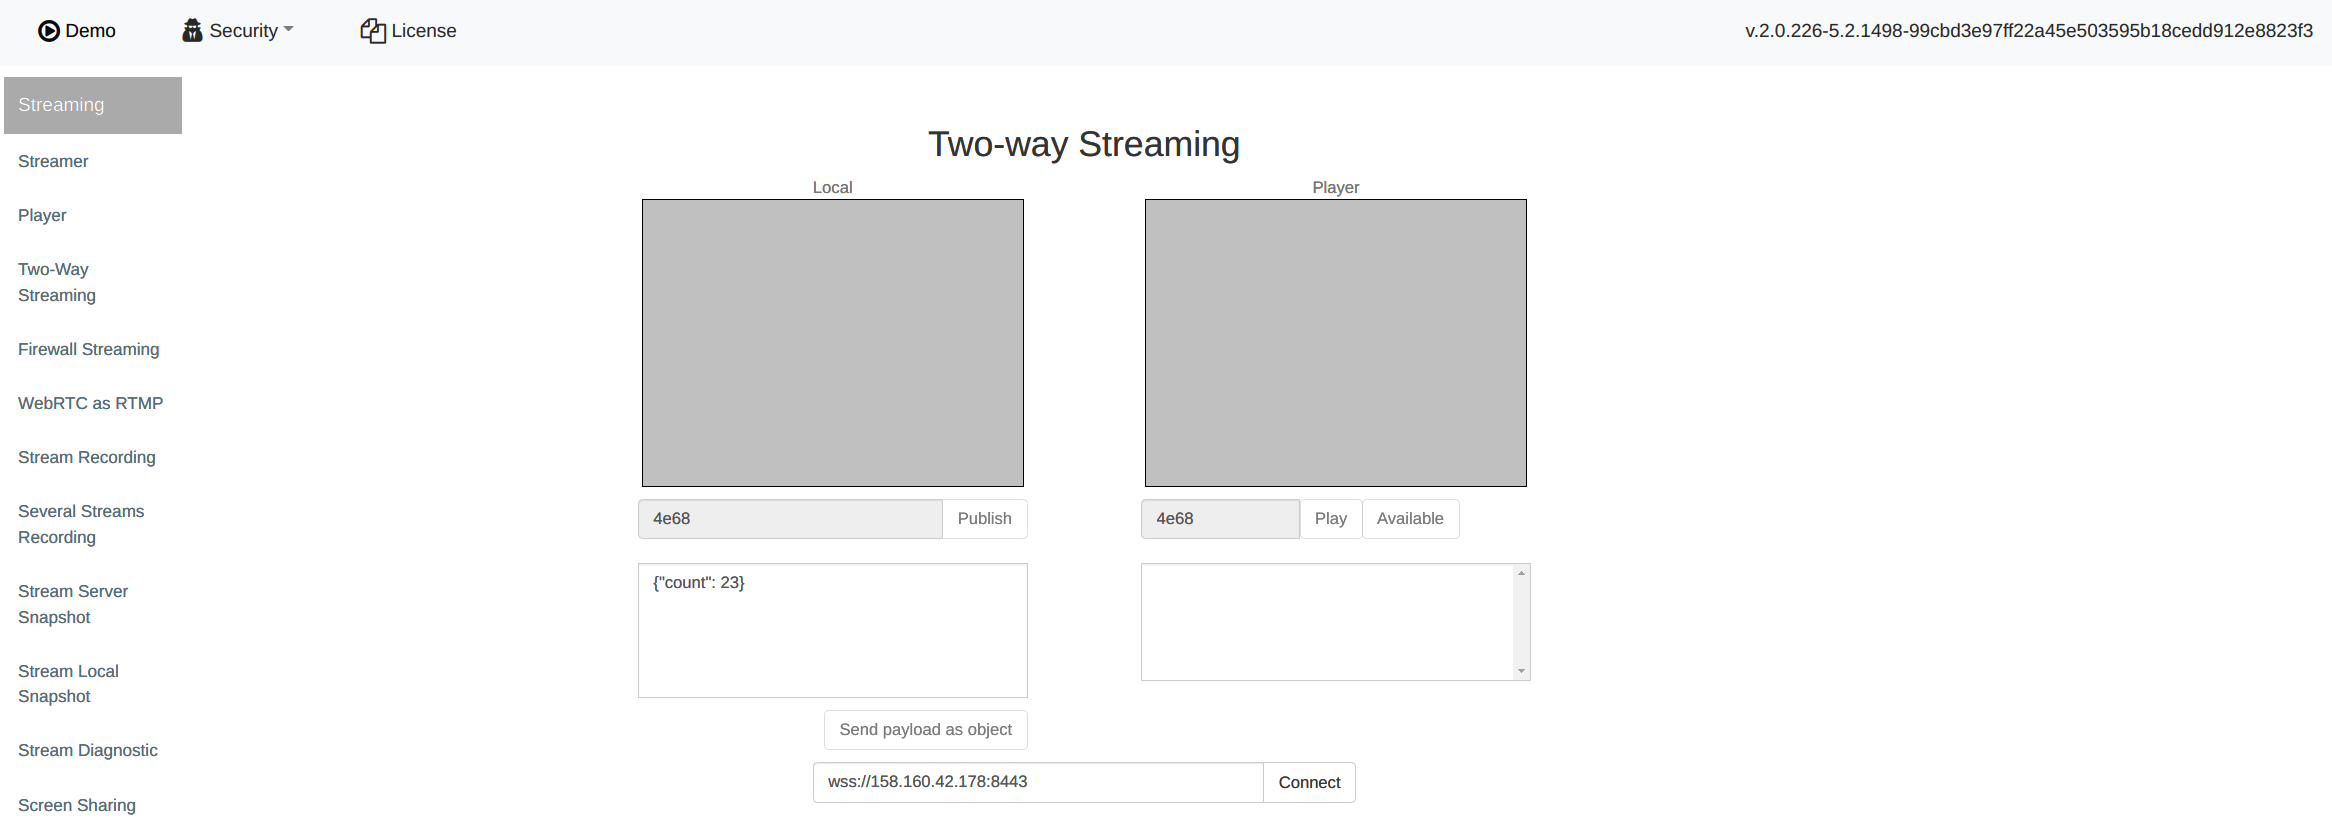
6. Нажмите Connect, затем Publish. Разрешите браузеру доступ к камере и микрофону
7. После того, как под окном Local отобразится PUBLISHING, нажмите Play
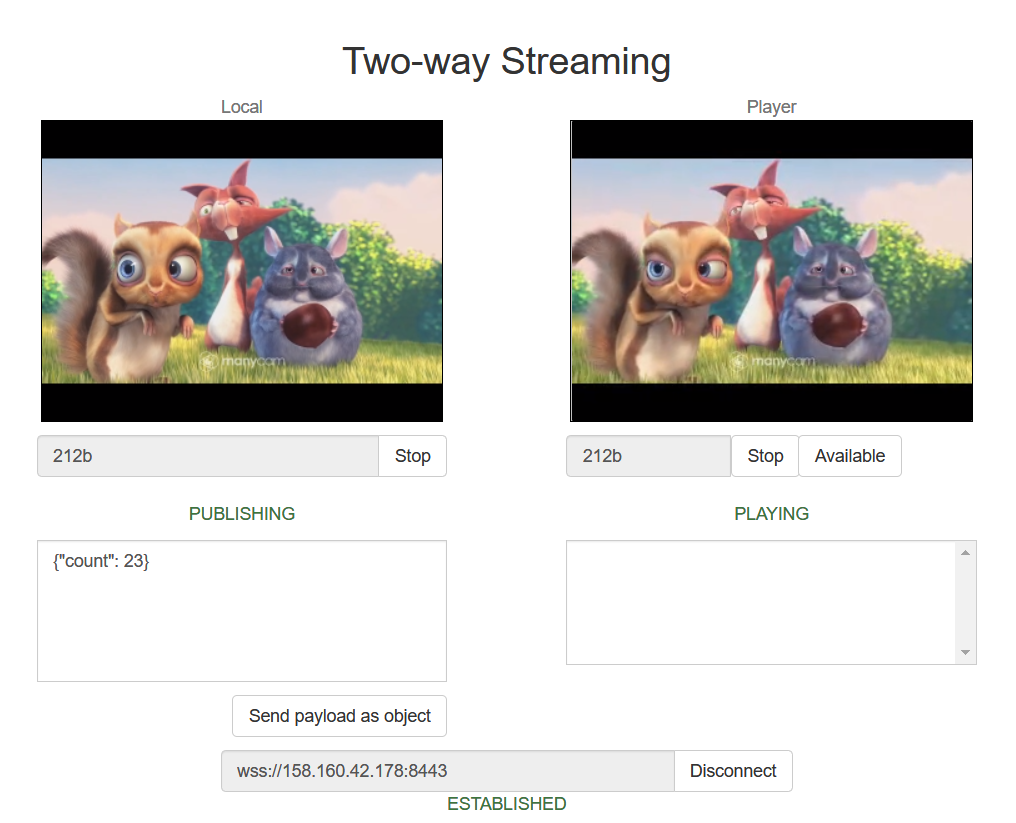
Браузер отправляет медиапоток на сервер и играет его с сервера. Созданный экземпляр WCS работает.
Server deployment from the scratch using one of the standard Linux images
Since build 5.2.759, WCS can be deployed in Yandex.Cloud using one of the standard Linux images as separate media server or low latency streaming CDN node. This way is preferable for long term server instances (from year and more).
The following is necessary to be prepared before deploy:
- active Yandex.Cloud account, a cloud and virtual private network in this account
- a WCS license to activate on server/servers
- optionally, domain names to bind to bind to servers static IPs and corresponding SSL certificates
Server deployment
Create and launch VM instance
1. In Yandex,Cloud console go to "Compute Cloud - Virtual machines" section and click "Create VM" to begin VM instance creation
...
6. In "Network settings" section choose available subnet, Set set manual IP addresses if necessary
...