Server deployment from Yandex.Cloud Marketplace image
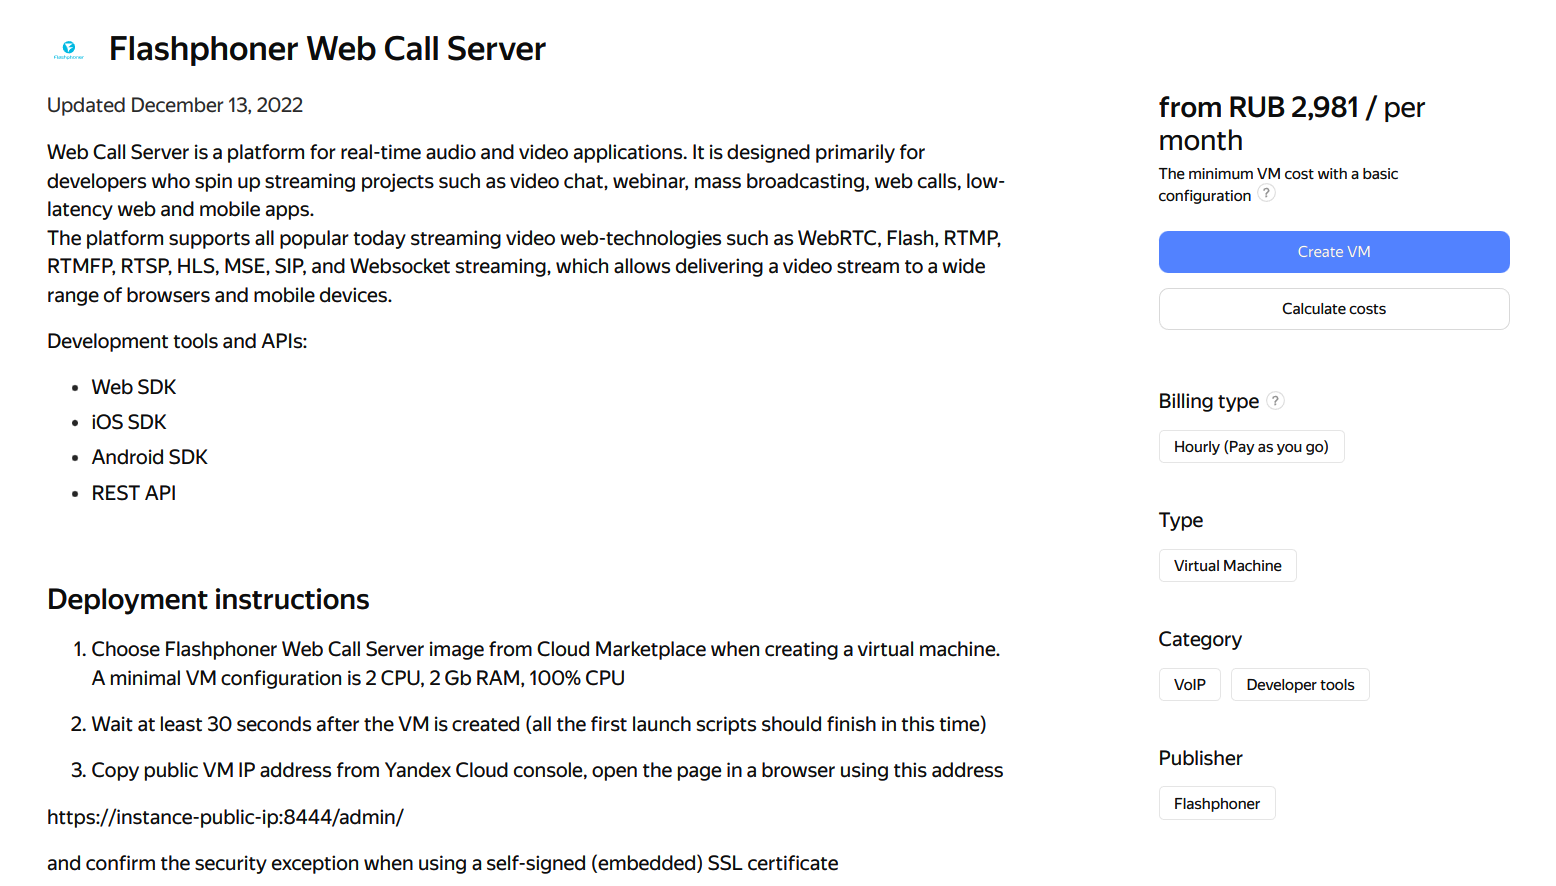
Flashphoner Web Call Server image with hourly billing is available in Yandex.Cloud Marketplace. This way is preferable for short term instances (weeks and months).
The following is necessary to be prepared before deploy:
- active Yandex.Cloud account, a cloud and virtual private network in this account
- optionally, domain names to bind to bind to servers static IPs and corresponding SSL certificates
Create and launch VM instance
1. Find the product Flashphoner Web Call Server in Yandex.Cloud Marketplace or open the page in Yandex.Cloud Marketplace directly

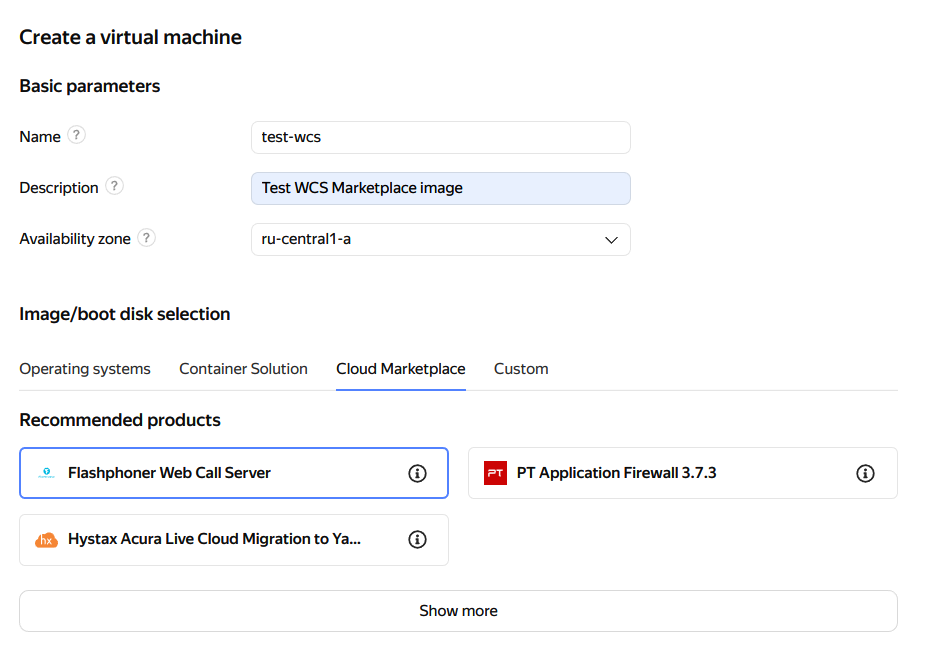
2. Click Create VM on the product page
3. Enter server name, description and choose datacenter region
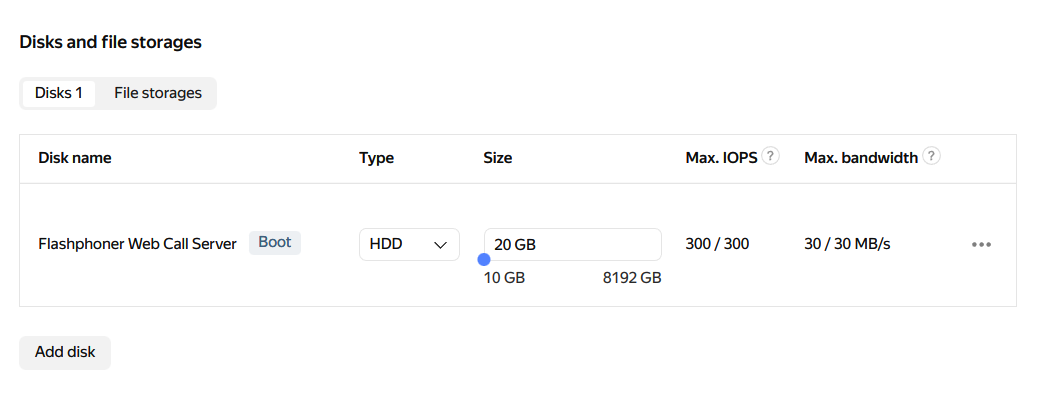
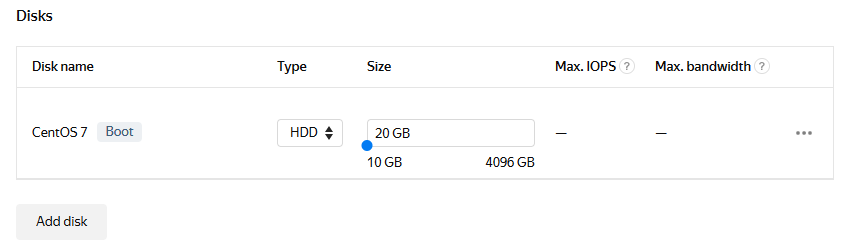
4. Choose storage type and size in Disks section
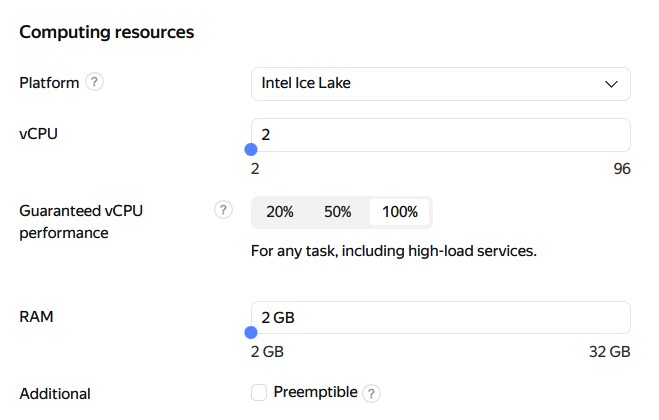
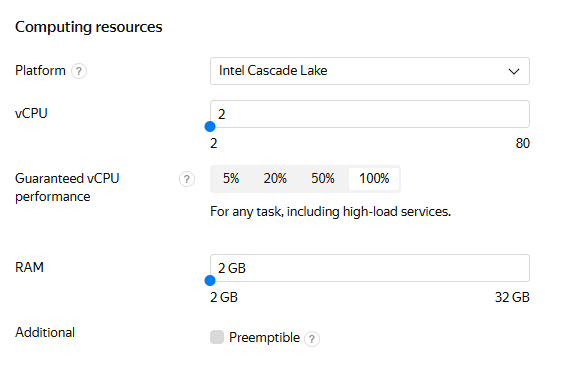
5. Choose CPU type and count, adjust RAM size in Computing resources section. A minimal required parameters are set by default. Note that Guaranteed vCPU performance parameter must be 100%
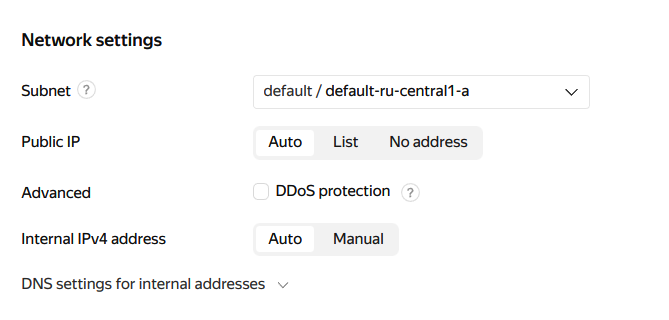
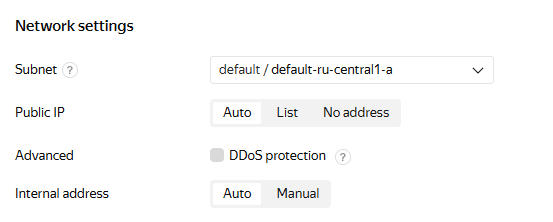
6. Choose available subnet, set manual IP addresses if necessary in Network settings section
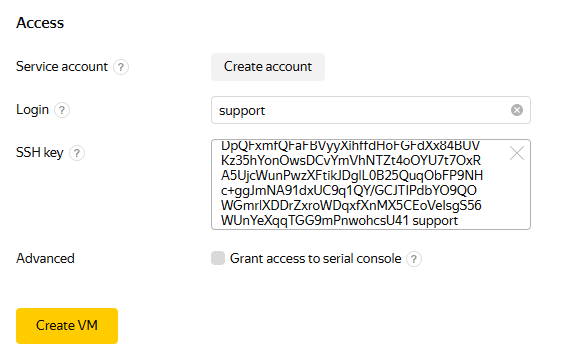
7. Set user name and public SSH access key in Access section, then click Create VM

8. Wait for VM changes its state to Running (page refresh may be required)

Testing WCS instance
1. Wait at least for 30 seconds after VM changes its state to Running for all the first launch scripts to work. Then copy a Public IP address

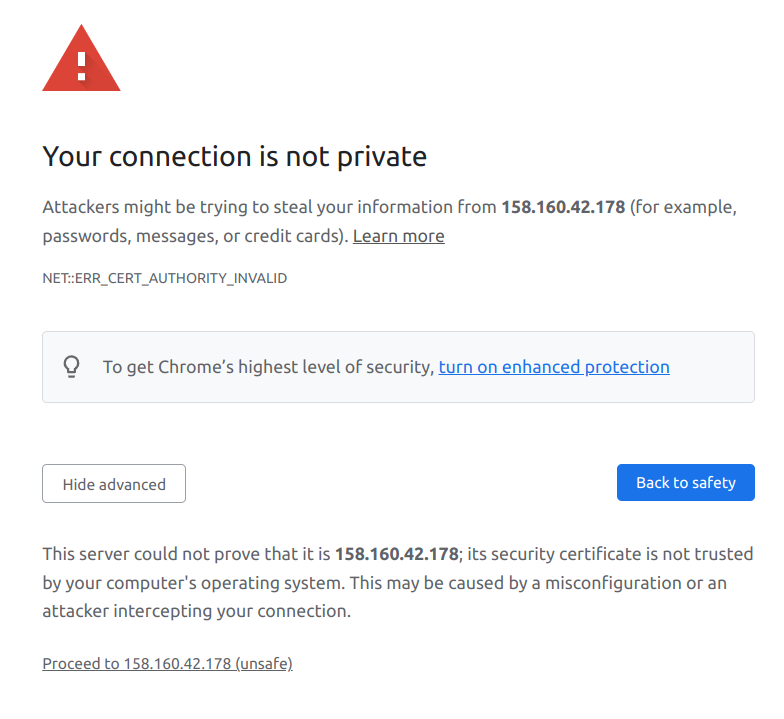
2. В новой вкладе браузера откройте URL https://public-ip:8444/admin/, где public-ip - публичный IP-адрес, скопированный на предыдущем шаге. Примите исключение безопасности (по умолчанию WCS использует самоподписанные SSL сертификаты)
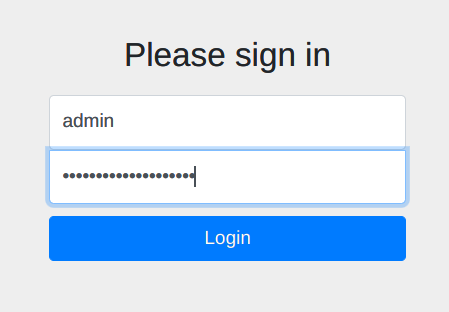
Откроется страница входа в веб интерфейс WCS.
3. Скопируйте ID из параметров ВМ

4. На странице входа в веб интерфейс WCS введите имя пользователя admin, в качестве пароля используйте ID, скопированный на предыдущем шаге
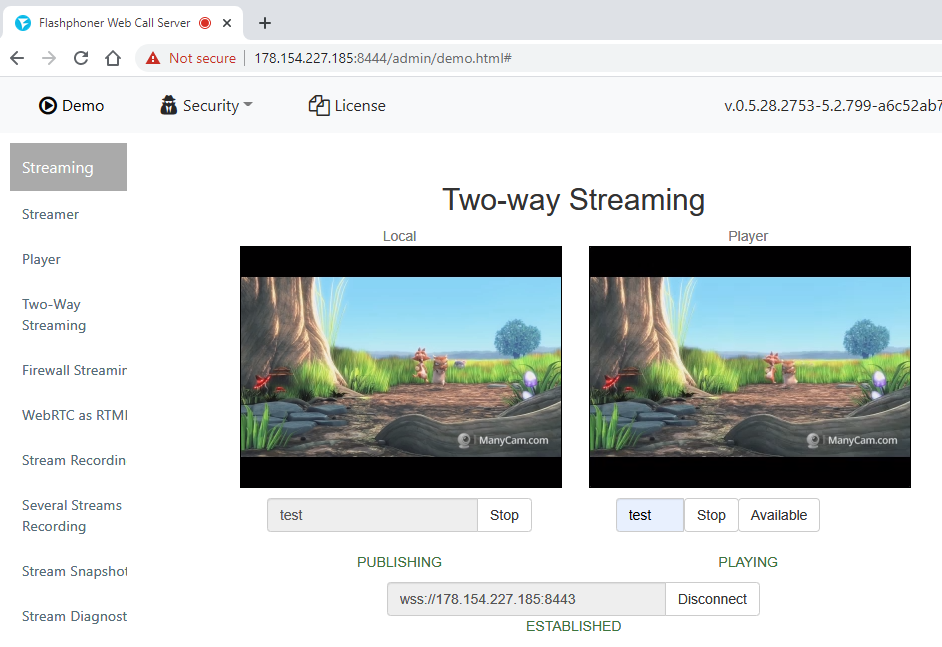
5. В веб интерфейсе выберите пример Two Way Streaming
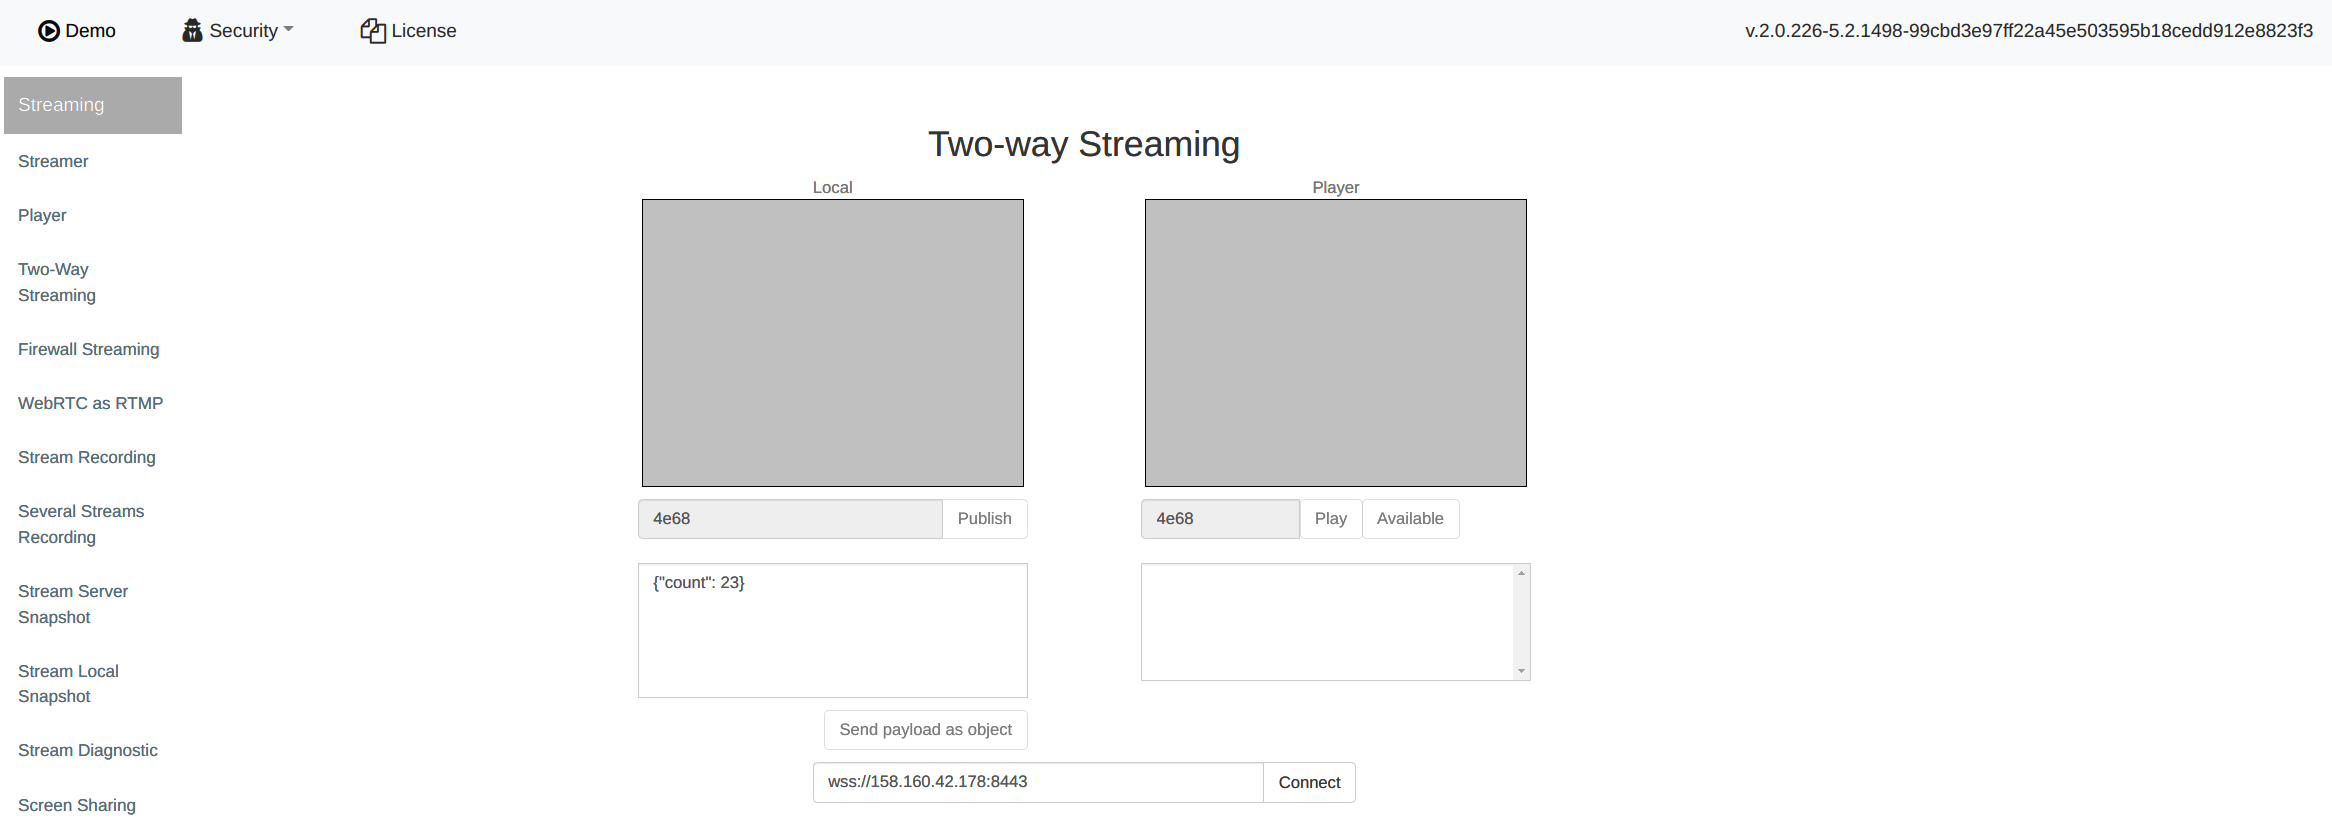
6. Нажмите Connect, затем Publish. Разрешите браузеру доступ к камере и микрофону
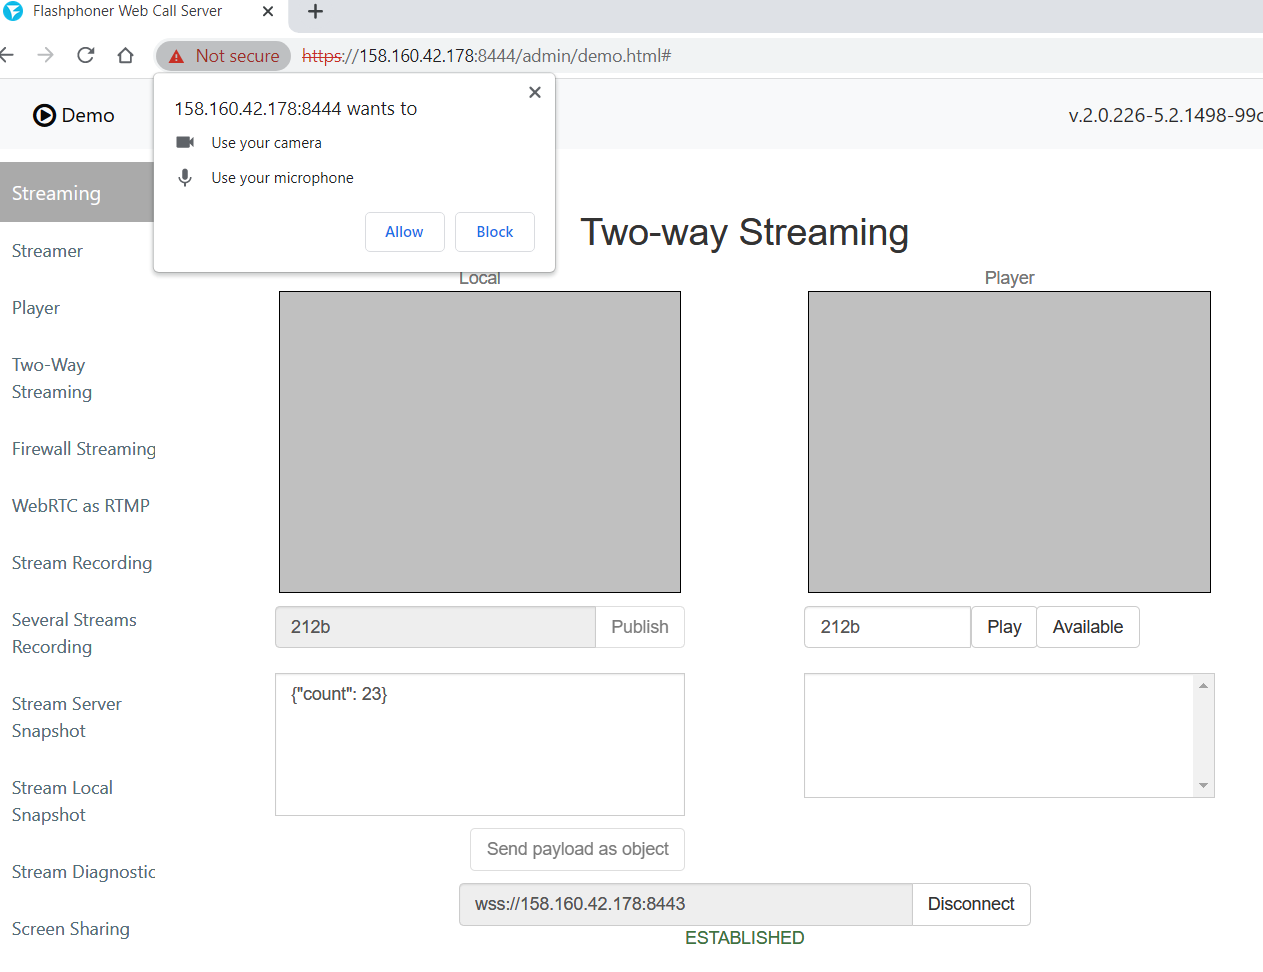
7. После того, как под окном Local отобразится PUBLISHING, нажмите Play
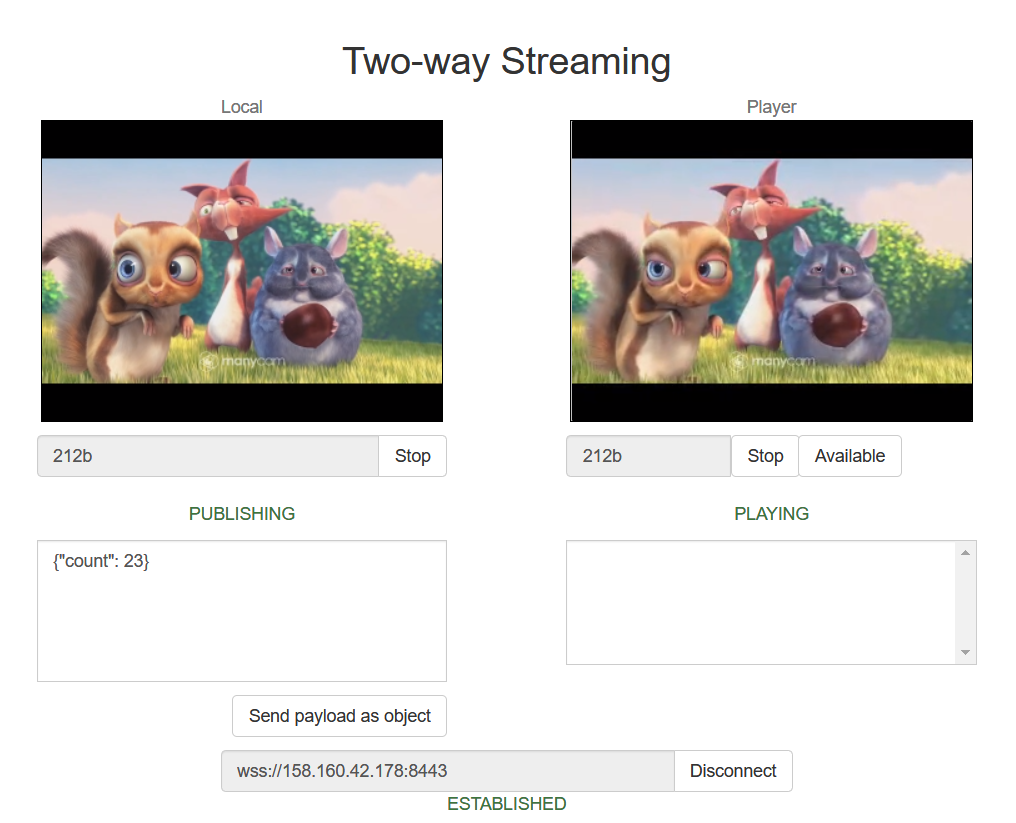
Браузер отправляет медиапоток на сервер и играет его с сервера. Созданный экземпляр WCS работает.
Server deployment from the scratch using one of the standard Linux images
Since build 5.2.759, WCS can be deployed in Yandex.Cloud using one of the standard Linux images as separate media server or low latency streaming CDN node. This way is preferable for long term server instances (from year and more).
The following is necessary to be prepared before deploy:
- active Yandex.Cloud account, a cloud and virtual private network in this account
- a WCS license to activate on server/servers
- optionally, domain names to bind to bind to servers static IPs and corresponding SSL certificates
Create and launch VM instance
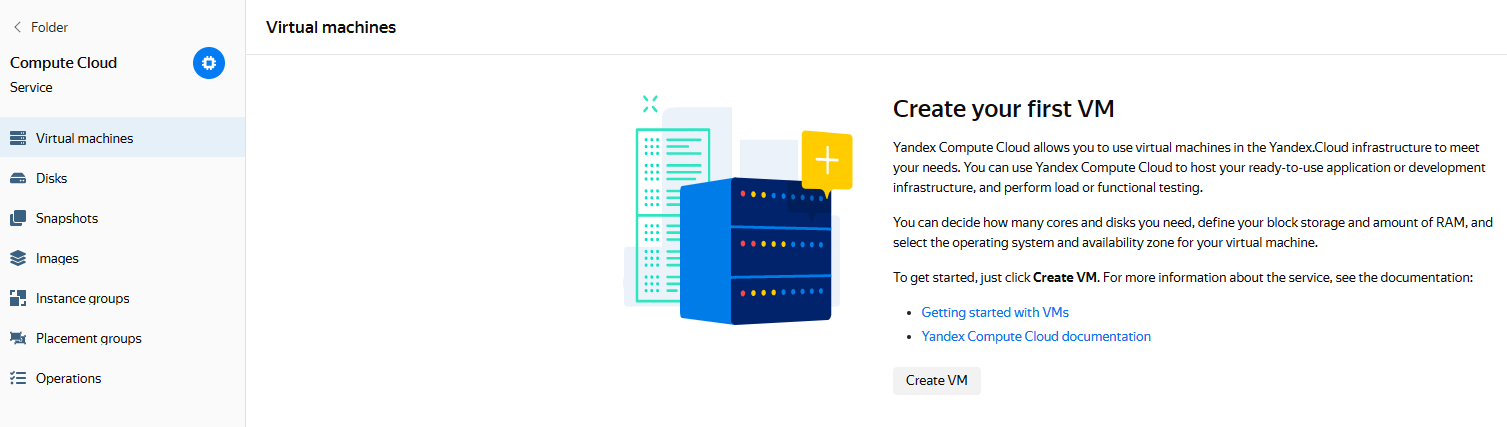
1. In Yandex,Cloud console go to "Compute Cloud - Virtual machines" section and click "Create VM" to begin VM instance creation
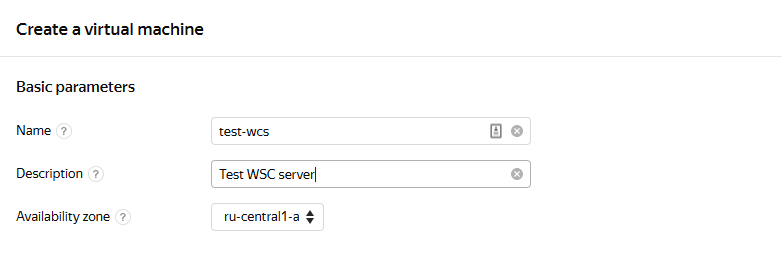
2. Enter server name, description and choose datacenter region
3. In "Computing resources" section choose processor type and count, memory size. Set the parameter "Guaranteed vCPU performance" to "100%"
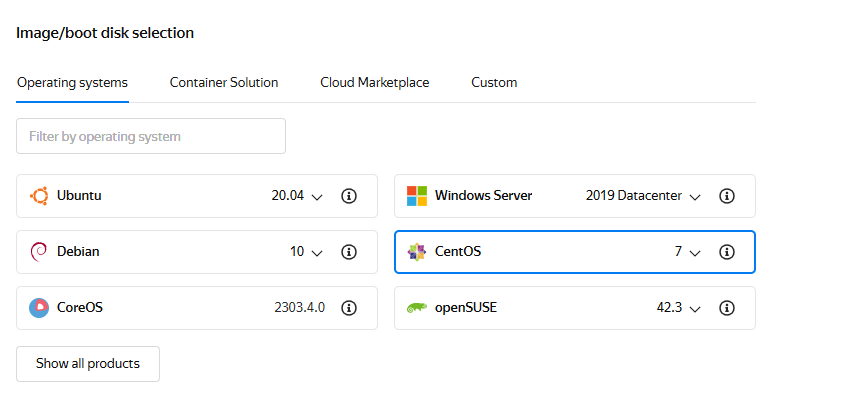
4. In "Image/boot disk selection" section choose Centos, version 7 (other operating systems listed here are allowed too)
5. In "Disks" section choose disk type and size
6. In "Network settings" section choose available subnet, set manual IP addresses if necessary
7. In "Access" set user name and public SSH access key
then click "Create VM"
8. VM instance created will appear in VMs list

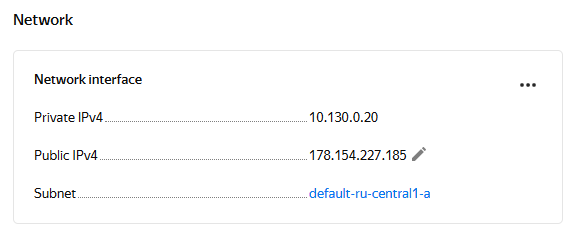
9. Click VM instance string, copy pulic IP address from "Network" section to access the server
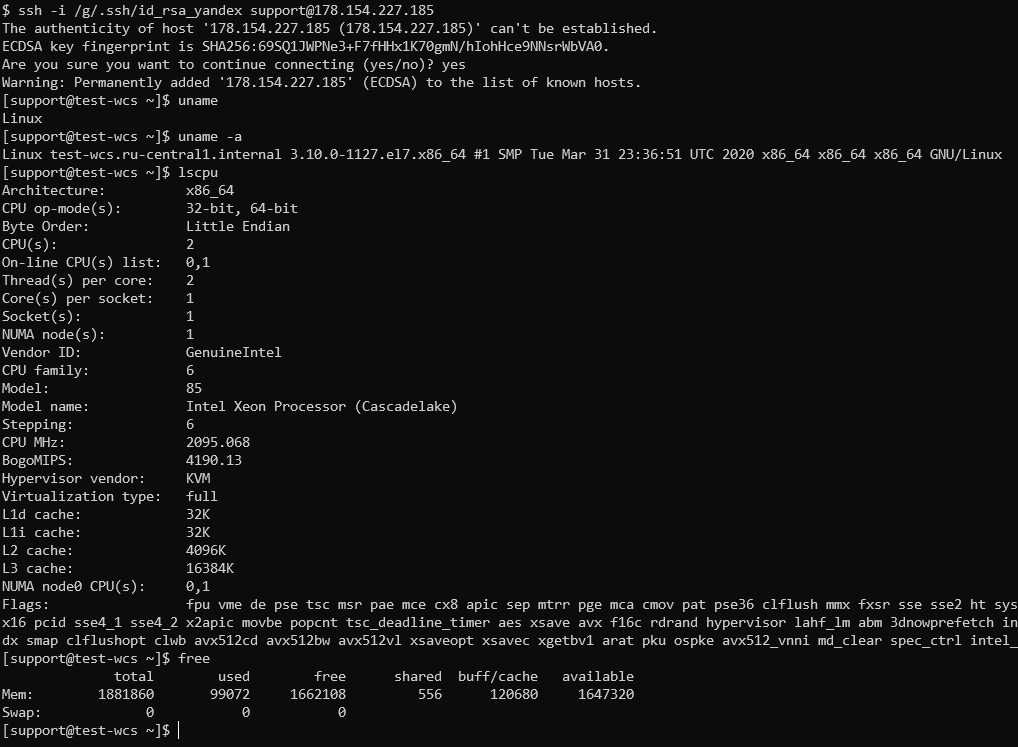
10. Connect to the instance by SSH
Firewall rules setup
Yandex.Cloud does not support security groups now (the feature is in Preview state), therefore ii is necessary to set up firewall on the instance itself:
WCS installation and configuration
1. Install JDK. It is recommended to use JDK 12 or 14 if high load is planning
#!/bin/bash
sudo rm -rf jdk*
curl -s https://download.java.net/java/GA/jdk12.0.2/e482c34c86bd4bf8b56c0b35558996b9/10/GPL/openjdk-12.0.2_linux-x64_bin.tar.gz | tar -zx
[ ! -d jdk-12.0.2/bin ] && exit 1
sudo mkdir -p /usr/java
[ -d /usr/java/jdk-12.0.2 ] && sudo rm -rf /usr/java/jdk-12.0.2
sudo mv -f jdk-12.0.2 /usr/java
[ ! -d /usr/java/jdk-12.0.2/bin ] && exit 1
sudo rm -f /usr/java/default
sudo ln -sf /usr/java/jdk-12.0.2 /usr/java/default
sudo update-alternatives --install "/usr/bin/java" "java" "/usr/java/jdk-12.0.2/bin/java" 1
sudo update-alternatives --install "/usr/bin/jstack" "jstack" "/usr/java/jdk-12.0.2/bin/jstack" 1
sudo update-alternatives --install "/usr/bin/jcmd" "jcmd" "/usr/java/jdk-12.0.2/bin/jcmd" 1
sudo update-alternatives --install "/usr/bin/jmap" "jmap" "/usr/java/jdk-12.0.2/bin/jmap" 1
sudo update-alternatives --set "java" "/usr/java/jdk-12.0.2/bin/java"
sudo update-alternatives --set "jstack" "/usr/java/jdk-12.0.2/bin/jstack"
sudo update-alternatives --set "jcmd" "/usr/java/jdk-12.0.2/bin/jcmd"
sudo update-alternatives --set "jmap" "/usr/java/jdk-12.0.2/bin/jmap"
2. Install accessory tools and libraries
sudo yum install -y tcpdump mc iperf3 fontconfig
3. Disable SELinux
sudo setenforce 0
4. Install WCS
curl -OL https://flashphoner.com/downloads/builds/WCS/5.2/FlashphonerWebCallServer-5.2.xxx.tar.gz
tar -xzf FlashphonerWebCallServer-5.2.xxx.tar.gz
cd FlashphonerWebCallServer-5.2.xxx
sudo ./install.sh
Where xxx is WCS actual build number
5. Activate your license
cd /usr/local/FlashphonerWebCallServer/bin
sudo ./activation.sh
WCS starting and testing
1. Start WCS
sudo systemctl start webcallserver
2. Enter to WCS web interface, open Two Way Streaming example, publish and play test stream
Default admin credentials
The running instance data can be received in Yandex.Cloud by two ways: using Google Cloud API endpoints or AWS EC2 API endpoints. Therefore, WCS detects cloud environment as Amazon-like since build 5.2.921.
In its turn, Amazon requires to use an unique admin password for every instance, and WCS sets admin password in Amazon-like cloud environment by unique instanceId available via API or in EC2 console.
Therefore, since build 5.2.921 WCS sets admin password to instanceId on first launch in Yandex.Cloud. However, this parameter may not be displayed in Yandex.Clouid console. To get instanceId, connect to the instance via SSH and use the following command
curl http://169.254.169.254/latest/meta-data/instance-id