...
https://demo.flashphoner.com/client2/examples/demo/streaming/screen-sharing/screen-sharing.html
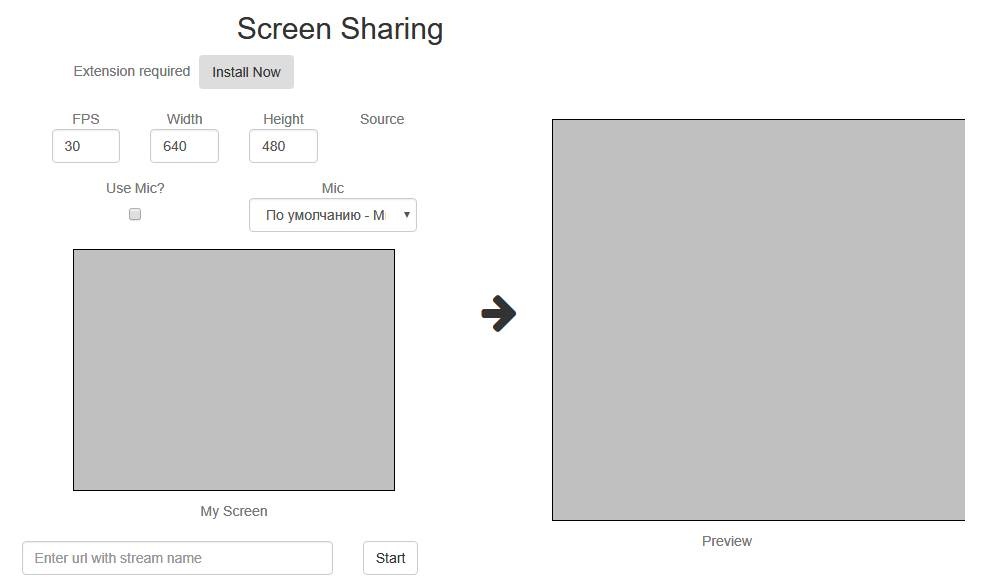
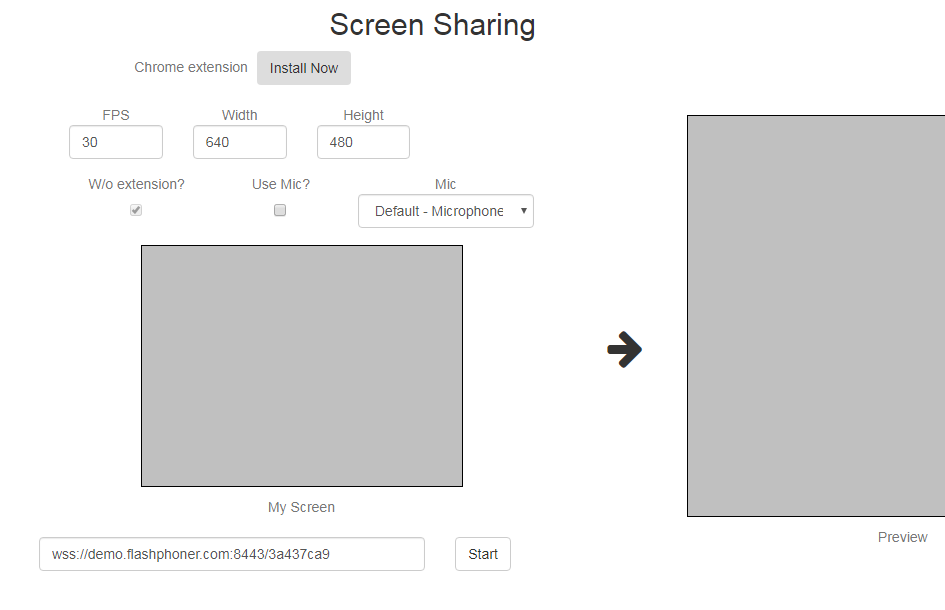
2. Install the required extension by clicking the "Install Now" button
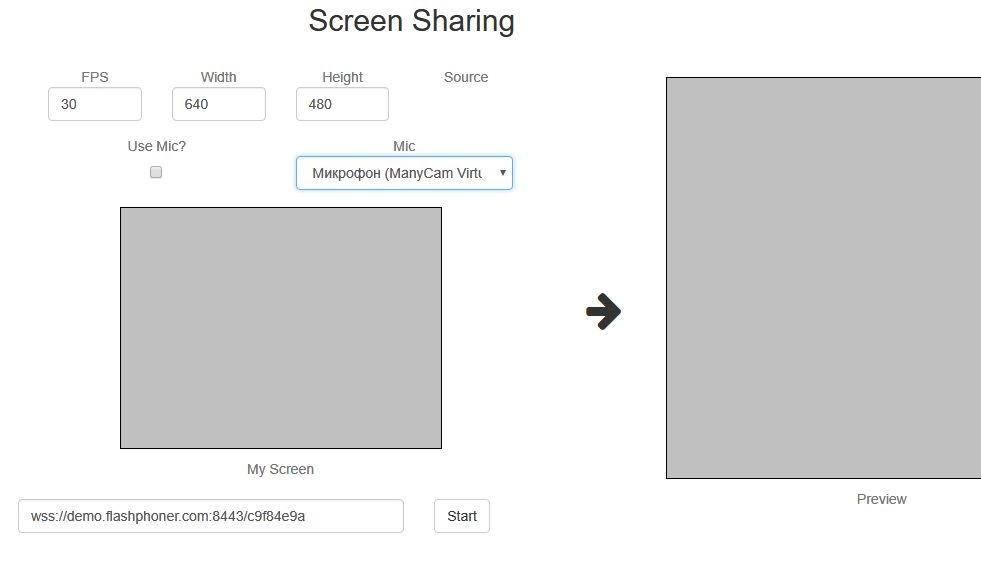
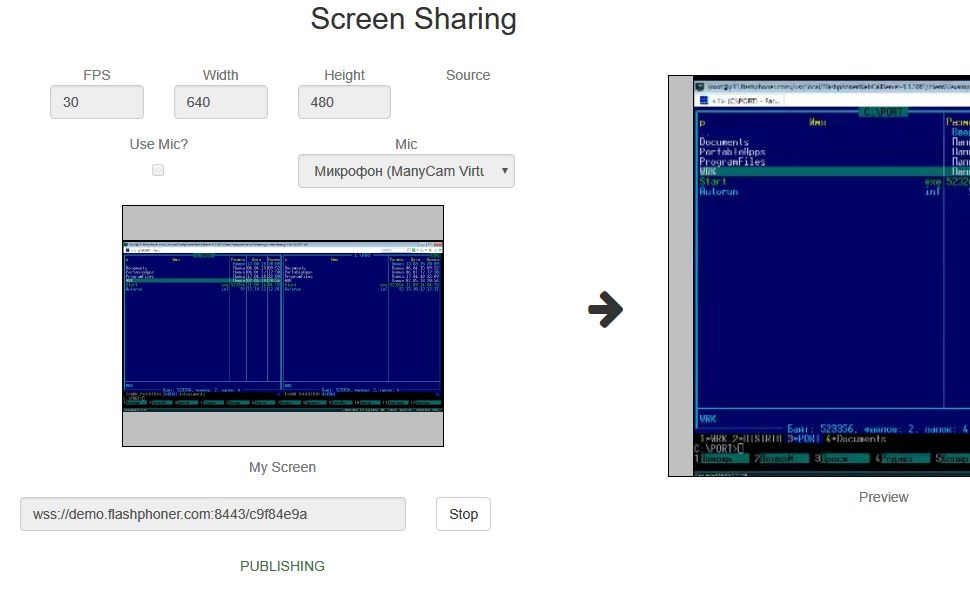
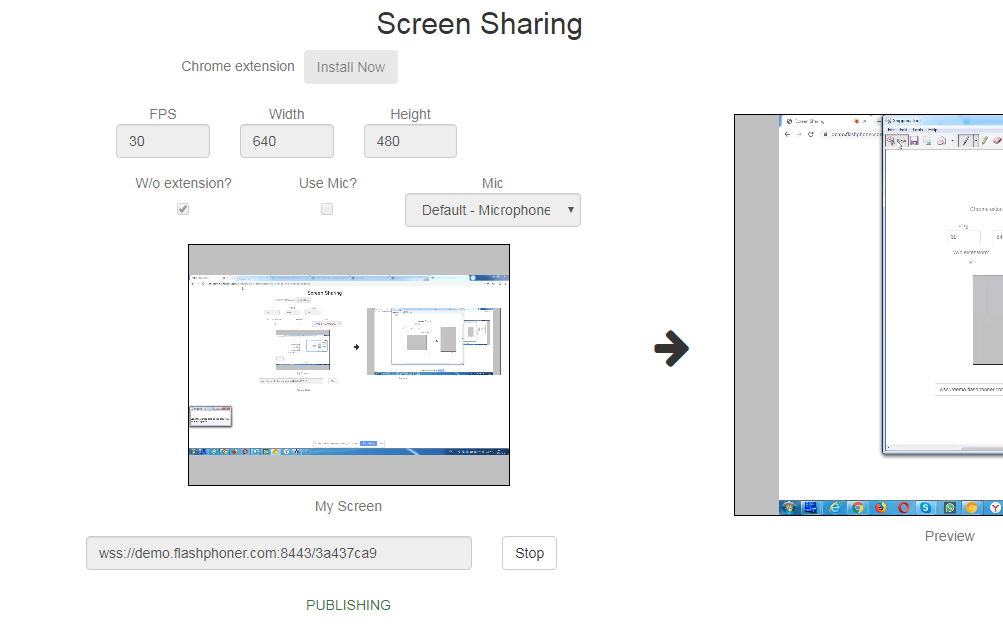
3. Click the "Start" button. The extension browser asks for permission to access the screen, and screen capturing starts, then the stream is prepared for publishing:
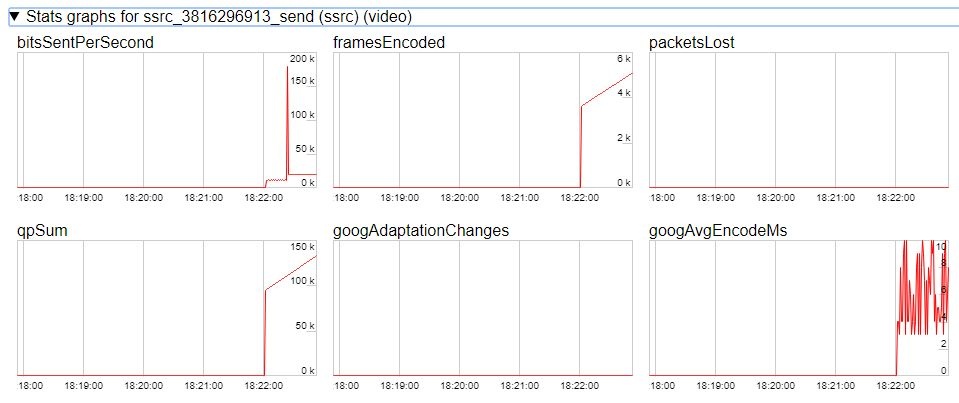
43. Make sure the stream is sent to the server and the system operates normally in chrome://webrtc-internals
54. Open Two Way Streaming in a new window, click Connect and specify the stream id, then click Play.
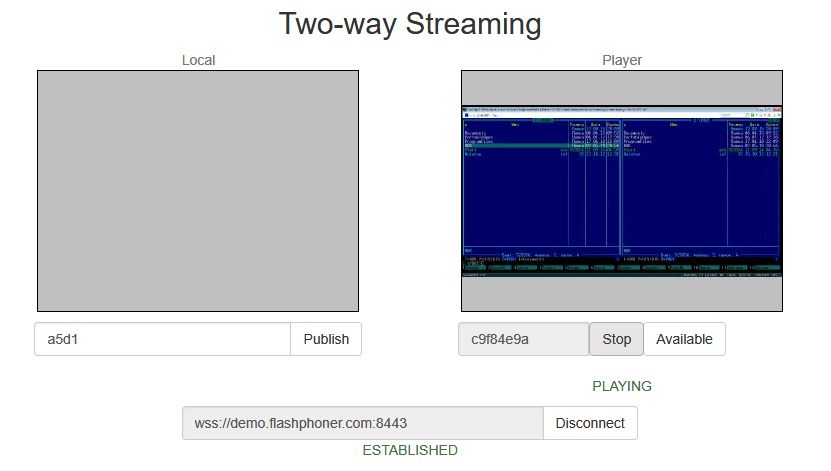

65. Playback diagrams in chrome://webrtc-internals
...
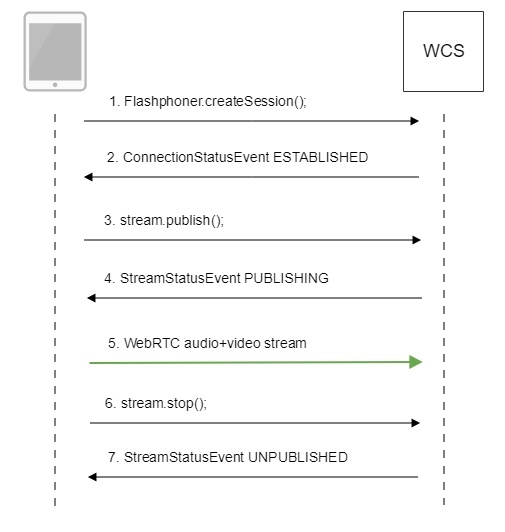
Below is the call flow when using the Screen Sharing example
1. Checking if the extension install is required
Browser.isFirefox(), Browser.isChrome(); code
| Code Block | ||||
|---|---|---|---|---|
| ||||
    if (Browser.isFirefox()) {
        $("#installExtensionButton").show();
        ...
    } else if (Browser.isChrome()) {
        $('#mediaSourceForm').hide();
        interval = setInterval(function() {
            chrome.runtime.sendMessage(extensionId, {type: "isInstalled"}, function (response) {
.                if (response) {
                    $("#extension").hide();
                    clearInterval(interval);
                    onExtensionAvailable();
                } else {
                    (inIframe()) ? $("#installFromMarket").show() : $("#installExtensionButton").show();
                }
            });
        }, 500);
    } else {
        $("#notify").modal('show');
        return false;
} |
...
Flashphoner.createSession(); code
| Code Block | ||||
|---|---|---|---|---|
| ||||
    Flashphoner.createSession({urlServer: url}).on(SESSION_STATUS.ESTABLISHED, function(session){
        //session connected, start streaming
        startStreaming(session);
    }).on(SESSION_STATUS.DISCONNECTED, function(){
        setStatus(SESSION_STATUS.DISCONNECTED);
        onStopped();
    }).on(SESSION_STATUS.FAILED, function(){
        setStatus(SESSION_STATUS.FAILED);
        onStopped();
}); |
...
ConnectionStatusEvent ESTABLISHED code
| Code Block | ||||
|---|---|---|---|---|
| ||||
    Flashphoner.createSession({urlServer: url}).on(SESSION_STATUS.ESTABLISHED, function(session){
        //session connected, start streaming
        startStreaming(session);
        ...
}); |
4. Publishing the stream.
stream.publish(); code
| Code Block | ||||
|---|---|---|---|---|
| ||||
    session.createStream({
        name: streamName,
        display: localVideo,
        constraints: constraints
    }).on(STREAM_STATUS.PUBLISHING, function(publishStream){
        ...
    }).on(STREAM_STATUS.UNPUBLISHED, function(){
        ...
    }).on(STREAM_STATUS.FAILED, function(stream){
        ...
    }).publish();
|
...
StreamStatusEvent, статус PUBLISHING code
| Code Block | ||||
|---|---|---|---|---|
| ||||
    session.createStream({
        name: streamName,
        display: localVideo,
        constraints: constraints
    }).on(STREAM_STATUS.PUBLISHING, function(publishStream){
        ...
        setStatus(STREAM_STATUS.PUBLISHING);
        //play preview
        session.createStream({
            name: streamName,
            display: remoteVideo
        }).on(STREAM_STATUS.PLAYING, function(previewStream){
            document.getElementById(previewStream.id()).addEventListener('resize', function(event){
                resizeVideo(event.target);
            });
            //enable stop button
            onStarted(publishStream, previewStream);
        }).on(STREAM_STATUS.STOPPED, function(){
            publishStream.stop();
        }).on(STREAM_STATUS.FAILED, function(stream){
            //preview failed, stop publishStream
            if (publishStream.status() == STREAM_STATUS.PUBLISHING) {
                setStatus(STREAM_STATUS.FAILED, stream);
                publishStream.stop();
            }
        }).play();
    }).on(STREAM_STATUS.UNPUBLISHED, function(){
        ...
    }).on(STREAM_STATUS.FAILED, function(stream){
        ...
    }).publish();
|
...
7. Stopping publishing the stream.
stream.stop(); code
| Code Block | ||||
|---|---|---|---|---|
| ||||
    session.createStream({
        name: streamName,
        display: localVideo,
        constraints: constraints
    }).on(STREAM_STATUS.PUBLISHING, function(publishStream){
        /*
         * User can stop sharing screen capture using Chrome "stop" button.
         * Catch onended video track event and stop publishing.
         */
        document.getElementById(publishStream.id()).srcObject.getVideoTracks()[0].onended = function (e) {
            publishStream.stop();
        };
        ...
        setStatus(STREAM_STATUS.PUBLISHING);
        //play preview
        session.createStream({
            name: streamName,
            display: remoteVideo
        }).on(STREAM_STATUS.PLAYING, function(previewStream){
            ...
        }).on(STREAM_STATUS.STOPPED, function(){
            publishStream.stop();
        }).on(STREAM_STATUS.FAILED, function(stream){
            //preview failed, stop publishStream
            if (publishStream.status() == STREAM_STATUS.PUBLISHING) {
                setStatus(STREAM_STATUS.FAILED, stream);
                publishStream.stop();
            }
        }).play();
        ...
    }).publish();
|
...
StreamStatusEvent, статус UNPUBLISHED code
| Code Block | ||||
|---|---|---|---|---|
| ||||
    session.createStream({
        name: streamName,
        display: localVideo,
        constraints: constraints
    }).on(STREAM_STATUS.PUBLISHING, function(publishStream){
        ...
    }).on(STREAM_STATUS.UNPUBLISHED, function(){
        setStatus(STREAM_STATUS.UNPUBLISHED);
        //enable start button
        onStopped();
    }).on(STREAM_STATUS.FAILED, function(stream){
        ...
    }).publish();
|
...
The screen sharing function can be used to publish a video stream that demonstrates the desktop or an application window.
WCS API uses a Chrome extensions for screen sharing.
Such extensions can be customized to work with any given domain name.
To publish such an adapted extension in the internet store of the browser you need a developer account.
Developer account
Create a Google account
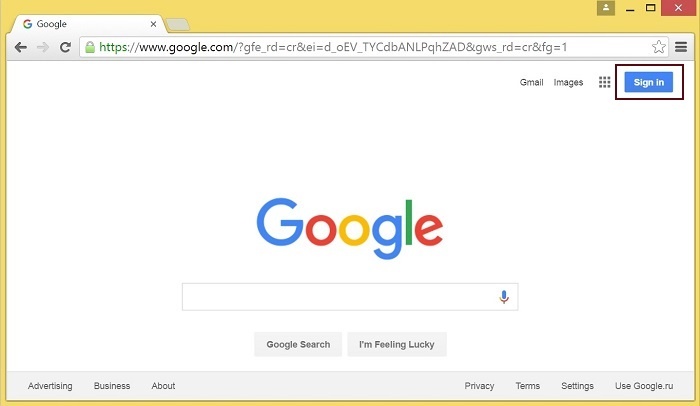
1. Open google.com and click the ‘Sign in’ button
2. Click the ‘Create account’ link on the ‘Sign in’ page
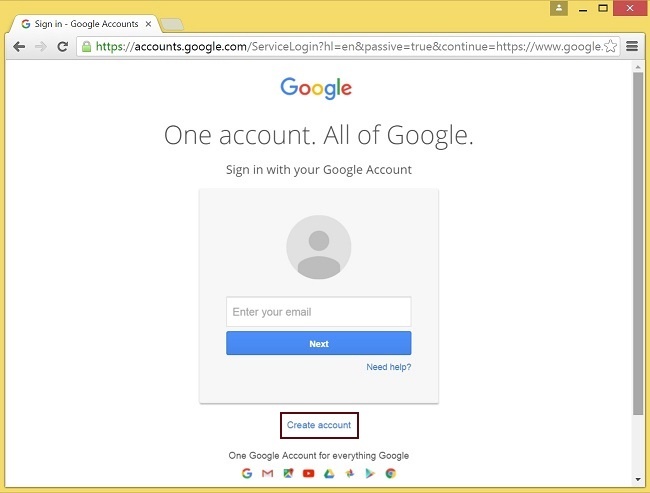
3. The ‘Create your Google Account’ page opens
Fill in the required fields and click ‘Next step’ to create the account
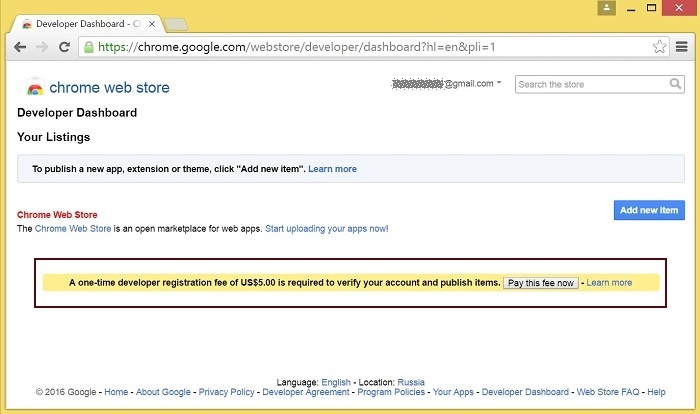
Register as a developer at Chrome Web Store
1. Log in to Chrome Developer Dashboard using the created Google account
2. Make a one-time $5 fee to confirm the account
Browser extension
Download the source code of the extension, adapt it for your own domain and publish in the browser store as described below.
Customization
Edit manifest.json file of the Chrome extension.
Change the following:
- name
- author
- description
- homepage_url
In "externally_connectable":"matches" change flashphoner.com to your own domain
Add your icons to the chrome-extension directory and edit file names in "icons" and "web_accessible_resources". (For additional information, see Manifest - Icons and Supplying Images.)
Publishing
Pack files from the chrome-extension directory to a zip file. Publish the extension:
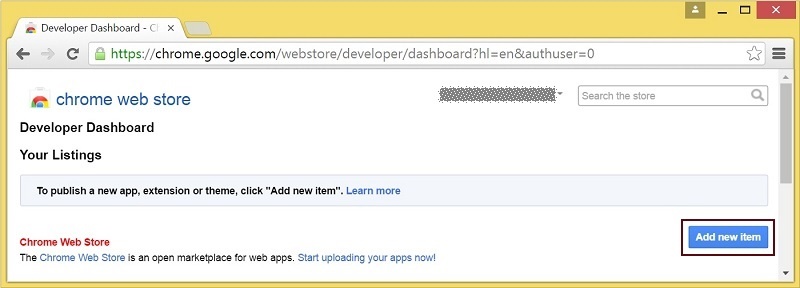
1. Log in to Chrome Developer Dashboard
2. Click the ‘Add new item’ button
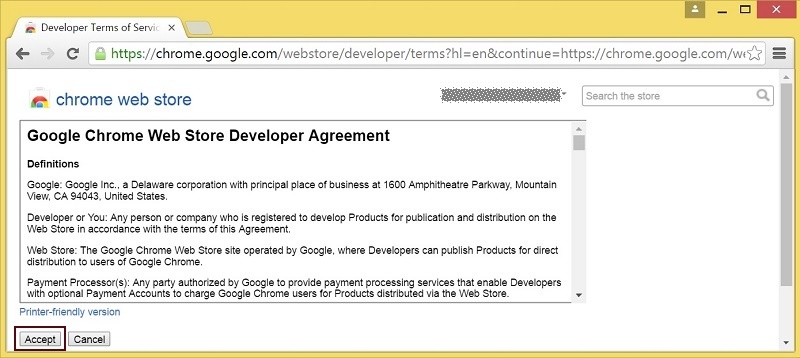
3. Accept the developer agreement
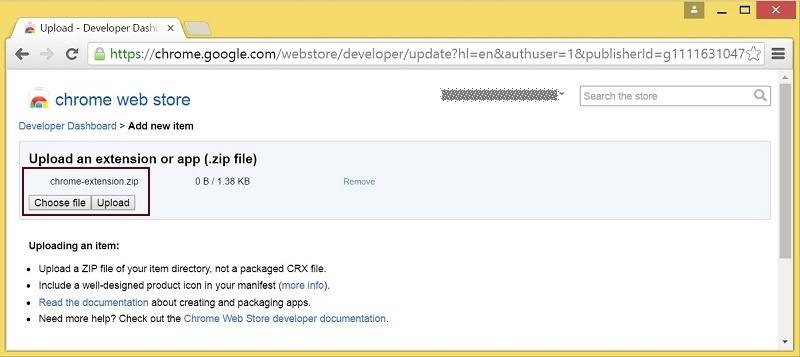
4. Choose the chrome-extension.zip file and click the ‘Upload’ button on the ‘Upload’ page
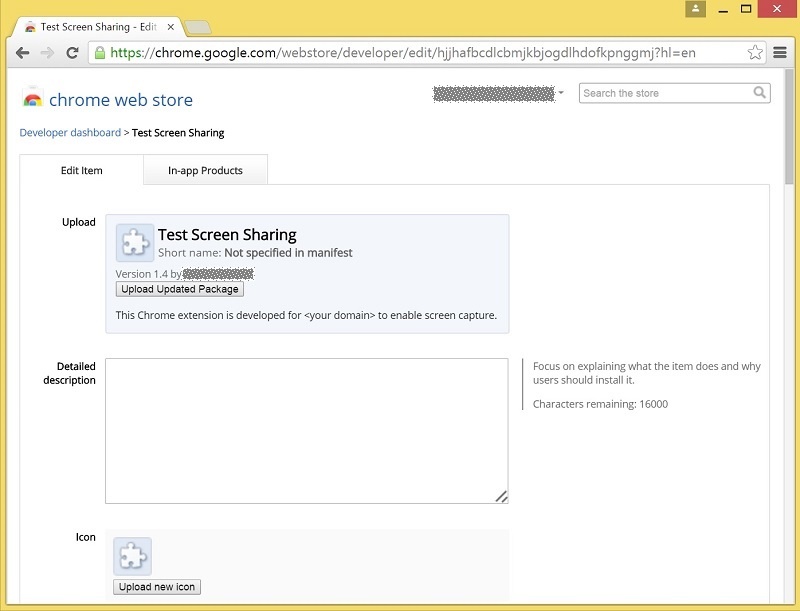
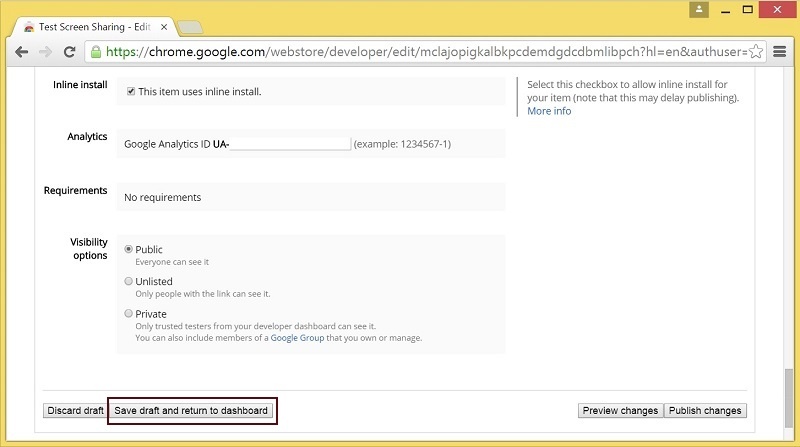
5. After the extension is uploaded, the edit item page opens. Select options you need and click the ‘Save draft and return to dashboard’ button at the bottom of the page.
6. The extension appears in the developer dashboard
To publish the extension, click the ‘Publish’ link.
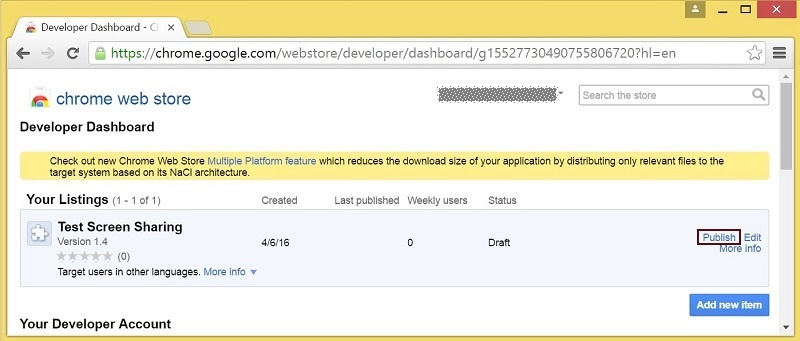
The published extension will have the ‘Published’ state as shown below.
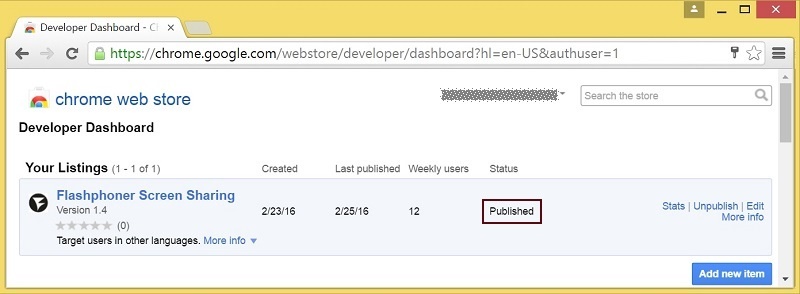
For more information, see Chrome Web Store Publishing Tutorial
Example client
Download the WCS API source from here.
A client to demonstrate screen sharing, Screen-sharing.html is in the examples/demo/streaming/screen-sharing/ folder.
Client script: screen-sharing.js
Built-in extension installing
Built-in installing allows you to initiate installing of the screen sharing extension by clicking a link on the client page.
For the built-in installing to work, the extension must be customized, published and approved.
Follow the below steps to use the client with your own extensions
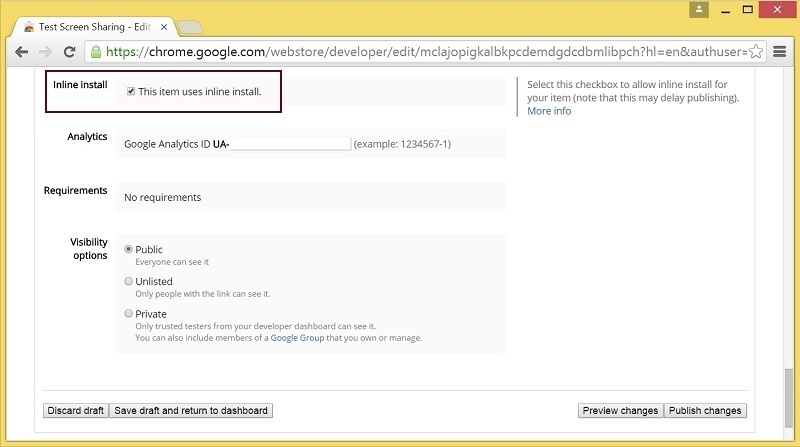
Extension options
1. Select the ‘Inline Install’ option when publishing
2. Confirm and associate with the extension the website with your domain
- Click ‘Add a New Site’
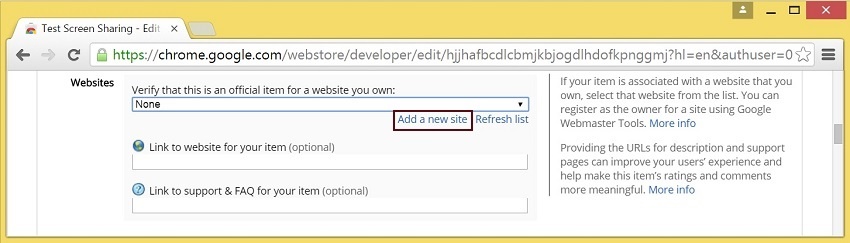
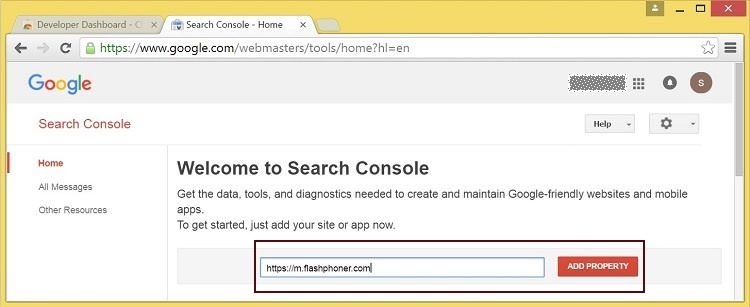
- Google Search Console opens in a new tab
Enter the URL with your domain.
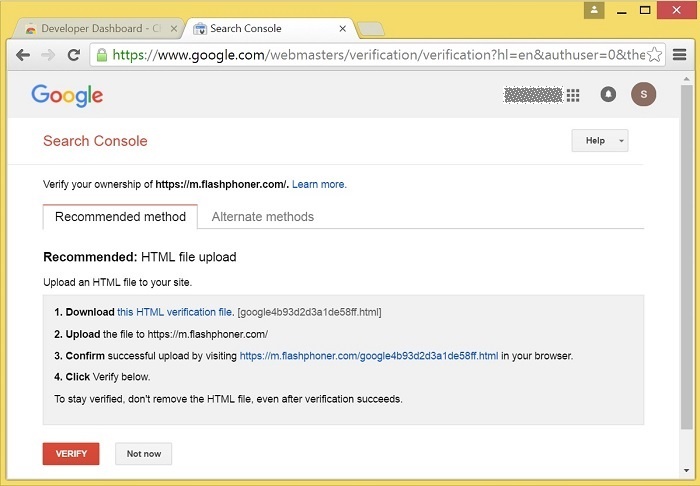
- A website verification page opens.
Follow the required steps and click the ‘Verify’ button.
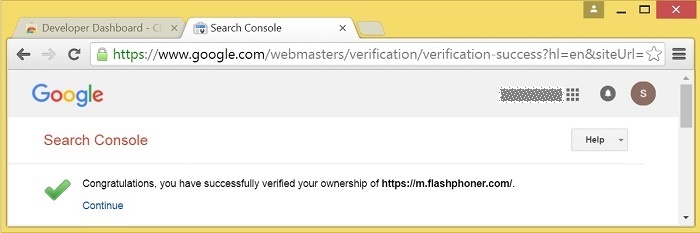
- if verification is successful, the corresponding page opens
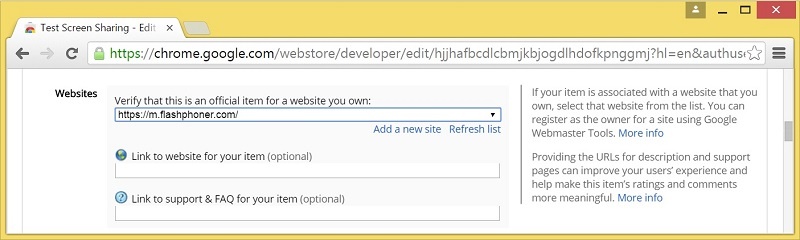
- The verified site appears in the list of extension options, then you can associate the extensions with that website
Configuring the client
Edit Screen-sharing.html and Screen-sharing.js
- In Screen-sharing.html the chrome-webstore-item parameter should point to your extension in the Chrome Store
- In Screen-sharing.js replace the value of the chromeScreenSharingExtensionId parameter to the ID of your extension
To get the ID of the extension, click ‘More info’ of this extension in Chrome Developer Dashboard.

Media source parameters
To configure screen media source parameters, use parameters of the Configuration object passed to the init() method upon initializing of the Flashphoner API instance.
| Code Block | ||||
|---|---|---|---|---|
| ||||
var f = Flashphoner.getInstance();
var configuration = new Configuration();
....
configuration.screenSharingVideoWidth = 1920;
configuration.screenSharingVideoHeight = 1080;
configuration.screenSharingVideoFps = 10;
f.init(configuration); |
Parameter list
...
Parameter
...
Description
...
screenSharingVideoWidth
...
Screen media source width
...
screenSharingVideoHeight
...
Screen media source height
...
screenSharingVideoFps
...
Screen media source framerate
These parameters set marginal values of resolution and framerate (FPS). For instance, screenSharingVideoWidth = 1080 means the width of the source video cannot be more than 1080 pixels, but can be less. (i.e. when sending a stream of an app window that has the width of 720 pixels).Firefox browser since version 52 does not require an extension.
| Excerpt Include | ||||||
|---|---|---|---|---|---|---|
|
Known issues
1. If the web applicaiton is inside an iframe element, publishing of the video stream may fail.
...