Since build 5.2.759, WCS can be deployed in Yandex.Cloud as separate media server or low latency streaming CDN node.
The following is necessary to be prepared before deploy:
- active Yandex.Cloud account, a cloud and virtual private network in this account
- a WCS license to activate on server/servers
- optionally, domain names to bind to bind to servers static IPs and corresponding SSL certificates
Server deployment
Create and launch VM instance
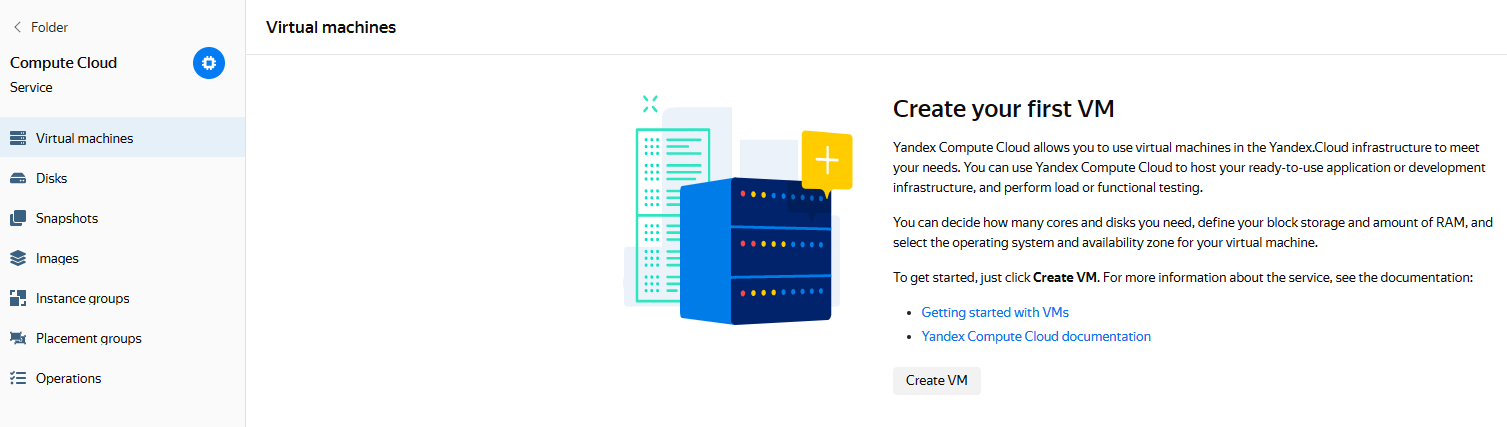
1. In Yandex,Cloud console go to "Compute Cloud - Virtual machines" section and click "Create VM" to begin VM instance creation
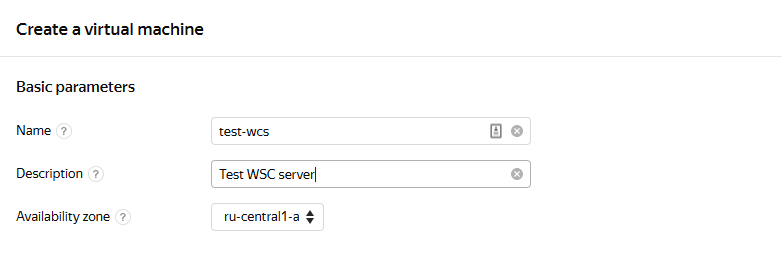
2. Enter server name, description and choose datacenter region
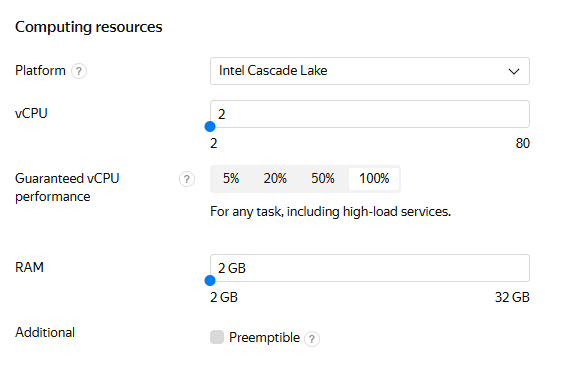
3. In "Computing resources" section choose processor type and count, memory size. Set the parameter "Guaranteed vCPU performance" to "100%"
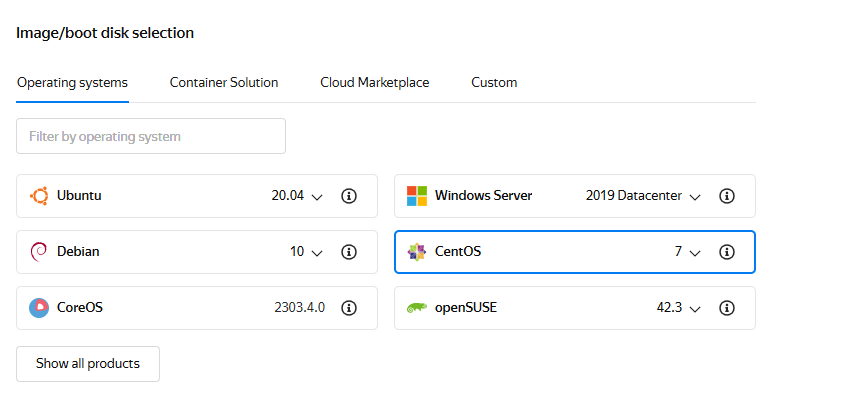
4. In "Image/boot disk selection" section choose Centos, version 7 (other operating systems listed here are allowed too)
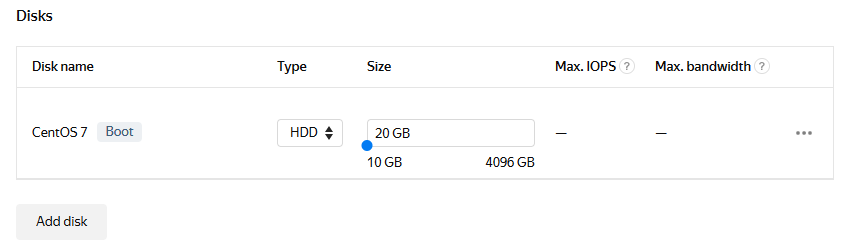
5. In "Disks" section choose disk type and size
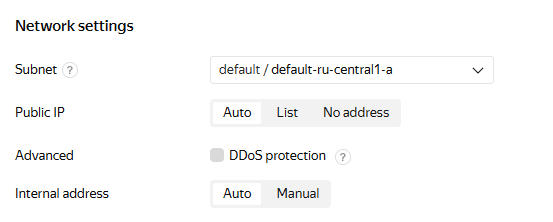
6. In "Network settings" section choose available subnet, Set manual IP addresses if necessary
7. In "Access" set user name and public SSH access key
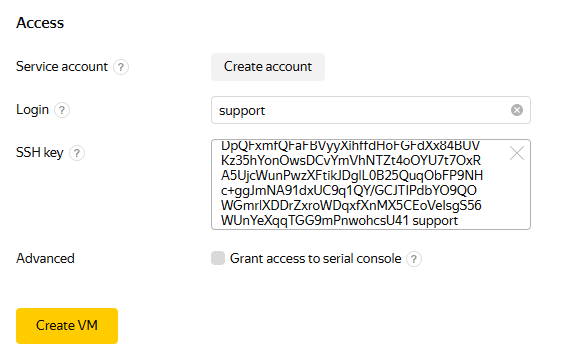
then click "Create VM"
8. VM instance created will appear in VMs list

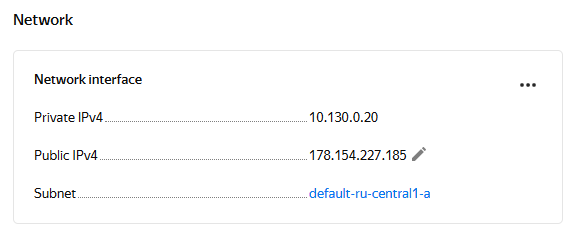
9. Click VM instance string, copy pulic IP address from "Network" section to access the server
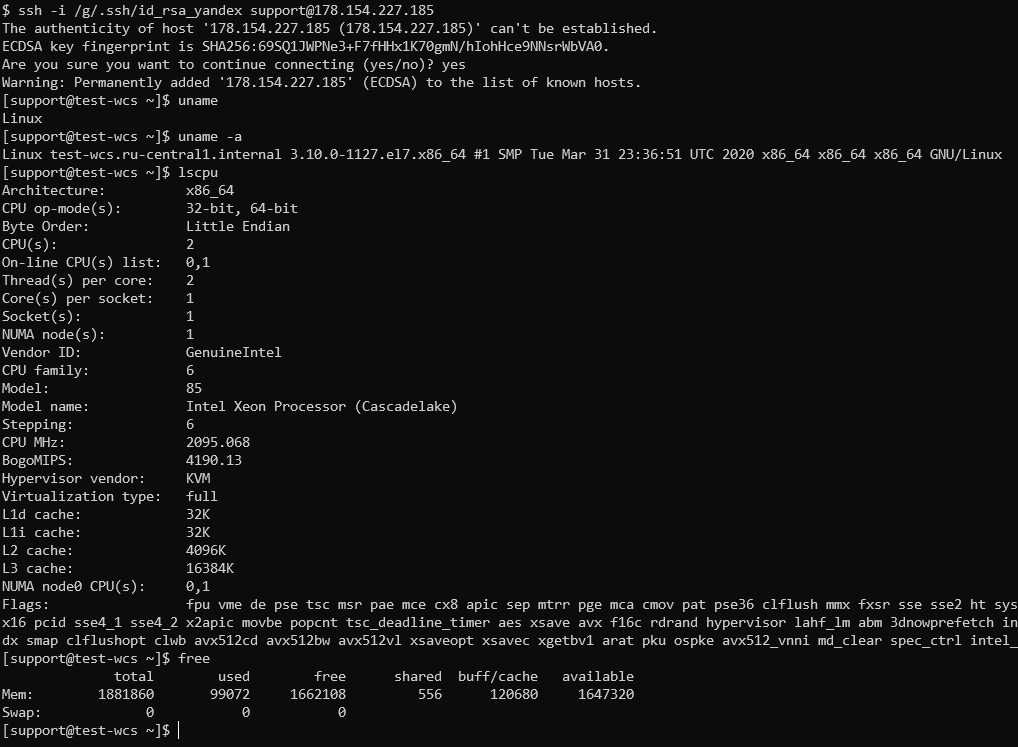
10. Connect to the instance by SSH
Firewall rules setup
Yandex.Cloud does not support security groups now (the feature is in Preview state), therefore ii is necessary to set up firewall on the instance itself:
WCS installation and configuration
1. Install JDK. It is recommended to use JDK 12 or 14 if high load is planning
#!/bin/bash
sudo rm -rf jdk*
curl -s https://download.java.net/java/GA/jdk12.0.2/e482c34c86bd4bf8b56c0b35558996b9/10/GPL/openjdk-12.0.2_linux-x64_bin.tar.gz | tar -zx
[ ! -d jdk-12.0.2/bin ] && exit 1
sudo mkdir -p /usr/java
[ -d /usr/java/jdk-12.0.2 ] && sudo rm -rf /usr/java/jdk-12.0.2
sudo mv -f jdk-12.0.2 /usr/java
[ ! -d /usr/java/jdk-12.0.2/bin ] && exit 1
sudo rm -f /usr/java/default
sudo ln -sf /usr/java/jdk-12.0.2 /usr/java/default
sudo update-alternatives --install "/usr/bin/java" "java" "/usr/java/jdk-12.0.2/bin/java" 1
sudo update-alternatives --install "/usr/bin/jstack" "jstack" "/usr/java/jdk-12.0.2/bin/jstack" 1
sudo update-alternatives --install "/usr/bin/jcmd" "jcmd" "/usr/java/jdk-12.0.2/bin/jcmd" 1
sudo update-alternatives --install "/usr/bin/jmap" "jmap" "/usr/java/jdk-12.0.2/bin/jmap" 1
sudo update-alternatives --set "java" "/usr/java/jdk-12.0.2/bin/java"
sudo update-alternatives --set "jstack" "/usr/java/jdk-12.0.2/bin/jstack"
sudo update-alternatives --set "jcmd" "/usr/java/jdk-12.0.2/bin/jcmd"
sudo update-alternatives --set "jmap" "/usr/java/jdk-12.0.2/bin/jmap"
2. Install accessory tools and libraries
sudo yum install -y tcpdump mc iperf3 fontconfig
3. Disable SELinux
sudo setenforce 0
4. Install WCS
curl -OL https://flashphoner.com/downloads/builds/WCS/5.2/FlashphonerWebCallServer-5.2.xxx.tar.gz
tar -xzf FlashphonerWebCallServer-5.2.xxx.tar.gz
cd FlashphonerWebCallServer-5.2.xxx
sudo ./install.sh
Where xxx is WCS actual build number
5. Activate your license
cd /usr/local/FlashphonerWebCallServer/bin
sudo ./activation.sh
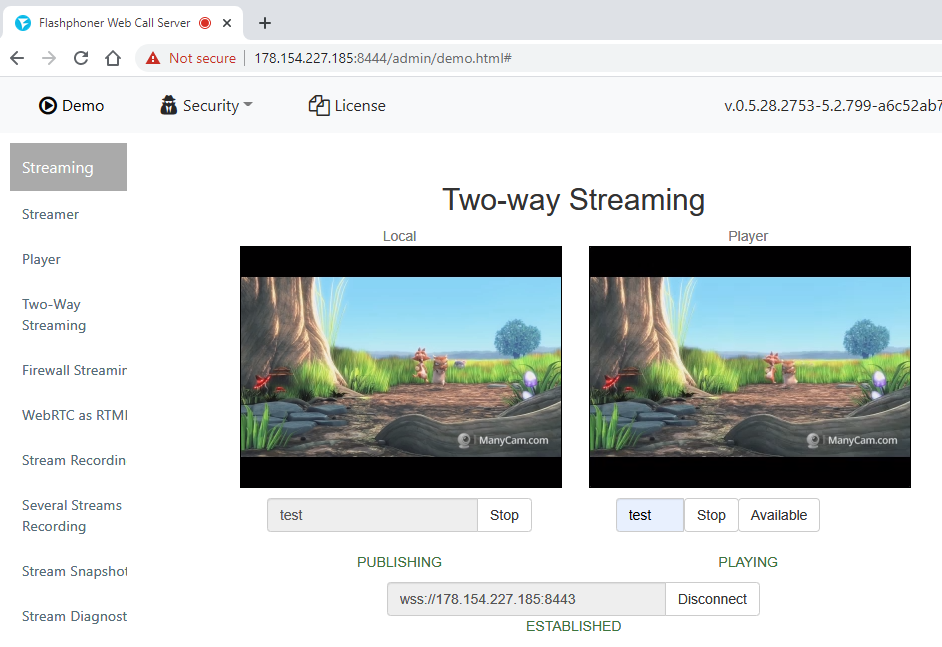
WCS starting and testing
1. Start WCS
sudo systemctl start webcallserver
2. Enter to WCS web interface, open Two Way Streaming example, publish and play test stream