...
Chrome Screen Sharing Extension
| Excerpt | ||||||||||||||||||||||
|---|---|---|---|---|---|---|---|---|---|---|---|---|---|---|---|---|---|---|---|---|---|---|
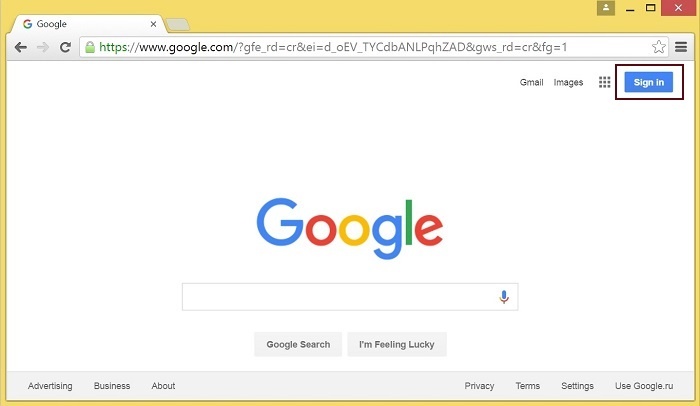
Extension for Google Chrome with publication in Chrome StoreCreate a Google account1. Go to google.com and click ‘Sign in’ button
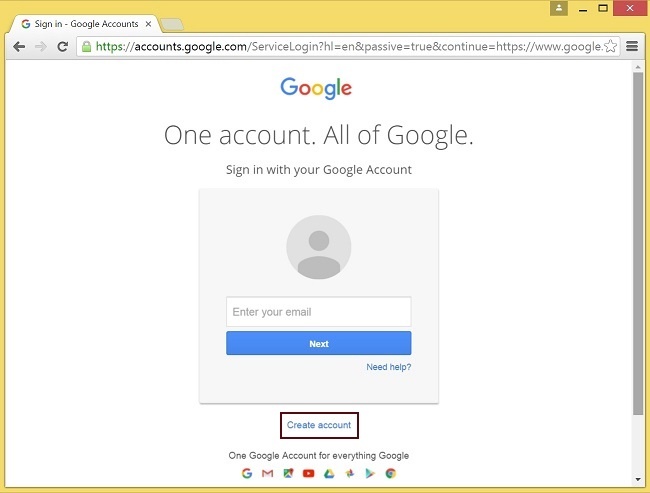
2. On the ‘Sign in’ page, click ‘Create account’ link
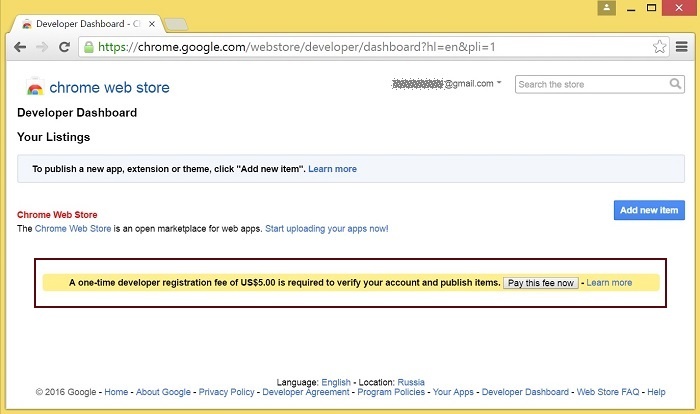
3. ‘Create your Google Account’ page will be opened Register as Chrome Web Store Developer1. Sign in to Chrome Developer Dashboard with the created Google account
Customization for your domainFollow the procedures described below to use the extensions with your domain. Change:
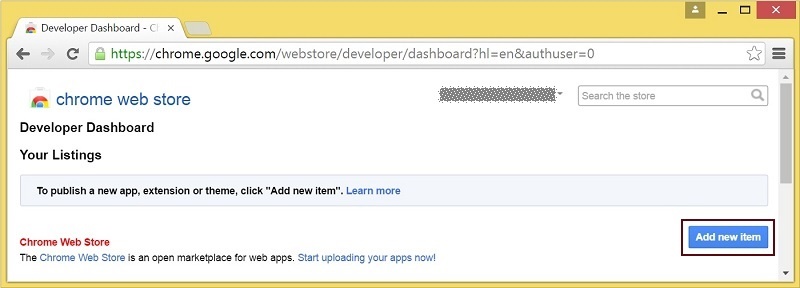
Save your icons for the extension to chrome-extension directory and edit the file names in "icons" and "web_accessible_resources". (For more information, see Manifest - Icons and Supplying Images.) Package the extensionPackage files from chrome-extension folder into ZIP archive. Publish the extension1. Sign in to Chrome Developer Dashboard
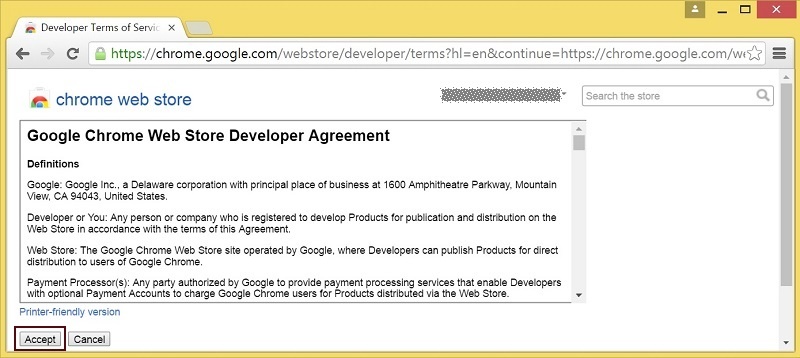
3. Accept the developer agreement
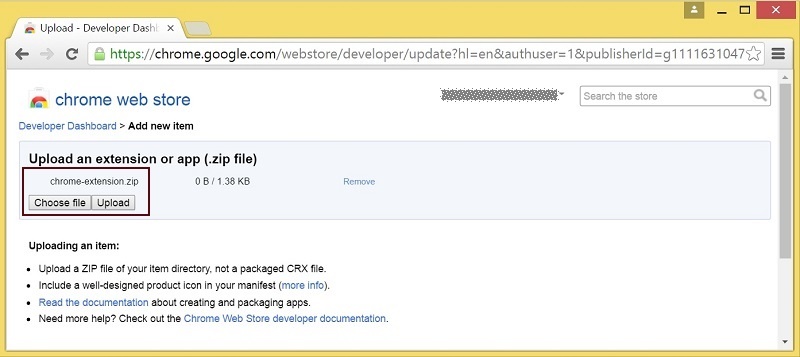
4. On the ‘Upload’ page, choose the chrome-extension.zip file and click ‘Upload’ button
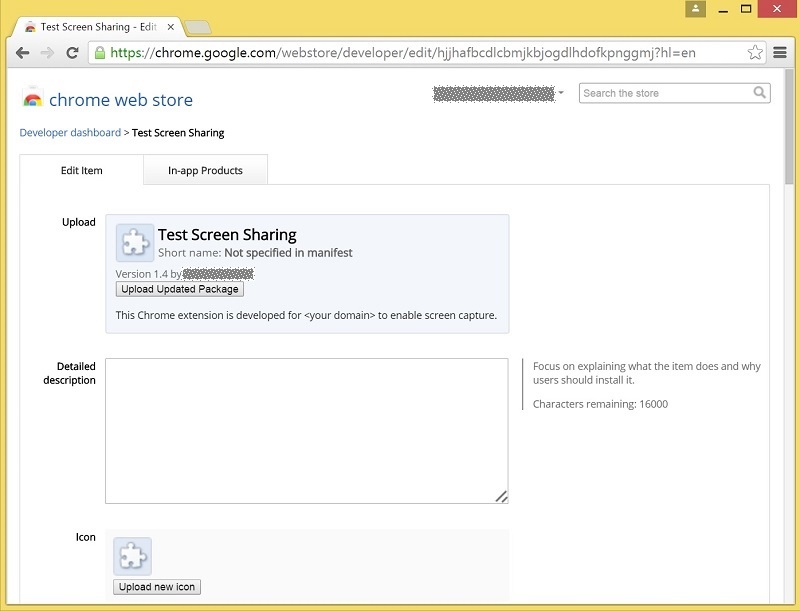
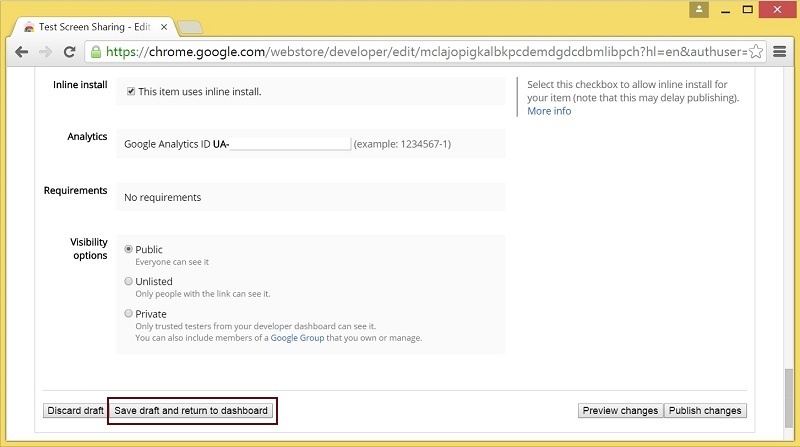
5. When the extension is uploaded, the page for editing the extension draft will be opened
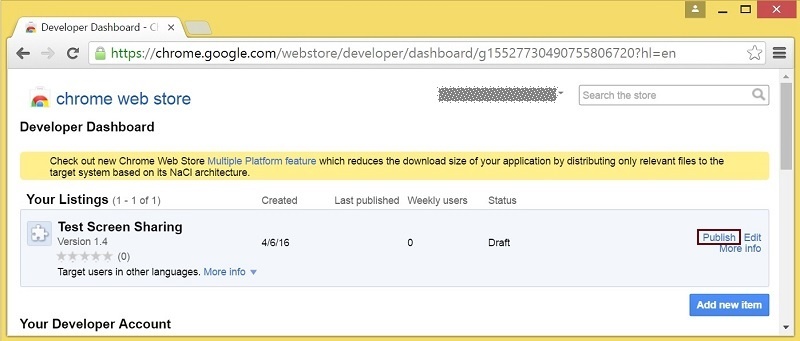
6. The extension will appear in the developer dashboard
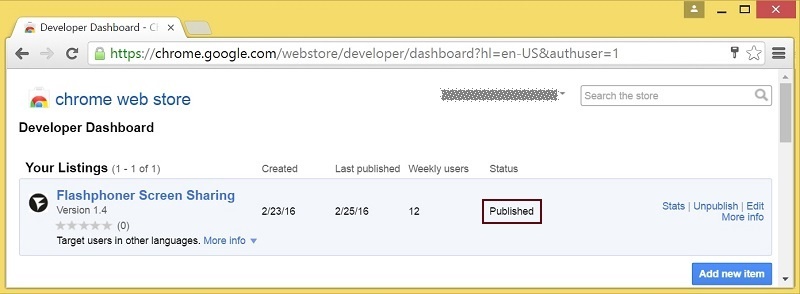
A published extension will have status ‘Published’ as on the image below.
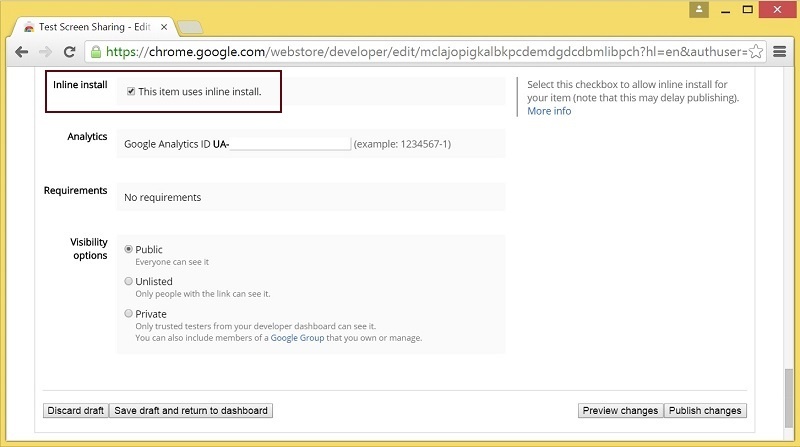
For more information, see Chrome Web Store Publishing Tutorial. Extension Inline InstallationExtension installation can be initiated by clicking a link on the Screen Sharing client page. Follow the procedures described below to use the client with your extensions. 1. When publishing, select ‘Inline Install’ option
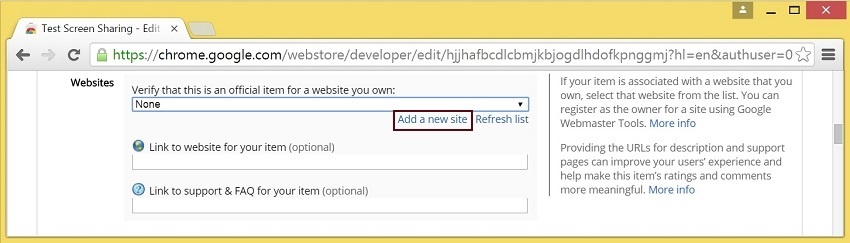
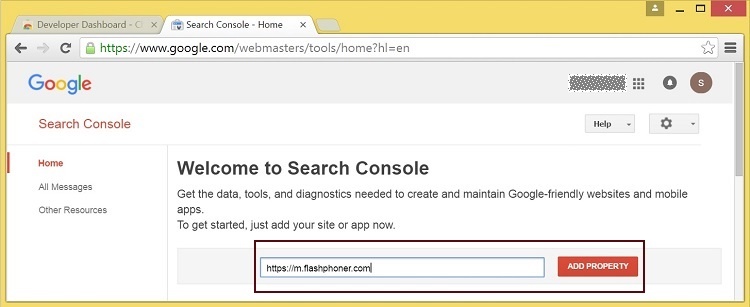
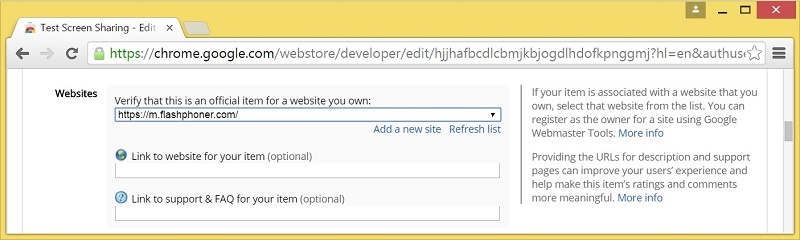
2. Verify and add website with your domain to the extension
- Google Search Console page will open in a new tab
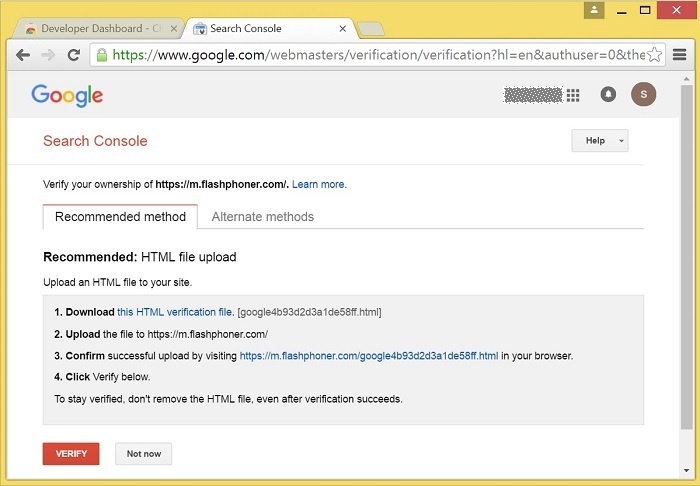
- A page with the instruction for the site verification will open
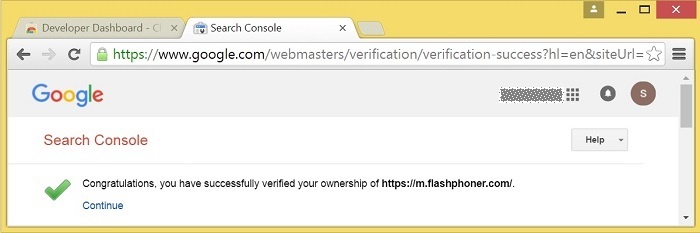
- If the verification is passed, a page confirming successful verification will be opened
- The website will appear in the list in the extension options and the extension can be associated with the site
Configuring the clientEdit Screen-sharing.html and Screen-sharing.js
To get the ID of the extension, click ‘More info’ of this extension in Chrome Developer Dashboard.
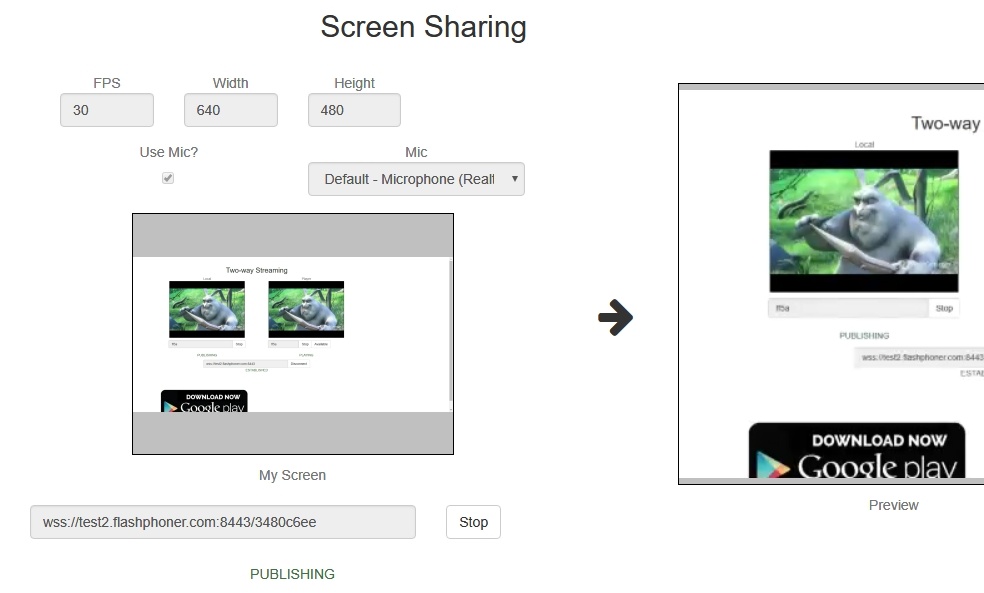
Media source parametersTo configure screen media source parameters, use parameters of the Configuration object passed to the init() method upon initializing of the Flashphoner API instance.
Parameter list
These parameters set marginal values of resolution and framerate (FPS). For instance, screenSharingVideoWidth = 1080 means the width of the source video cannot be more than 1080 pixels, but can be less. (i.e. when sending a stream of an app window that has the width of 720 pixels). Capture source (screen or windows) management in Firefox browserIn Firefox browser, all the screen or some program window can be chosen as video stream source with constraints.video.mediaSource parameter code:
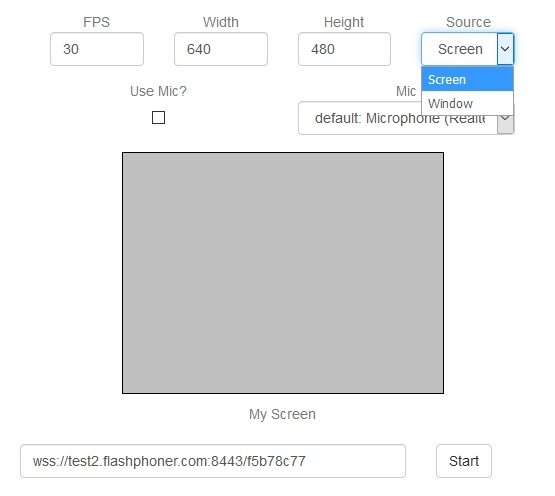
Source selection interface example:
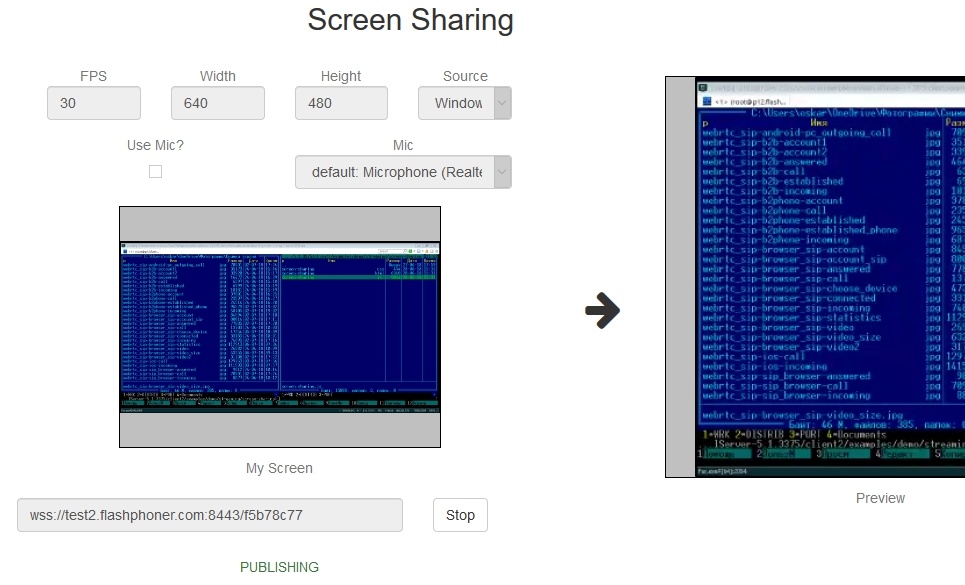
Program window capture
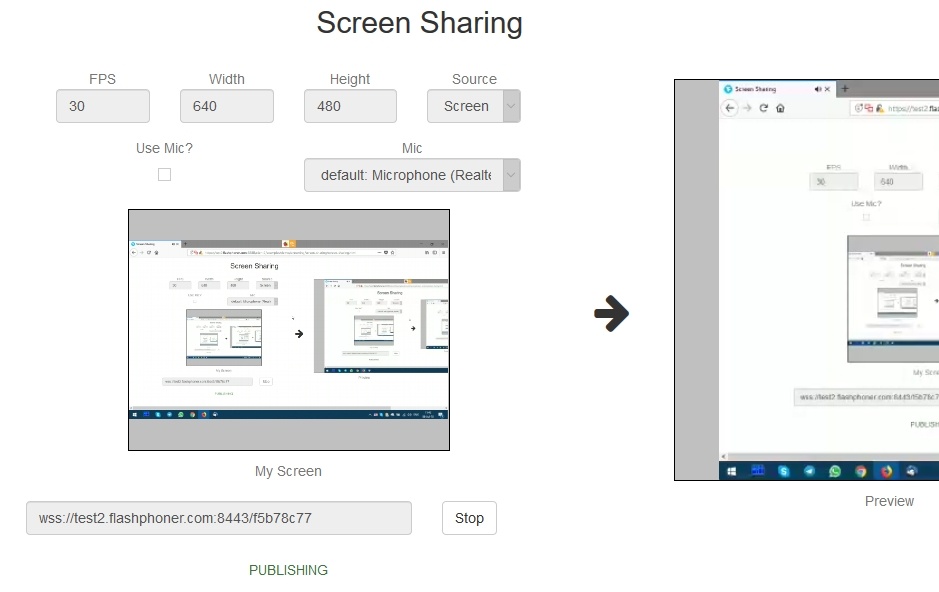
Screen capture
|

Code of the example for Chrome and Firefox
...