| Table of Contents |
|---|
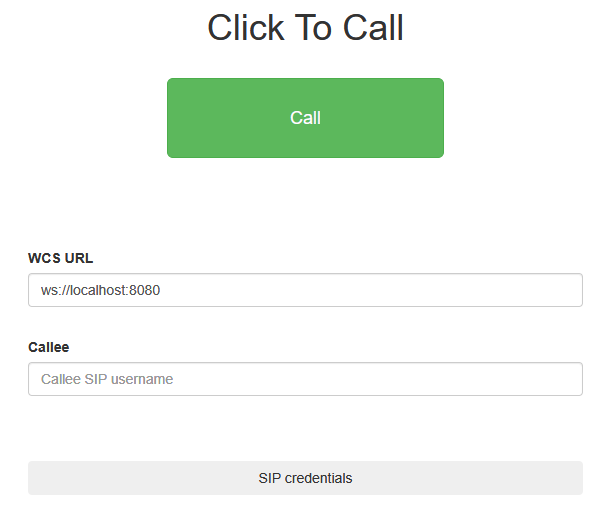
Audio SIP call in one click example
This example allows to place outgoing audio call with one button click using account specified
Code of the example
The path to the source code of the example on WCS server is:
/usr/local/FlashphonerWebCallServer/client/examples/demo/sip/click-to-call
click-to-call.css - stylesheet for the example page
click-to-call.html - page of the example
click-to-call.js - script providing functionality for the example
This example can be tested using the following address:
https://host:8888/client/examples/demo/sip/click-to-call/click-to-call.html
Here host is the address of the WCS server.
Analyzing the code
To analyze the code, let's take the version of file click-to-call.js with hash 02c8028, which is available here and can be downloaded with corresponding build 2.0.178.
1. Initialization of the API
Flashphoner.init() code
| Code Block | ||||
|---|---|---|---|---|
| ||||
    try {
        Flashphoner.init();
    } catch(e) {
        $("#notifyFlash").text("Your browser doesn't support WebRTC technology needed for this example");
        return;
} |
2. Connection to server.
createSession() code
Object with connection options is passed to the method when session is created
- urlServer - URL for WebSocket connection to WCS server
- sipOptions - SIP connection parameters from a hidden form fields
| Code Block | ||||
|---|---|---|---|---|
| ||||
        var url = $('#urlServer').val();
        var sipOptions = {
            login: $('#sipLogin').val(),
            authenticationName: $('#sipAuthenticationName').val(),
            password: $('#sipPassword').val(),
            domain: $('#sipDomain').val(),
            outboundProxy: $('#sipOutboundProxy').val(),
            port: $('#sipPort').val(),
            registerRequired: true
        };

        var connectionOptions = {
            urlServer: url,
            sipOptions: sipOptions
        };

        //create session
        console.log("Create new session with url " + url);
        Flashphoner.createSession(connectionOptions).on(SESSION_STATUS.ESTABLISHED, function(session){
            ...
}); |
3. Receiving the event confirming successful connection
ConnectionStatusEvent ESTABLISHED code
On this event, outgoing call is created
| Code Block | ||||
|---|---|---|---|---|
| ||||
        Flashphoner.createSession(connectionOptions).on(SESSION_STATUS.ESTABLISHED, function(session){
		    setStatus("Session", SESSION_STATUS.ESTABLISHED);
			//session connected, place call
		    call(session);
	    }).on(SESSION_STATUS.DISCONNECTED, function(){
            ...
	    }).on(SESSION_STATUS.FAILED, function(){
            ...
}); |
4. Outgoing call.
session.createCall(), call() code
The following parameters are passed when call is created
- callee - callee SIP username
- visibleName - display name
- localVideoDisplay - <div> element for local display (will be used for Flash Player settings dialog in case of Flash media provider)
- remoteVideoDisplay - <div> element for remote audio
- constraints - constraints for the call
receiveAudio - set to true to receive audio
receiveVideo - set to false to receive audio only
| Code Block | ||||
|---|---|---|---|---|
| ||||
    var constraints = {
        audio: true,
        video: false
    };

	//prepare outgoing call
    var outCall = session.createCall({
		callee: $("#callee").val(),
		visibleName: "Click To Call",
		localVideoDisplay: localDisplay,
		remoteVideoDisplay: remoteDisplay,
		constraints: constraints,
		receiveAudio: true,
        receiveVideo: false
        ...
	});

outCall.call(); |
5. Call hangup
call.hangup() code
| Code Block | ||||
|---|---|---|---|---|
| ||||
    $("#callBtn").text("Hangup").removeClass("btn-success").addClass("btn-danger").off('click').click(function(){
        $(this).prop('disabled', true);
	    outCall.hangup();
}).prop('disabled', false); |