...
| Table of Contents |
|---|
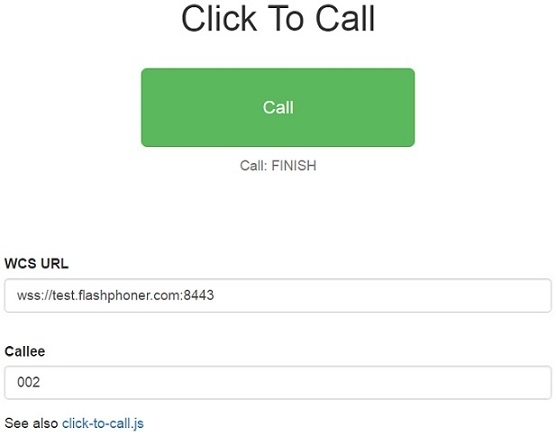
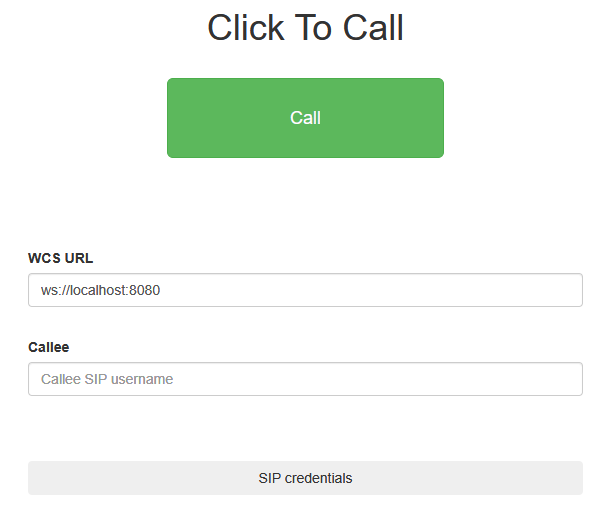
Audio SIP call in one click example
This example allows to place outgoing audio call with one button click using account specified in server config file
/usr/local/FlashphonerWebCallServer/conf/apps/click-to-call/accounts.xml
Code of the example
The path to the source code of the example on WCS server is:
/usr/local/FlashphonerWebCallServer/client/examples/demo/sip/click-to-call
click-to-call.css - stylesheet for the example page
click-to-call.html - page of the example
click-to-call.js - script providing functionality for the example
...
Here host is the address of the WCS server.
...
Analyzing the code
To analyze the code, let's take the version of file click-to-call.js with hash 26fc5afa246baea80867fa011305da811edab1f002c8028, which is available here and and can be downloaded with corresponding build 2.0.5178.5.1894.
1. Initialization of the API. line 11API is initialized after loading the page. For Flash support, the path to SWF file is passed to the init() method.
Flashphoner.init() code
| Code Block | ||||
|---|---|---|---|---|
| ||||
    try {
        Flashphoner.init();
    } catch(e) {
        $("#notifyFlash").text("Your browser doesn't support WebRTC technology needed for this example");
        return;
} |
2. Connection to server.
createSession() code
Object with connection options is passed to the method when session is created
- urlServer - URL for WebSocket connection to WCS server
- sipOptions - SIP connection parameters from a hidden form fields
| Code Block | ||||
|---|---|---|---|---|
| ||||
Flashphoner.init({flashMediaProviderSwfLocation: '../../../../media-provider.swf'}); |
2. Connection to server. line 41
...
        var url = $('#urlServer').val();
        var sipOptions = {
            login: $('#sipLogin').val(),
            authenticationName: $('#sipAuthenticationName').val(),
            password: $('#sipPassword').val(),
            domain: $('#sipDomain').val(),
            outboundProxy: $('#sipOutboundProxy').val(),
            port: $('#sipPort').val(),
            registerRequired: true
        };

        var connectionOptions = {
            urlServer: url,
            sipOptions: sipOptions
        };

        //create session
        console.log("Create new session with url " + url);
        Flashphoner.createSession(connectionOptions).on(SESSION_STATUS.ESTABLISHED, function(session){
            ...
}); |
3. Receiving the event confirming successful connection
ConnectionStatusEvent ESTABLISHED code
On this event, outgoing call is created
| Code Block | ||||
|---|---|---|---|---|
| ||||
Flashphoner.createSession(connectionOptions).on(SESSION_STATUS.REGISTEREDESTABLISHED, function(session){ setStatus("Session", SESSION_STATUS.REGISTEREDESTABLISHED); //session connected, place call call(session); }).on(SESSION_STATUS.DISCONNECTED, function(){ setStatus("Session", SESSION_STATUS.DISCONNECTED); ... onHangup(); }).on(SESSION_STATUS.FAILED, function(){ setStatus("Session", SESSION_STATUS.FAILED); onHangup(); ... }); |
Session is created with method createSession(). Callback function, which will be called to place outgoing call in case of successfully established connection (status SESSION_STATUS.REGISTERED), is added.
Object with connection options is passed to the method when session is created
- urlServer - URL for WebSocket connection to WCS server
- appKey - internal server-side application 'clickToCallApp'
Parameters for SIP connection are taken from config accounts.xml.
3. Outgoing call. line 62
New call is created with method session.createCall().4. Outgoing call.
session.createCall(), call() code
The following parameters are passed when call is created
- callee - callee SIP username
- visibleName - display name
- localVideoDisplay - <div> element for local display (will be used for Flash Player settings dialog in case of Flash media provider)
- remoteVideoDisplay - <div> element for remote audio
- constraints - constraints for the call (in this case 'video' is set to 'false' to call with audio only - line 56)
receiveAudio - set to true to receive audio
receiveVideo - set to false to receive audio only
| Code Block | ||||
|---|---|---|---|---|
| ||||
var constraints = { audio: true, video: false }; |
- receiveAudio - set to 'true' to receive audio
- receiveVideo - set to 'false' to receive audio only
| Code Block | ||||
|---|---|---|---|---|
| ||||
}; //prepare outgoing call var outCall = session.createCall({ callee: $("#callee").val(), visibleName: "Click To Call", localVideoDisplay: localDisplay, remoteVideoDisplay: remoteDisplay, constraints: constraints, receiveAudio: true, receiveVideo: false }).on(CALL_STATUS.RING, function(){ setStatus("Call", CALL_STATUS.RING); }).on(CALL_STATUS.ESTABLISHED, function(){ setStatus("Call", CALL_STATUS.ESTABLISHED); }).on(CALL_STATUS.FINISH, ... }); outCall.call(); |
5. Call hangup
call.hangup() code
| Code Block | ||||
|---|---|---|---|---|
| ||||
$("#callBtn").text("Hangup").removeClass("btn-success").addClass("btn-danger").off('click').click(function(){ setStatus("Call", CALL_STATUS.FINISH $(this).prop('disabled', true); onHangupoutCall.hangup(); }); |
When call is created, callback functions for events CALL_STATUS.RING, CALL_STATUS.ESTABLISHED, CALL_STATUS.FINISH are added to make appropriate changes in controls of the interface.
Outgoing call is placed with method call(). line 79
| Code Block | ||||
|---|---|---|---|---|
| ||||
outCall.call(); |
4. Call hangup. line 83
Method hangup() is used to hang up call.
| Code Block | ||||
|---|---|---|---|---|
| ||||
outCall.hangup(.prop('disabled', false); |