Overview
WCS Amazon instances support AWS load balancer.
WebSocket connections will be distributed between active load balancer instances. In case a scaling policy is executed (when the policy target – e.g., CPU load on instance - is reached) and new instances are launched, they will be added to the load balancer.
The following components would be required
- AMI on the basis of which new instances will be created for scaling out
- Load Balancer
- Launch Configuration
- Auto Scaling Group
Launching AWS Auto Scaling
1. Create new AMI
1.1. Launch an instance from a FlashphonerWebCallServer AMI and configure the WCS
- activate license
- import certificates
- change configuration settings as required
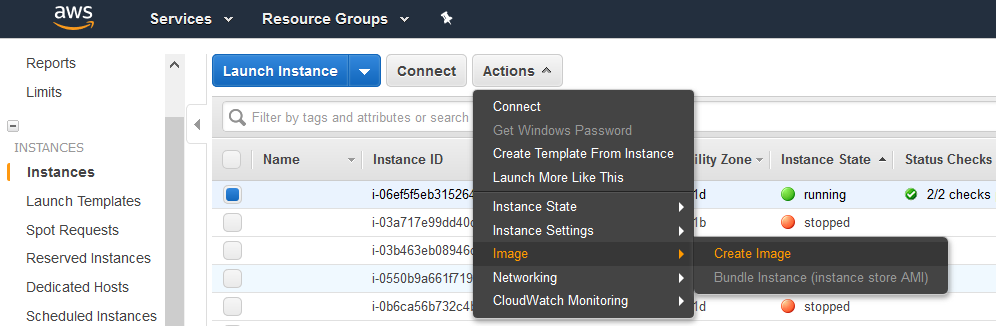
1.2. In AWS console, select the instance and then “Actions” | “Image” | “Create Image” and create a new image:
2. Create new Load Balancer
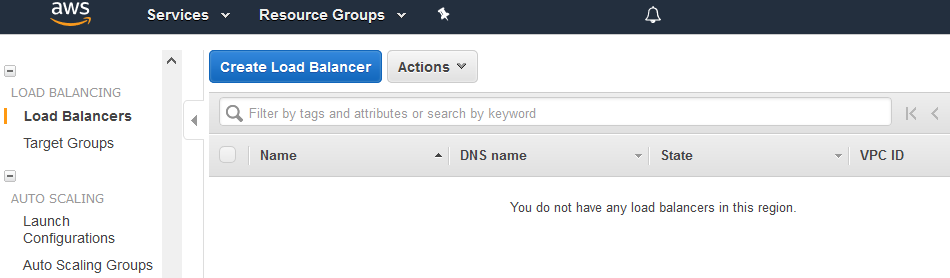
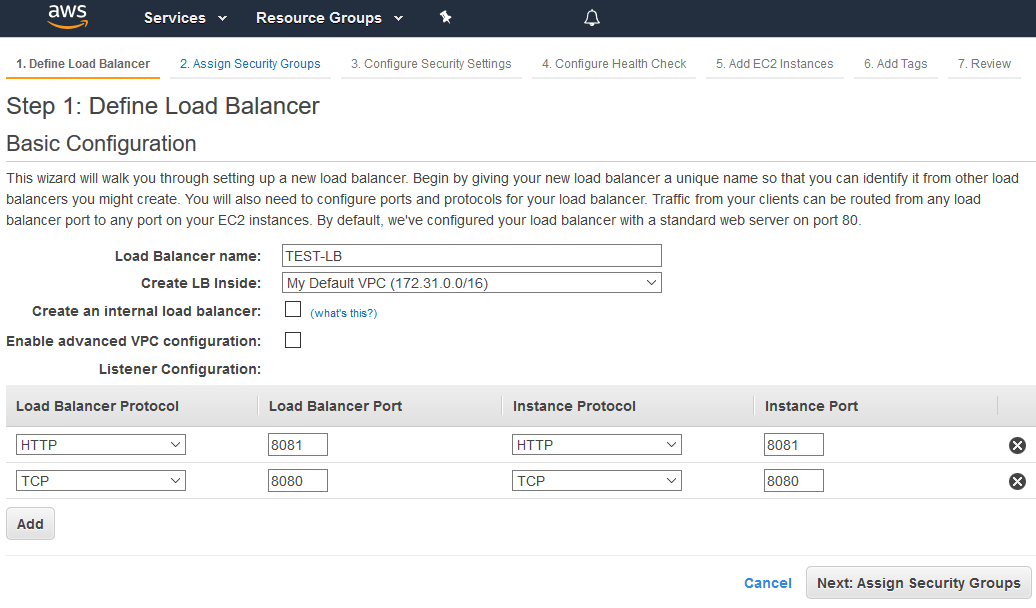
2.1. In AWS console, go to “EC2” | “Load Balancers” and click “Create Load Balancer”
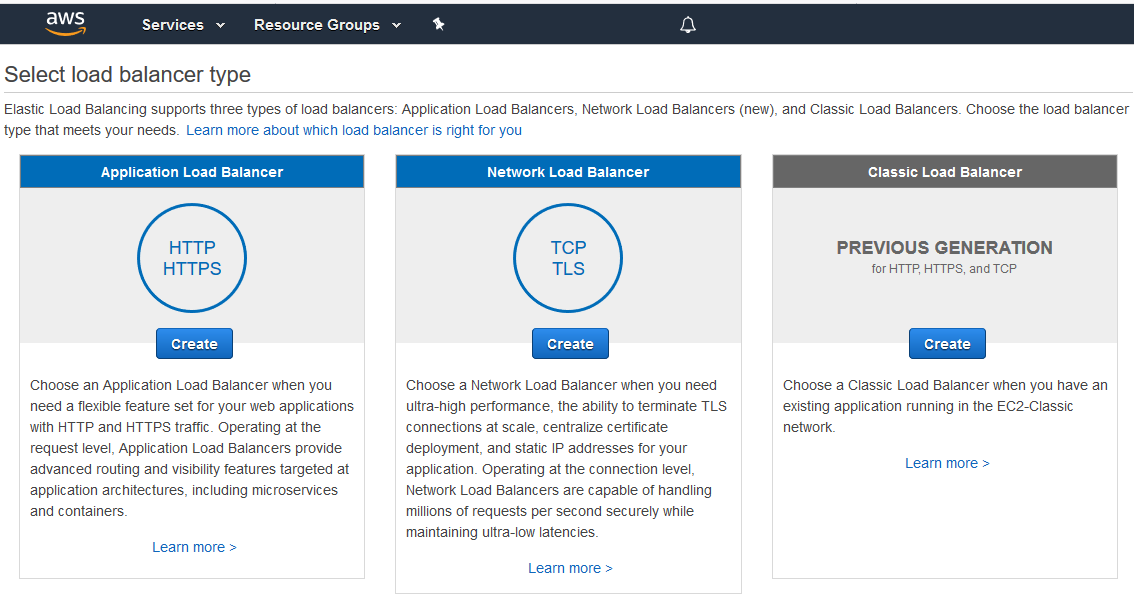
2.2 Select “Classic Load Balancer” type (This type allows specifying port for health check.)
2.3. When defining load balancer, add required protocols. For example TCP, port 8080 for WebSocket connections (ws:<host>:8080).
2.4. Assign a security group.
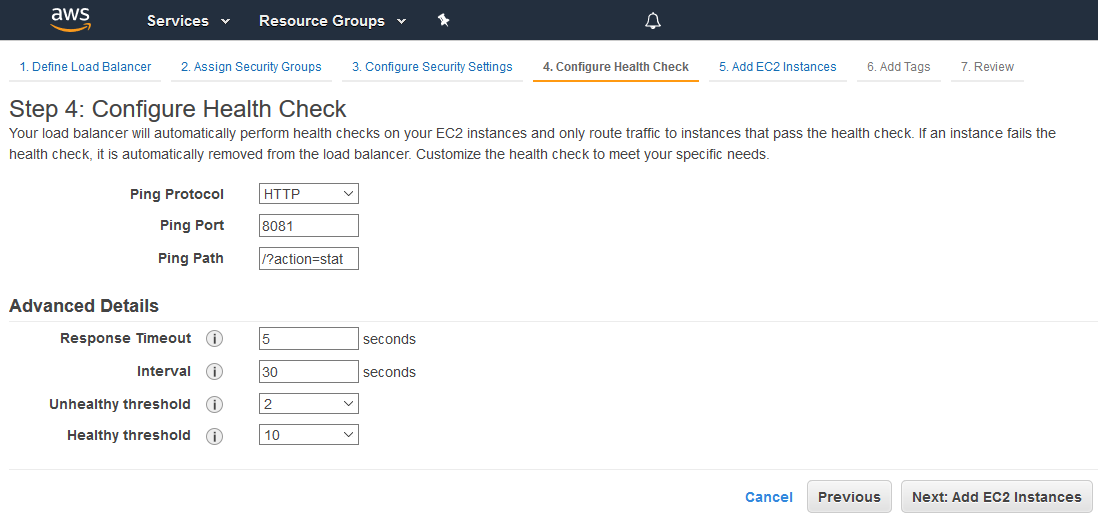
2.5. Configure health check
The URL for health check is
- for HTTP: http://WCS_ADDRESS:8081/?action=stat
- for HTTPS: https://WCS_ADDRESS:8444/?action=stat
2.6. Add existing EC2 instances as required
By default, cross-zone load balancing is enabled to distribute traffic between all available availability zones in your region.
2.7. Complete the wizard to create the load balancer
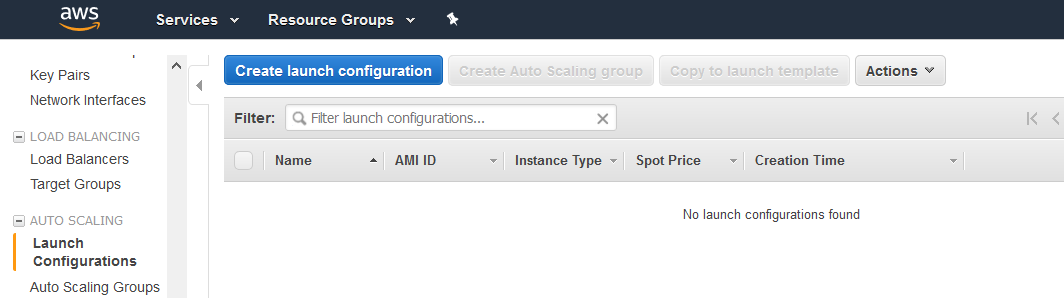
3. Create new Launch Configuration
3.1. In AWS console, go to “EC2” | “Launch Configurations” and click “Create launch configuration”
3.2. When choosing AMI, select the AMI previously created from an instance with required WCS configuration
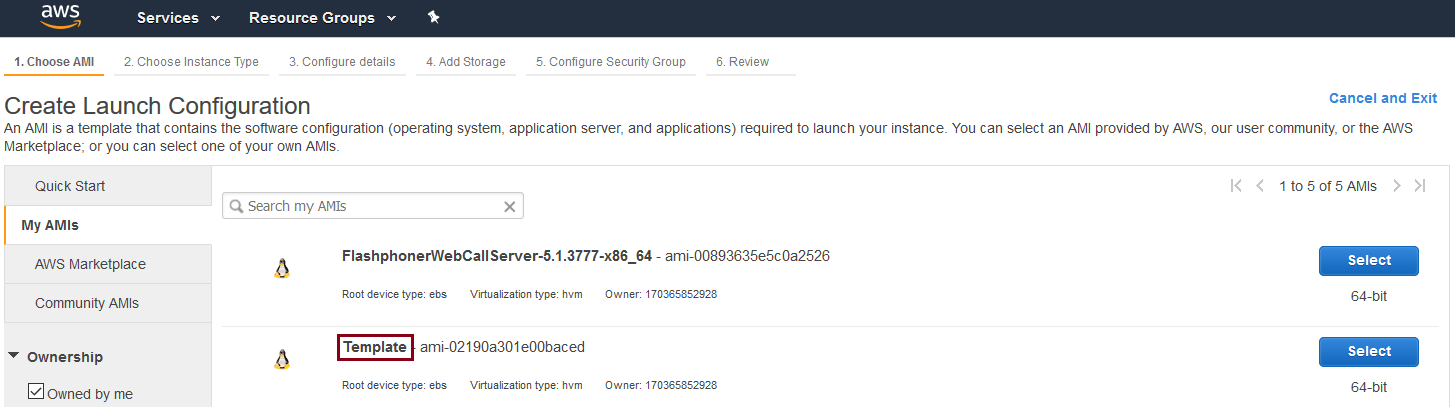
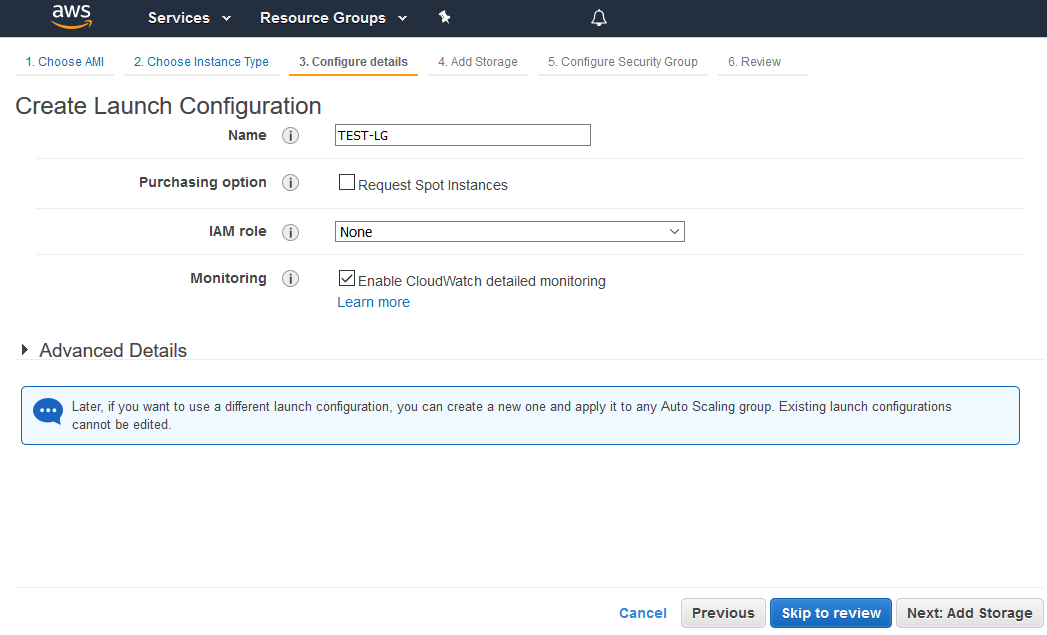
3.3. Complete the wizard to create the configuration
Detailed monitoring, where data is available in 1-minute periods, can be enabled when configuring details.
4. Create new Auto Scaling group
4.1. In AWS console, go to “EC2” | “Auto Scaling Groups” and click “Create Auto Scaling group”

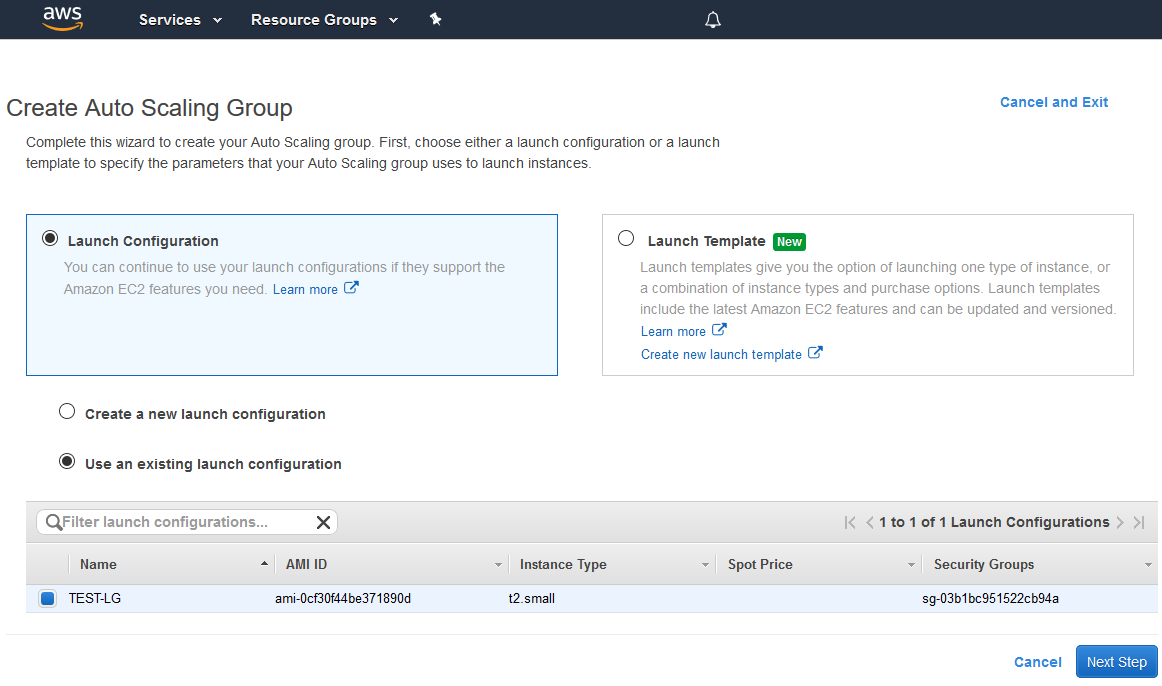
4.2.Select the required launch configuration or template, or select to create a new one
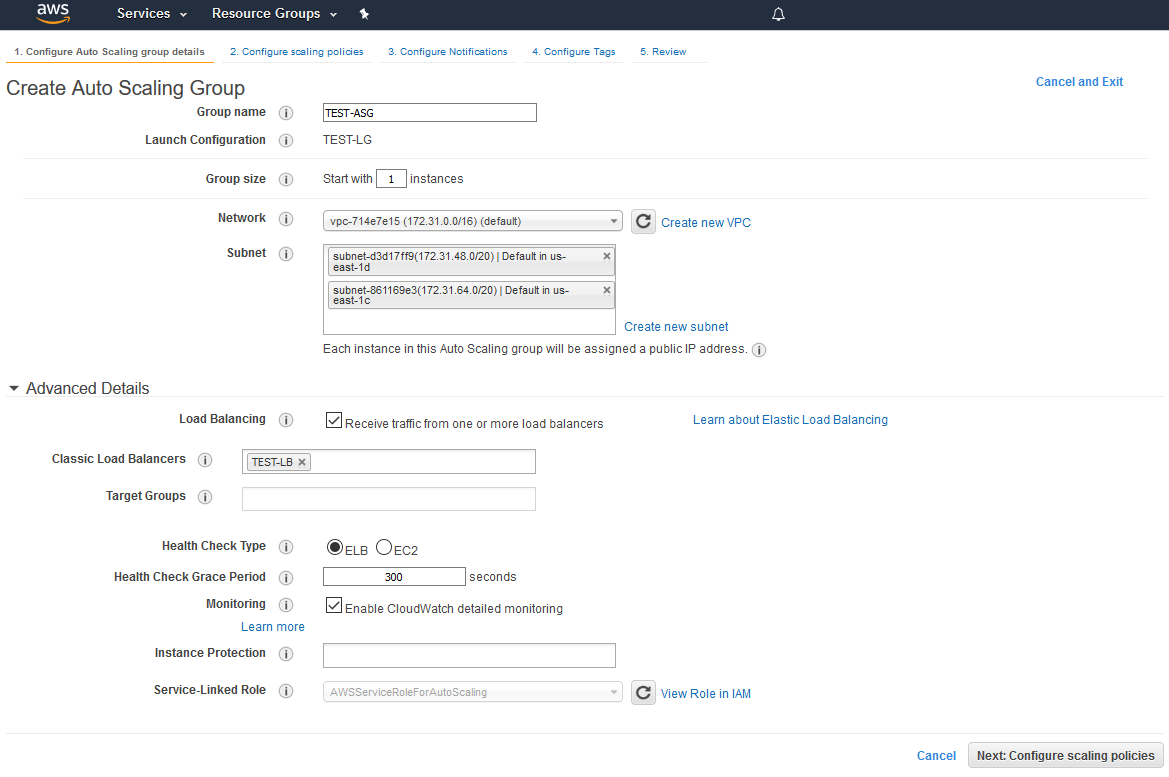
4.3. Configure Auto Scaling group details
- add required subnets
- add required load balancer
4.4. Configure scaling policies

4.5. Complete the wizard to create the auto scaling group
Testing
If load balancer has no running instances, then a new instance will be started when an auto scaling group receiving traffic from the load balancer is created. More instances will be started in case scaling is triggered. (For testing purposes, streaming with transcoding – e.g., streaming RTMP to auto created mixer – can be used to load server CPU.) All the started instances will be auto added to the corresponding load balancer.
When an instance (one or more of the added to the balancer) is in service, ws-connection can be done to, e.g., ws://<Load balancer DNS name>:8080.
A demo – e.g., Two-way Streaming - example (opened either by the balancer or an instance address) can be used to establish ws-connection:
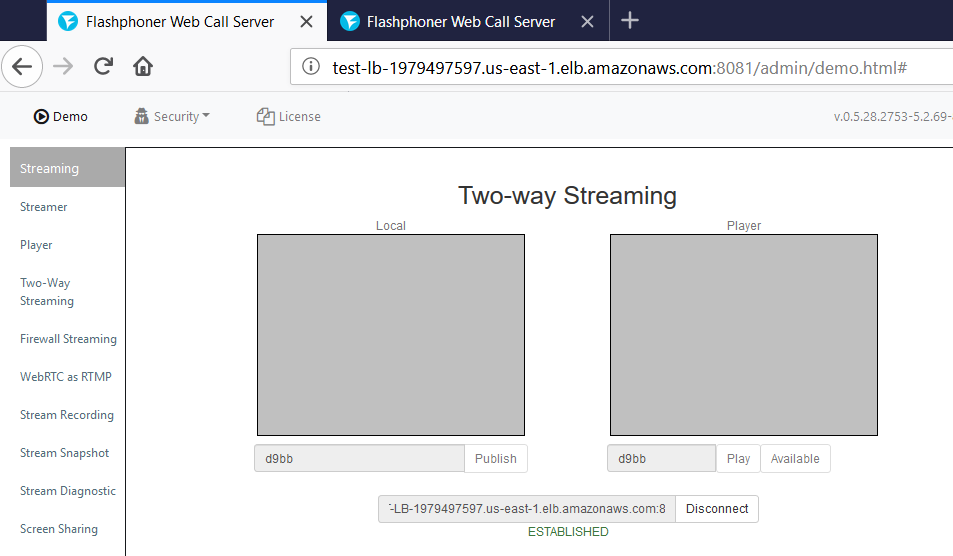
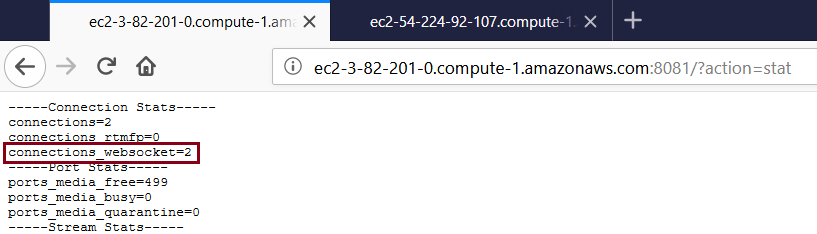
To verify that the connections are distributed between active load balancer instances, use the stats page: http://WCS_ADDRESS:8081/?action=stat
Open the page for each of the instances to see the connection_websocket number: