Overview
Web Call Server allows embedding of a video chat to your project, that will work on most of modern browsers without installing third-party software as well as on mobile devices.
Supported platforms and browsers
Chrome | Firefox | Safari 11 | Edge | |
|---|---|---|---|---|
Windows | + | + | + | |
Mac OS | + | + | + | |
Android | + | + | ||
iOS | - | - | + |
Supported codecs
- Video: H.264, VP8
- Audio: Opus, G.711
Functions
- Video chat
- Text chat
- Video conference
- Video conference with screen sharing
Operation flowchart
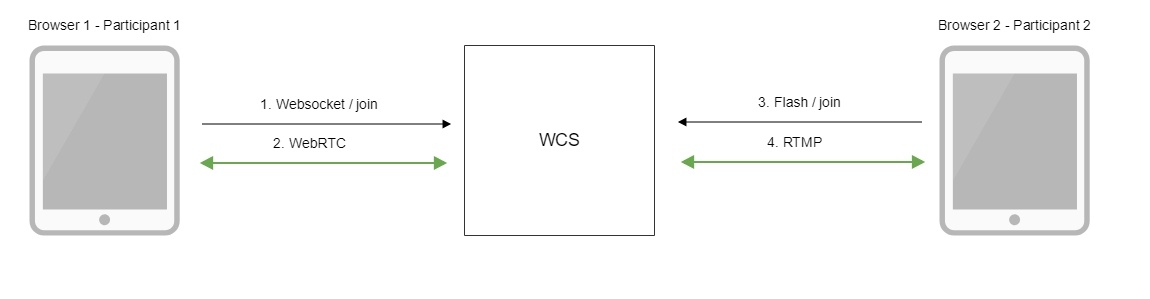
- The browser of the participant 1 connects to the server via Websocket and sends the join command.
- The browser of the participant 1 can send a stream via WebRTC to publish it in the chat room and receive streams published in the room.
- The browser of the participant 2 connects to the server using Flash and sends the join command.
- The browser of the participant 2 can send a stream via RTMP to publish it in the chat room and receive streams published in the room.
Video conference
1. For the test we use:
- the demo server at demo.flashphoner.com;
- the Conference web application to organize a video conference.
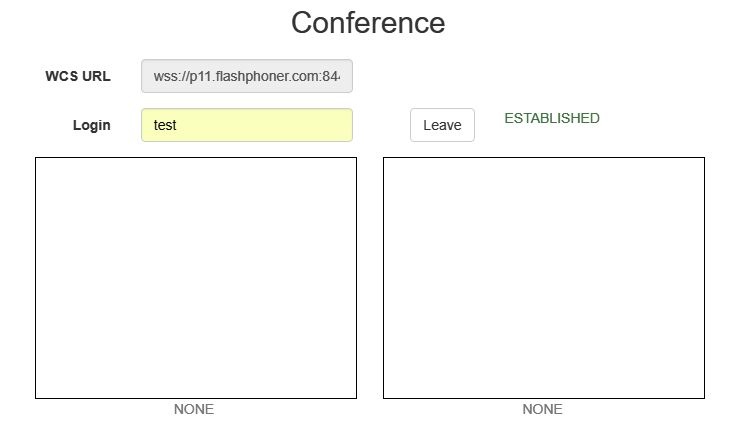
2. Open the Conference web application. In the "Login" field enter any arbitrary user name, for example test:

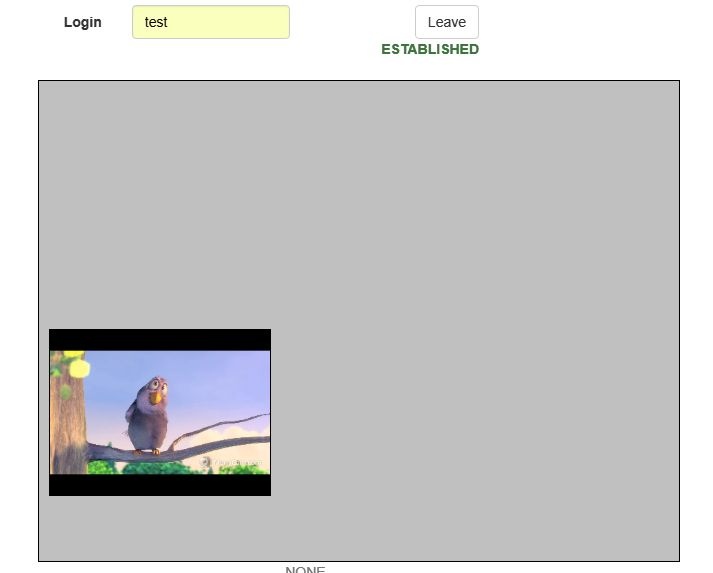
3. Click the Join button. A connection with the server is established, and you should see the corresponding "ESTABLISHED" label. The chat room is automatically created:
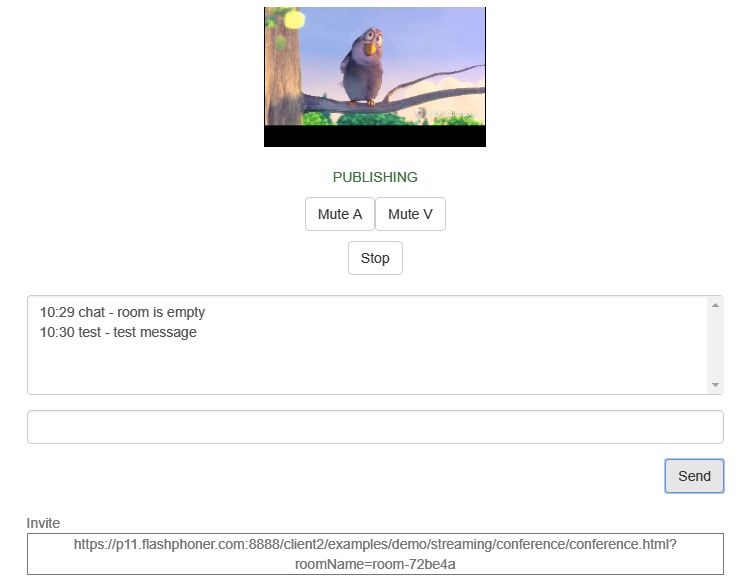
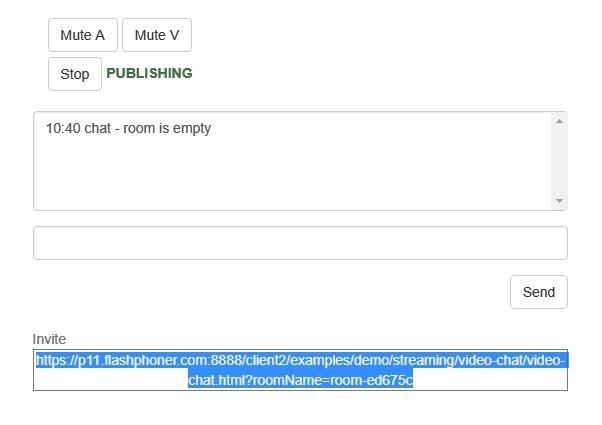
In the bottom of the screen, an image from the web camera, a text chat and a link to invite users to the room are shown:
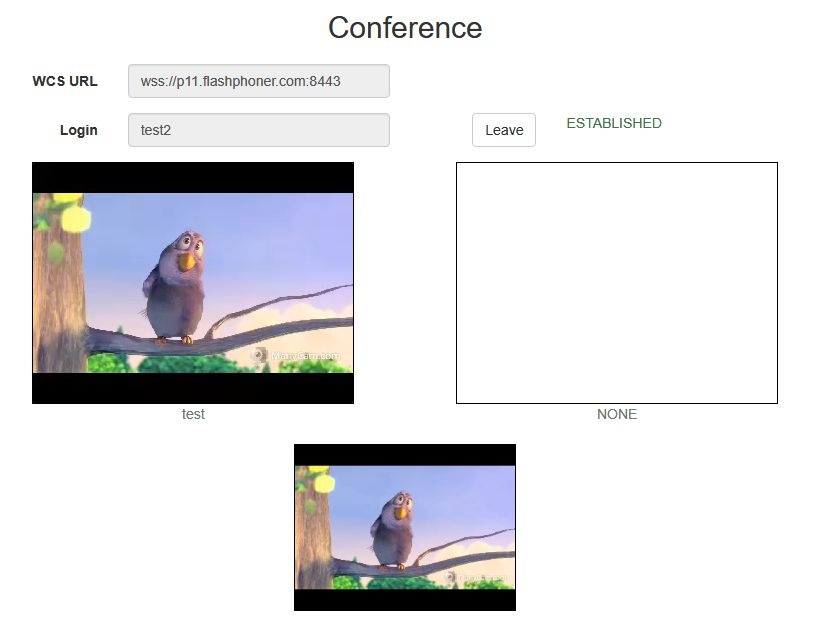
4. Copy the link to the chat room and open it in a new tab of the browser. Enter a user name other than the name of the chat room creator, for example, test2, and click the Join button. The page will display an image from the web camera of the test participant (left) and from the web camera of the test2 participant (below):
5. In the text chat window of the test2 participant enter a message and click Send:
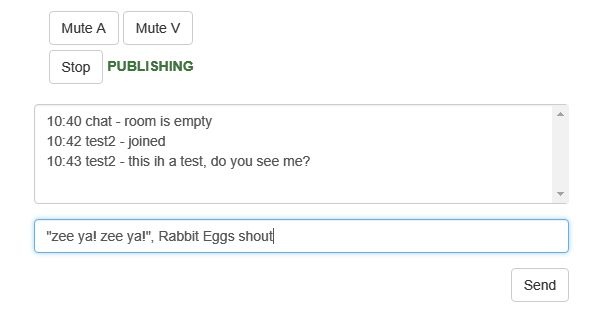
6. On the browser tab of the test participant enter an answer:
7. Make sure the answer is received:
8. To leave the chat room, click the Leave button.
Video chat
1. For the test we use:
- the demo server at demo.flashphoner.com;
- the Two Way Video Chat web application to organize a video chat
2.Open the Two Way Video Chat web application. In the "Login" field enter any arbitrary user name, for example test:
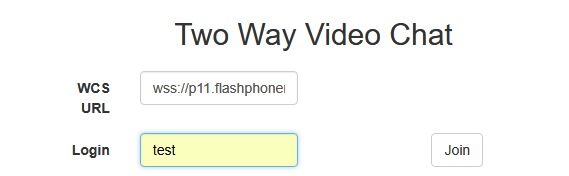
3. Click the Join button. A connection is established to the server, and the corresponding "ESTABLISHED" label is shown. The chat room is automatically created:
Below the screen, a text chat and a link to invite other users to the room are shown:
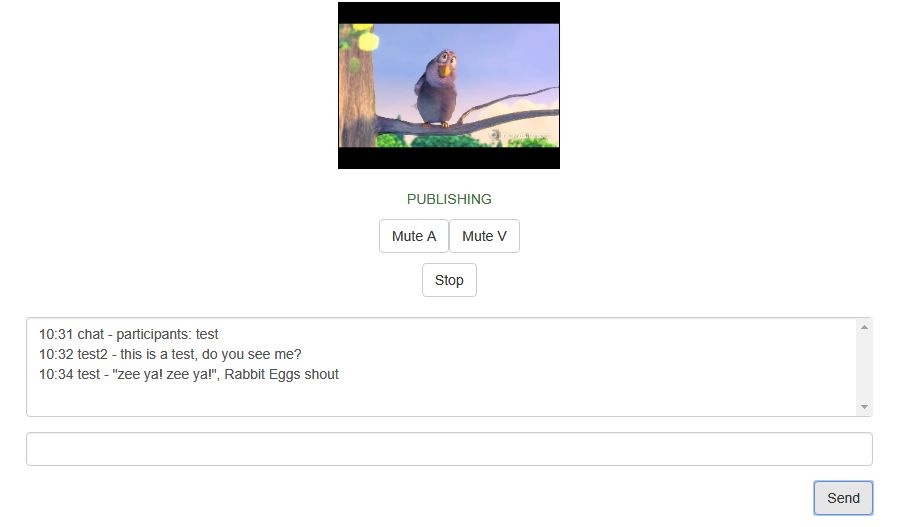
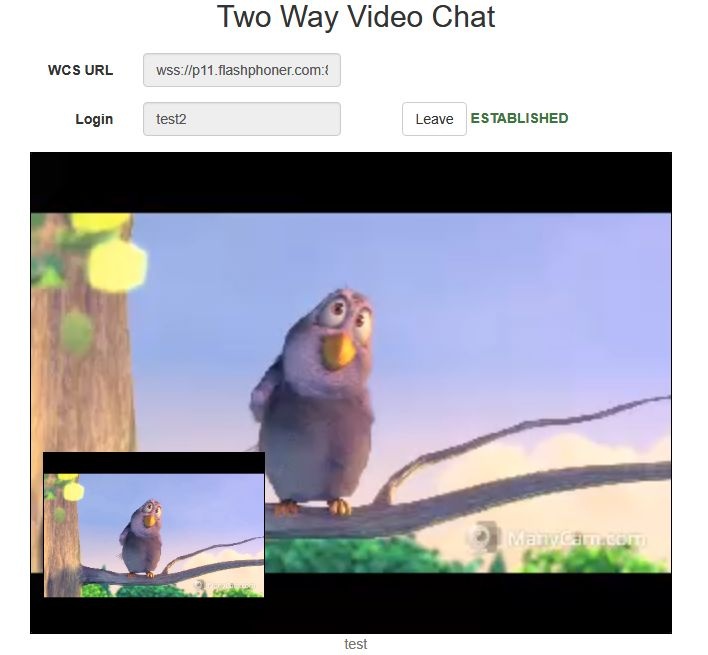
4. Copy the link to the chat room and open it in a new tab of the browser. Enter a user name other than that of the creator of the room, for example, test2, and click the Join button. The page will display a large image from the web camera of the test user and a smaller image from the web camera of the test2 user (in the lower left corner):
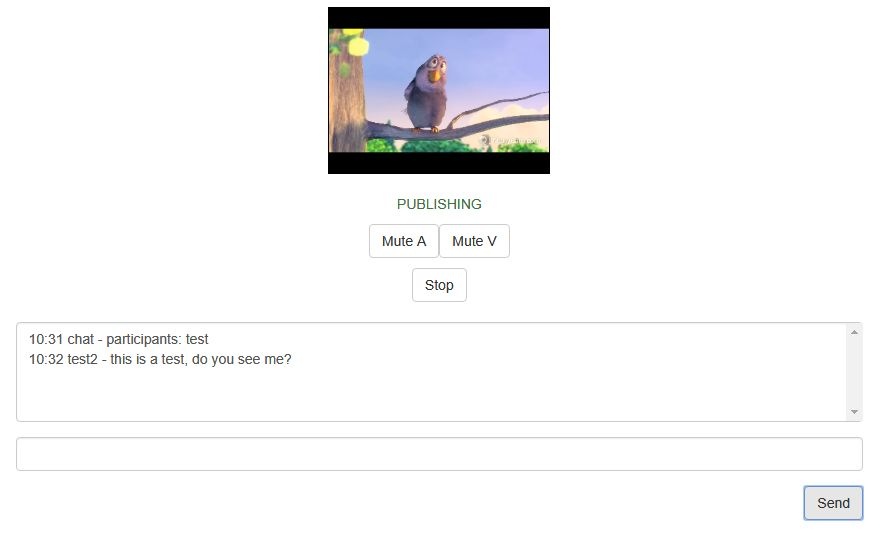
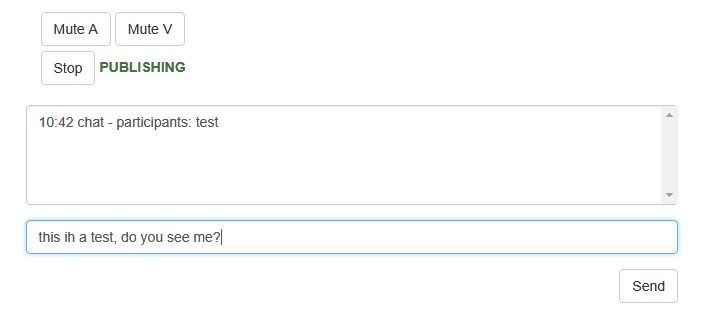
5. In the text chat box, enter a message and click the Send button:
6. On the tab of the test user enter an answer:
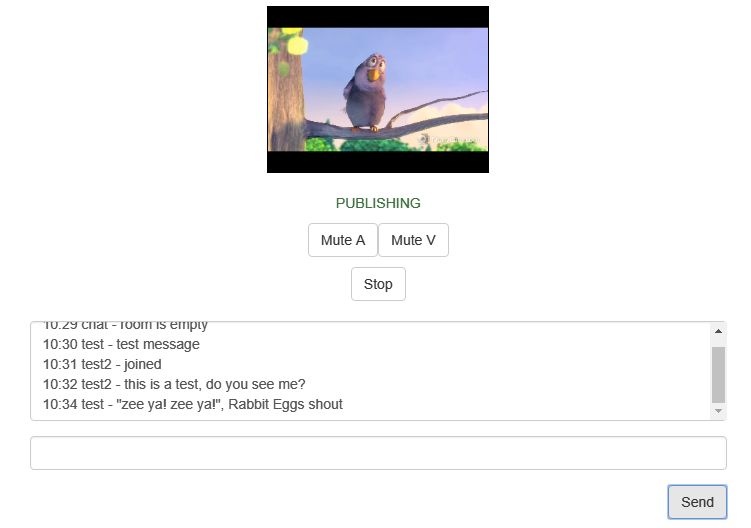
7. Make sure the answer is received:

8. To leave the chat room, click the Leave button.
Video conference with screen sharing
1. For the test we use:
- the demo server at demo.flashphoner.com;
- the Two Way Video Chat and Screen web application to organize a video conference;
- the Chrome browser.
2. Open the "Two Way Video Chat & Screen" web application. If the Install Now button is active, click it and install the extension.
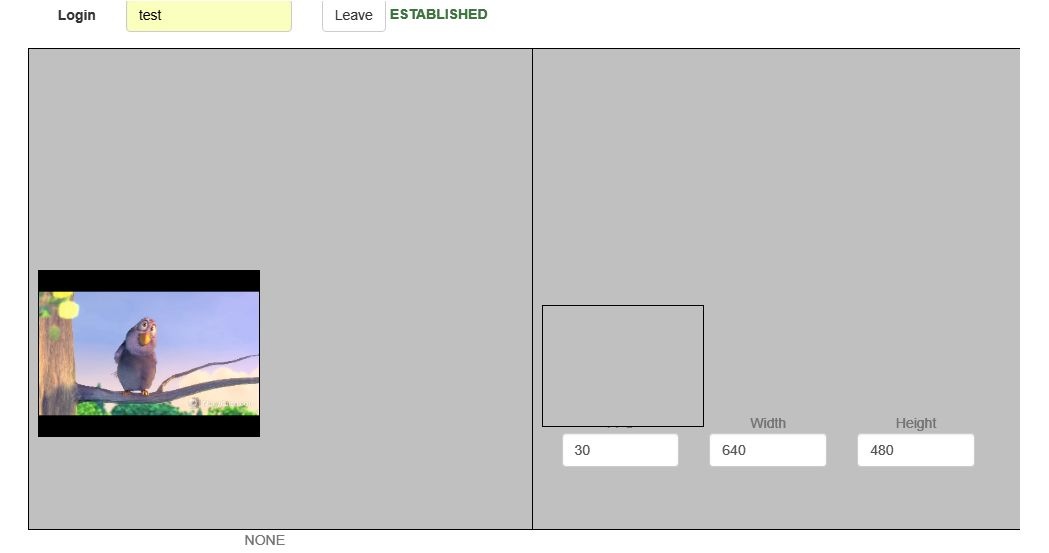
In the "Login" field enter any arbitrary user name, for example test. Click the Join button. A connection is established to the server, and the corresponding "ESTABLISHED", label is show. The chat room is created automatically, and an image from the web camera is shown:
3. Copy the link to the chat room and open it in a new tab of the browser. Enter a user name different from the name of the chat room's creator, for example test2, and click the Join button. The page displays an image from the web camera:
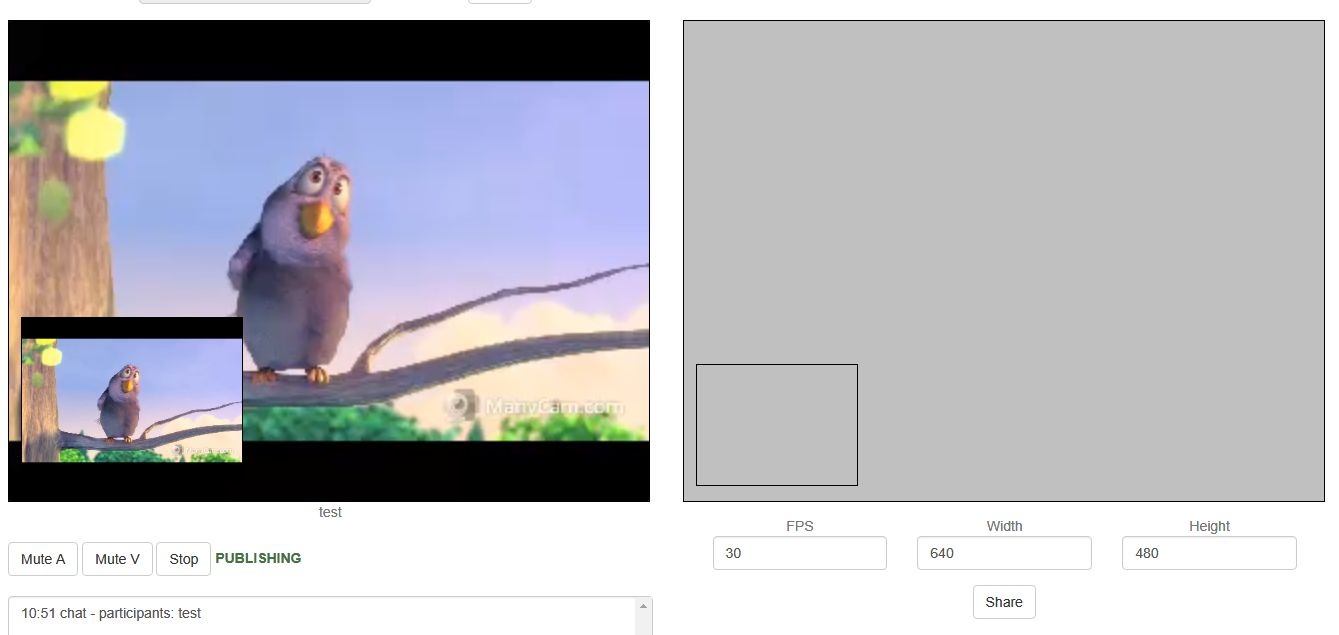
4. Click the "Share" button and allow the browser to gain access to your screen or to the application window:
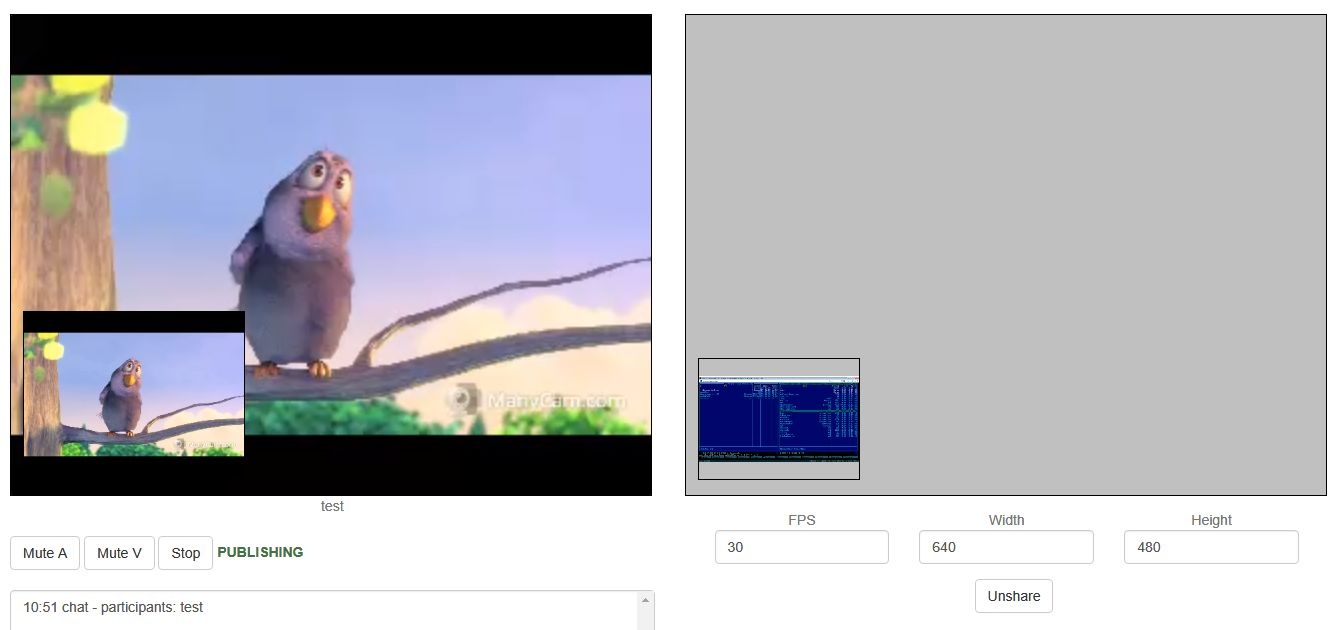
5. On the tab of the test user you should see the screen or the app window you allowed the browser to access:
6. To leave the chat room, click the "Leave" button.
Call Flow
Below is the call flow when using the Conference example.
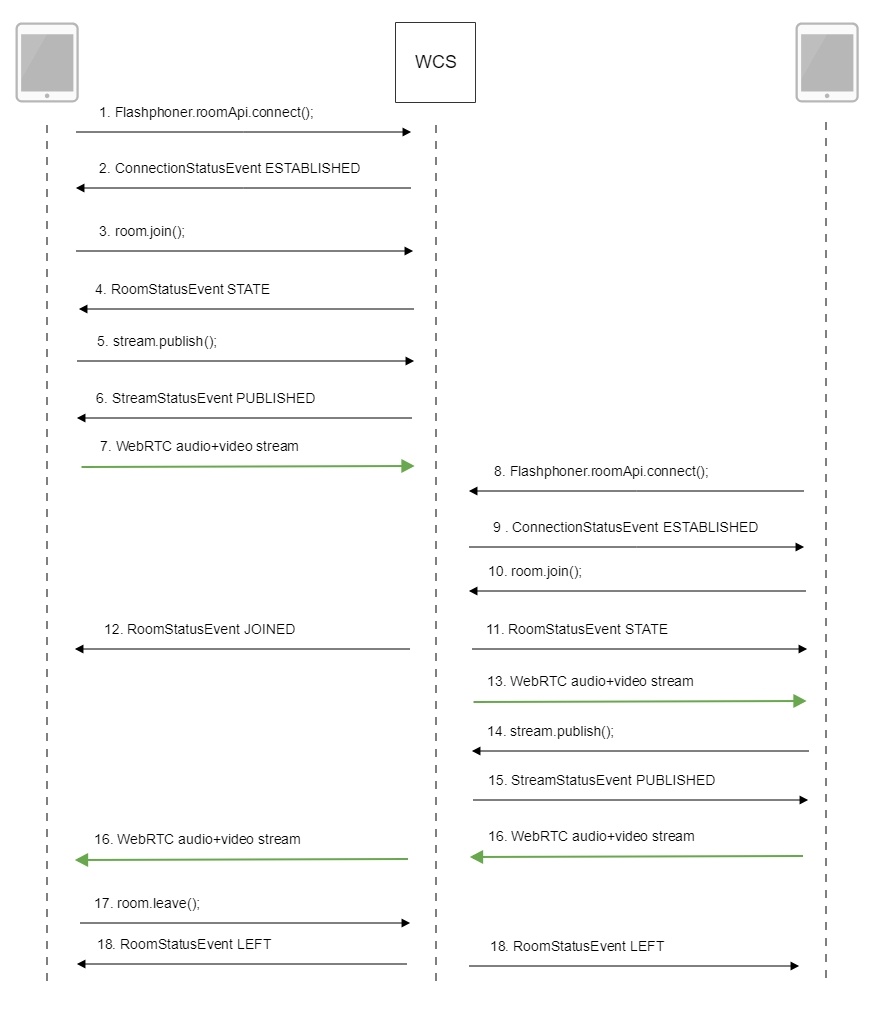
1. Participant 1 establishes a connection to the server.
Flashphoner.roomApi.connect(); code
    connection = Flashphoner.roomApi.connect({urlServer: url, username: username}).on(SESSION_STATUS.FAILED, function(session){
        setStatus('#status', session.status());
        onLeft();
    }).on(SESSION_STATUS.DISCONNECTED, function(session) {
        setStatus('#status', session.status());
        onLeft();
    }).on(SESSION_STATUS.ESTABLISHED, function(session) {
        setStatus('#status', session.status());
        joinRoom();
    });
2. Participant 1 receives from the server an event confirming successful connection.
ConnectionStatusEvent ESTABLISHED code
    connection = Flashphoner.roomApi.connect({urlServer: url, username: username}).on(SESSION_STATUS.FAILED, function(session){
        ...
    }).on(SESSION_STATUS.DISCONNECTED, function(session) {
        ...
    }).on(SESSION_STATUS.ESTABLISHED, function(session) {
        setStatus('#status', session.status());
        joinRoom();
    });
3. Participant 1 enters the chat room.
connection.join(); code
    connection.join({name: getRoomName()}).on(ROOM_EVENT.STATE, function(room){
        ...
    });
4. Participant 1 receives from the server an event describing the state of the room.
RoomStatusEvent STATE code
    connection.join({name: getRoomName()}).on(ROOM_EVENT.STATE, function(room){
        var participants = room.getParticipants();
        console.log("Current number of participants in the room: " + participants.length);
        if (participants.length >= _participants) {
            console.warn("Current room is full");
            $("#failedInfo").text("Current room is full.");
            room.leave().then(onLeft, onLeft);
            return false;
        }
        setInviteAddress(room.name());
        if (participants.length > 0) {
            var chatState = "participants: ";
            for (var i = 0; i < participants.length; i++) {
                installParticipant(participants[i]);
                chatState += participants[i].name();
                if (i != participants.length - 1) {
                    chatState += ",";
                }
            }
            addMessage("chat", chatState);
        } else {
            addMessage("chat", " room is empty");
        }
        publishLocalMedia(room);
        onJoined(room);
        ...
    });
5. Participant 1 publishes the media stream.
room.publish(); code
    room.publish({
        display: display,
        constraints: constraints,
        record: false,
        receiveVideo: false,
        receiveAudio: false
        ...
    });
6. Participant 1 receives from the server an event confirming successful publishing of the stream.
StreamStatusEvent PUBLISHING code
    room.publish({
        display: display,
        constraints: constraints,
        record: false,
        receiveVideo: false,
        receiveAudio: false
    }).on(STREAM_STATUS.FAILED, function (stream) {
        ...
    }).on(STREAM_STATUS.PUBLISHING, function (stream) {
        setStatus("#localStatus", stream.status());
        onMediaPublished(stream);
    }).on(STREAM_STATUS.UNPUBLISHED, function(stream) {
        ...
    });
7. Participant 1 sends the stream via WebRTC.
8. Participant 2 establishes a connection to the server.
9. Participant 2 receives from the server an event confirming successful connection.
10. Participant 2 enters the chat room.
11. Participant 2 receives from the server an event describing the state of the room.
12. Participant 1 receives from the server an event informing that participant 2 has joined.
RoomStatusEvent JOINED code
    connection.join({name: getRoomName()}).on(ROOM_EVENT.STATE, function(room){
        ...
    }).on(ROOM_EVENT.JOINED, function(participant){
        installParticipant(participant);
        addMessage(participant.name(), "joined");
    }).on(ROOM_EVENT.LEFT, function(participant){
        ...
    }).on(ROOM_EVENT.PUBLISHED, function(participant){
        ...
    }).on(ROOM_EVENT.FAILED, function(room, info){
        ...
    }).on(ROOM_EVENT.MESSAGE, function(message){
        ...
    });
13. Participant 2 receives the stream published by participant 1.
14. Participant 2 publishes the media stream.
15. Participant 2 receives from the server an event confirming successful publishing of the stream.
16. Participant 2 sends the stream via WebRTC, participant 1 receives this stream.
17. Participant 1 leaves the chat room.
room.leave(); code
function onJoined(room) {
    $("#joinBtn").text("Leave").off('click').click(function(){
        $(this).prop('disabled', true);
        room.leave().then(onLeft, onLeft);
    }).prop('disabled', false);
    ...
}
18. Participants of the room receive from the server an event informing that participant 1 has left the room.
RoomStatusEvent LEFT code
    connection.join({name: getRoomName()}).on(ROOM_EVENT.STATE, function(room){
        ...
    }).on(ROOM_EVENT.JOINED, function(participant){
        ...
    }).on(ROOM_EVENT.LEFT, function(participant){
        //remove participant
        removeParticipant(participant);
        addMessage(participant.name(), "left");
    }).on(ROOM_EVENT.PUBLISHED, function(participant){
        ...
    }).on(ROOM_EVENT.FAILED, function(room, info){
        ...
    }).on(ROOM_EVENT.MESSAGE, function(message){
        ...
    });
How to record streams published by room participants
Video streams published by room participants can be recorded. To do this, 'record' parameter must be set to 'true' while publishing a stream:
    room.publish({
        display: display,
        constraints: constraints,
        record: true,
        receiveVideo: false,
        receiveAudio: false
        ...
    });
A stream from any participant is recorded to a separate file. The issue of record files futher processing is that publication of them does not begin at the same time.
Stream records synchronization
To allow streams merging, room streams may be synchronized by the first stream published. To enable this feature set the following parameter in flashphoner.properties file
enable_empty_shift_writer=true
For example, if User1 participant started publishing stream at 00:00:10, and User2 participant did it at 00:00:55, then second participant will get 45 seconds of empty video (black screen and silence) at record beginning. So, stream record files User1.mp4 and User2.mp4 will be same in duration, and they can be merged.
By default, stream records synchronization is disabled. In this case, to merge participant streams, they can be mixed while publishing.
The feature is not supported since build 5.2.142. To merge participant streams, they can be mixed while publishing.
Streams recording test
1. For test we use:
- your WCS server, for example test2.flashphoner.com;
- Conference web application
2. Enable stream recording in Conference application
3. Enable stream records synchronization
enable_empty_shift_writer=true
Restart WCS.
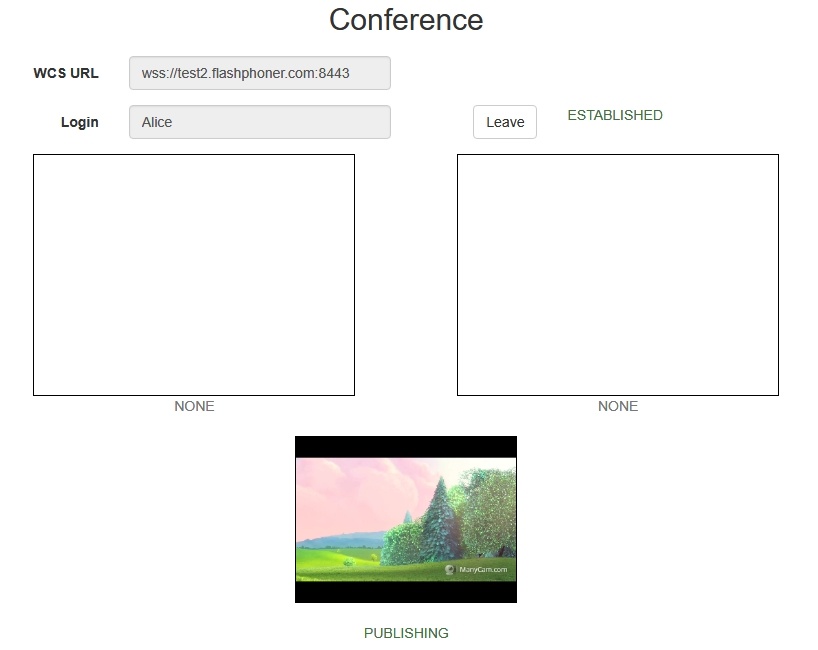
4. Open Conference application. Enter user name Alice to "Login" field and click 'Join'. The streamd from user Alice will be published:
5. Copy room link from "Invite" field:

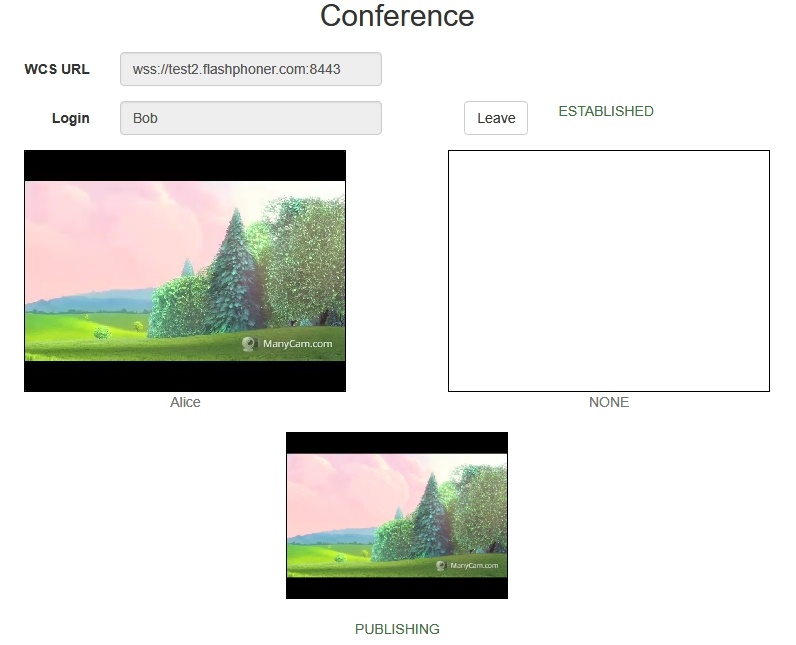
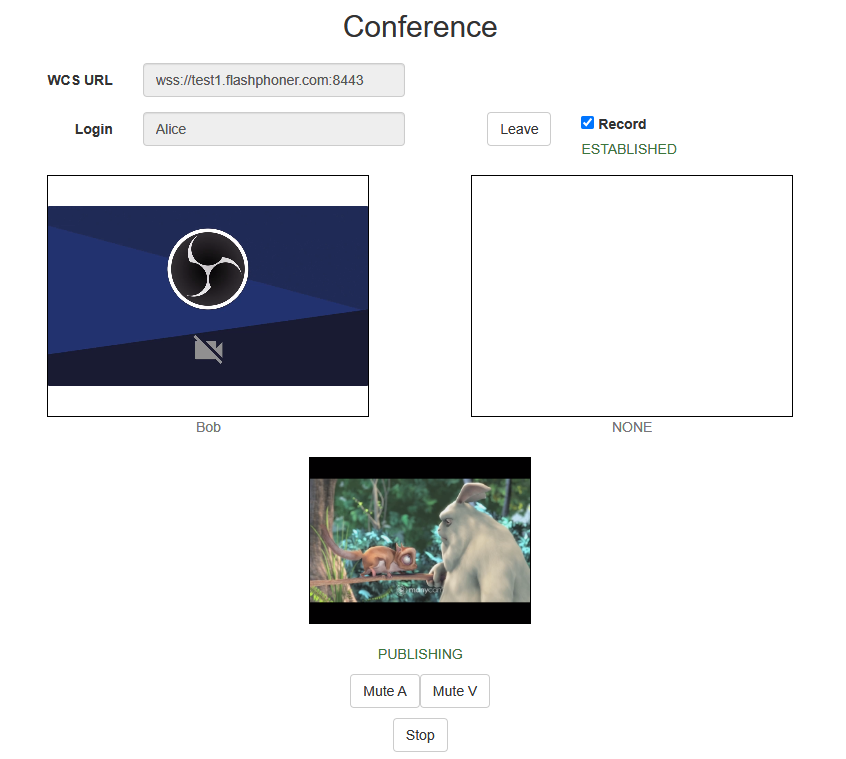
6. Go to room link in new browser window. Enter user name Bob to "Login" field and click 'Join'. The stream from Alice will be played, and stream from Bob will be published:
7. Click 'Leave' at user Bob window to leave the room. Click 'Leave' at user Alice window to finish the conference.
8. Stream record files are placed to /usr/local/FlashphonerWebCallServer/records directory:
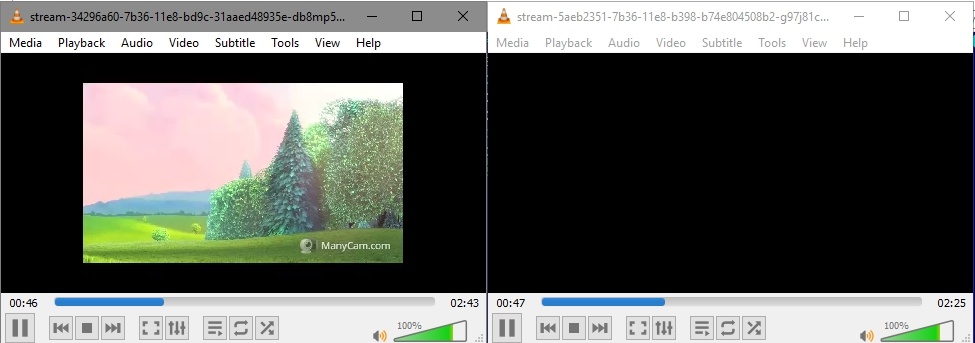
-rw-r--r-- 1 root root 1569566 Jun 29 07:51 stream-34296a60-7b36-11e8-bd9c-31aaed48935e-db8mp51bajcidn9qmcnda3967k.mp4
-rw-r--r-- 1 root root 516509 Jun 29 07:51 stream-5aeb2351-7b36-11e8-b398-b74e804508b2-g97j81cgrf8h1m7jl7184fa788.mp4
User Bobs' file is less then user Alices' one because Bobs' file has empty video in the beginning for futher synchronization. Download record files to PC and play them.
9. Video stream from Alice is published, Bob has not enter to the room yet:
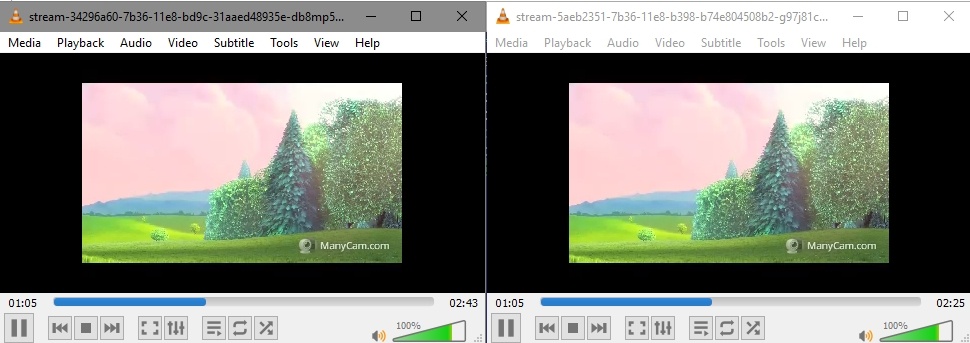
10. Video stream from Bob is published:
Merging synchronized stream records using ffmpeg
Synchronized stream record files can be merged in chronological order using ffmpeg. To allow this, when stream is created, stream timeshift relative to room creation time is specified on server side. Stream record files written by this way are merged with command (two participants example)
ffmpeg -i stream1.mp4 -i stream2.mp4 -filter_complex "[0:v]pad=iw*2:ih[int];[int][1:v]overlay=W/2:0[vid];[0:a][1:a]amerge[a]" -map [vid] -map "[a]" -ac 2 -strict -2 -c:v libx264 -crf 23 -preset veryfast output.mp4
Where
- stream1 - first participant stream
- stream2 - second participant stream
To merge files obtained during our test, enter the command:
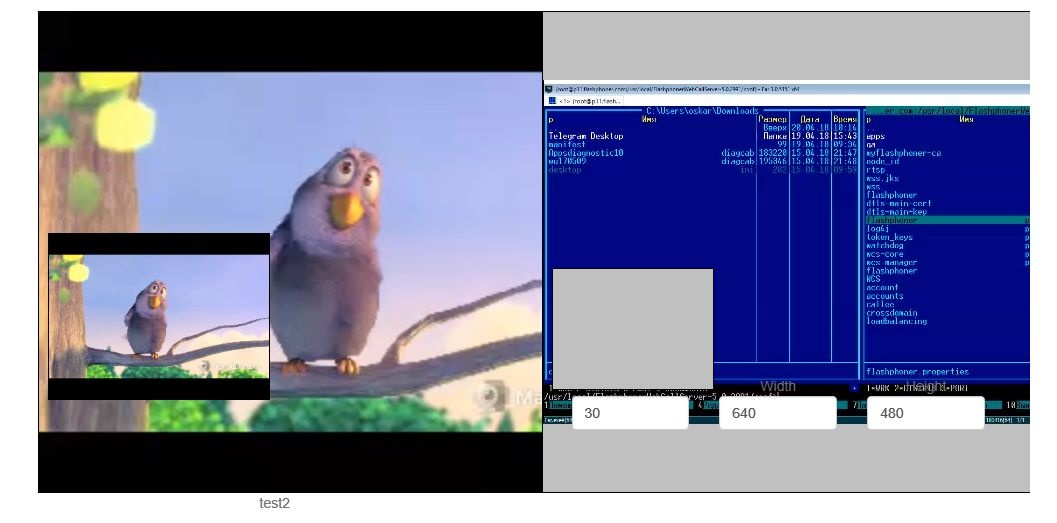
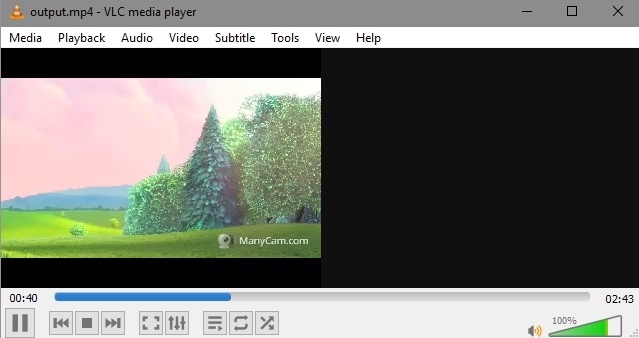
ffmpeg -i stream-34296a60-7b36-11e8-bd9c-31aaed48935e-db8mp51bajcidn9qmcnda3967k.mp4 -i stream-5aeb2351-7b36-11e8-b398-b74e804508b2-g97j81cgrf8h1m7jl7184fa788.mp4 -filter_complex "[0:v]pad=iw*2:ih[int];[int][1:v]overlay=W/2:0[vid];[0:a][1:a]amerge[a]" -map [vid] -map "[a]" -ac 2 -strict -2 -c:v libx264 -crf 23 -preset veryfast output.mp4
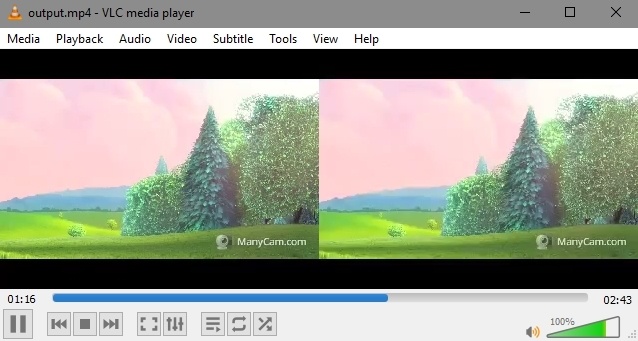
Then play output.mp4.file:
Room multiple streams recording to one file with subsequent mixing (WCS 5.2.1012, WebSDK 2.0.190 and newer)
Since WCS build 5.2.1012 and WebSDK build 2.0.190 it is possible to record all the room streams to one file, with automatic mixing after finishing a conference. To do this, a first participant should set room record option while creating a room:
    connection.join({
        name: getRoomName(),
        record: true
    }).on(ROOM_EVENT.STATE, function(room){
        ...
    });
In thei case, all the room streams will be reocrded to one file. When the last participant leaves the room, the recording will be stopped, and the script set in the following parameter will be automatically launched
on_multiple_record_hook_script=on_multiple_record_hook.sh
The script will mix multiple streams recorded acoording to mixer settings defined in /usr/local/FlashphonerWebCallServer/conf/offline_mixer.json file, by default
{
  "hasVideo": "true",
  "hasAudio": "true",
  "mixerDisplayStreamName": true
}
Testing
1. For test we use:
- WCS server, for example test1.flashphoner.com;
- Conference web application example
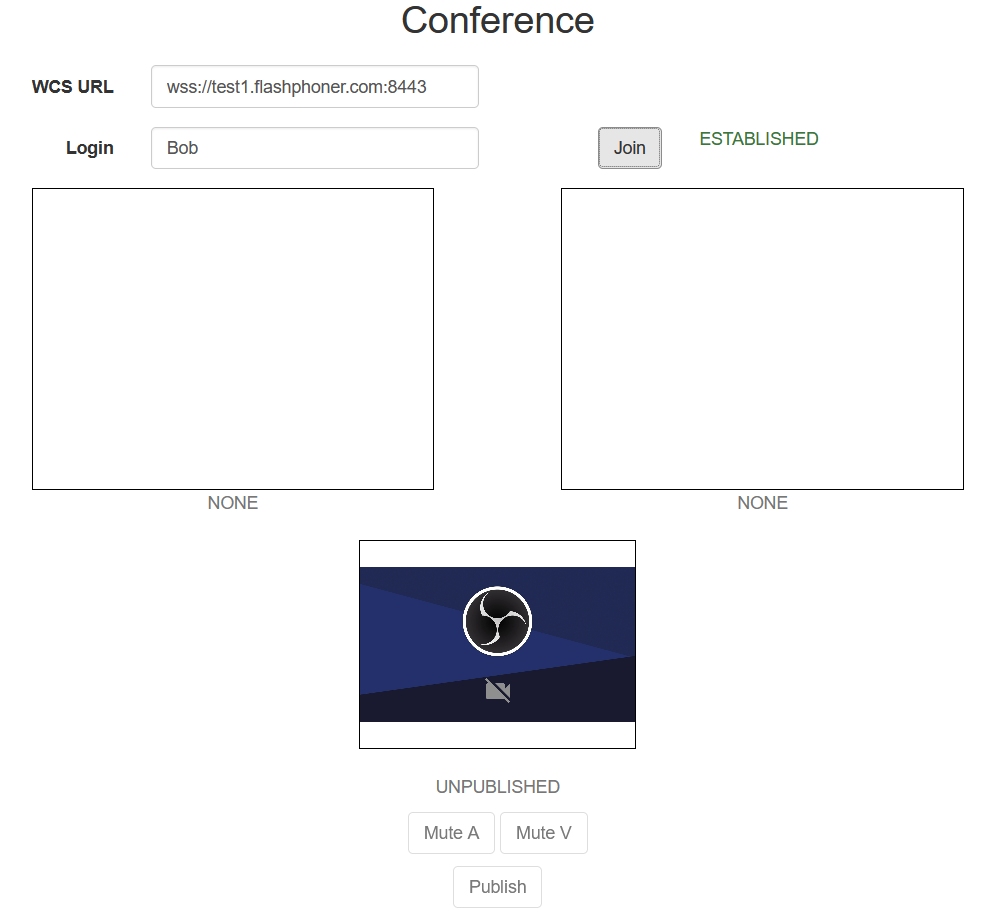
2. Open Conference example in briowser, enter participant name Alice and set Record checkbox
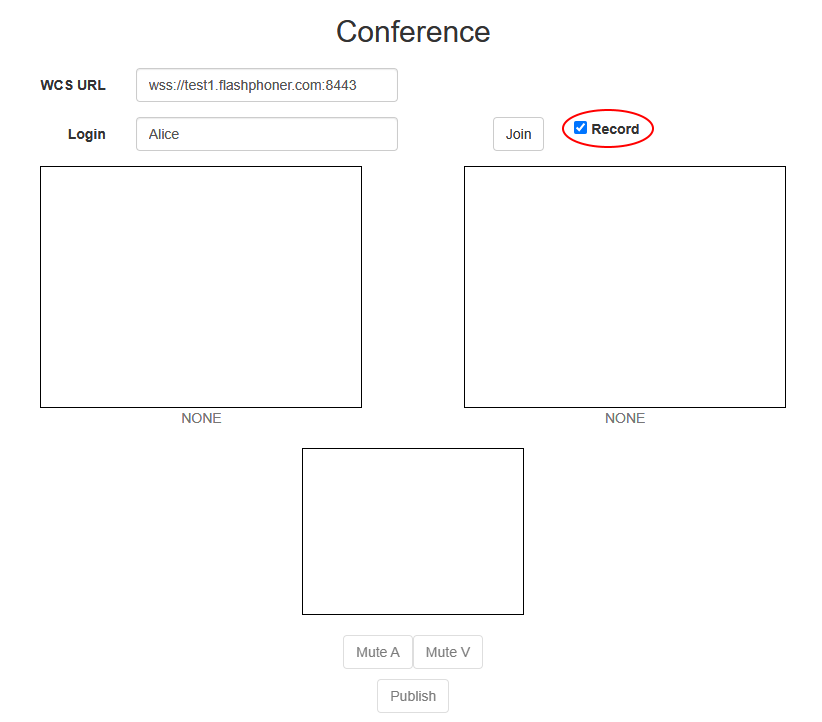
3. Click Join. Stream publishing will start
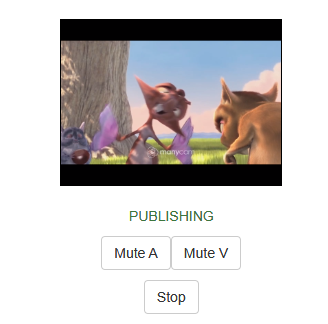
4. Open Invite link in another browser window

5. Enter participant name Bob and click Join

6. Bob joined to the room
7. Click Leave in Alice participant window
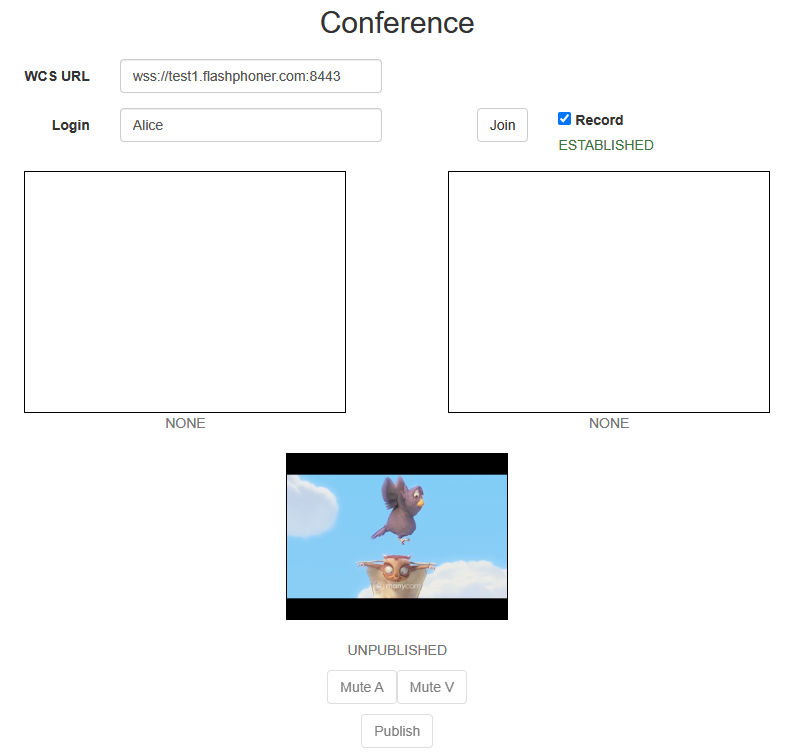
and in Bob participant window
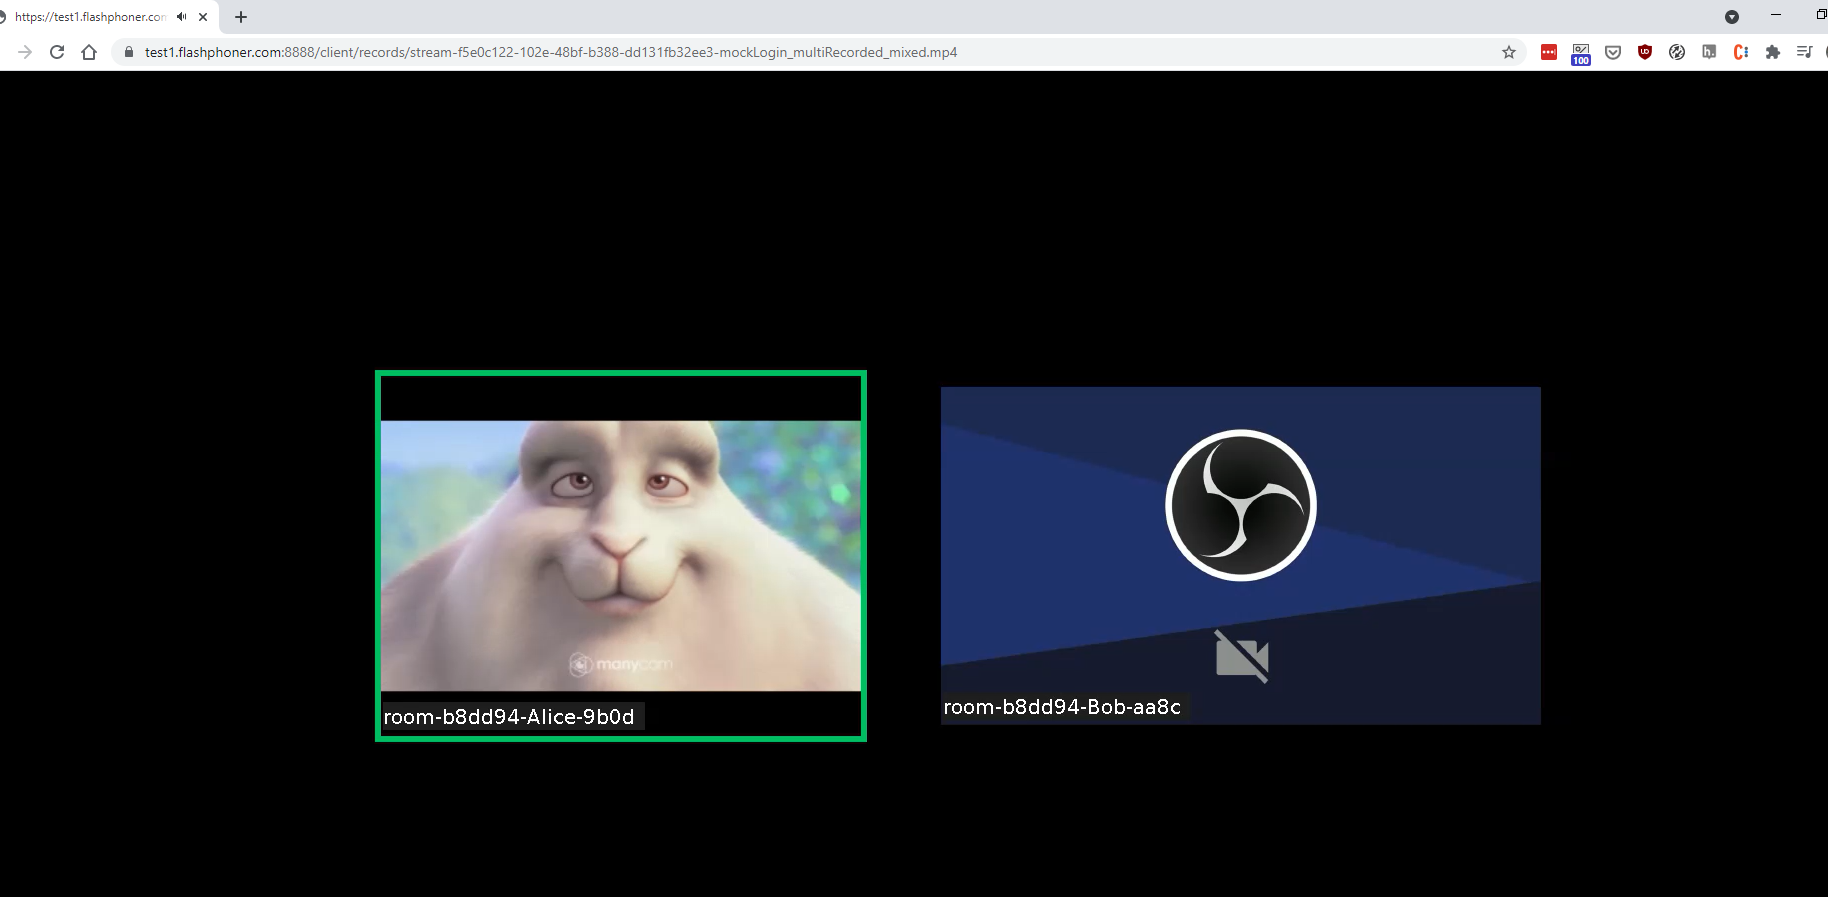
8. Recording file mixing may take a long time depending on recording length, CPU and dick I/O performance. When miximg is done, download the file from /usr/local/FlashphonerWebCallServer/records folder or open in browser by /client/records link
Known issues
1. Non-latin characters should be encoded while messaging
Symptoms: when message sent contains non-latin characters, they are replaced with questionmarks on receiving end
Solution: use JavaScript functions encodeURIComponent() while sending a message
addMessage(participant.name(), encodeURIComponent(message));
and decodeURIComponent() while receiving message
    ...
    }).on(ROOM_EVENT.MESSAGE, function(message){
        addMessage(message.from.name(), decodeURIComponent(message.text));
    });
    ...